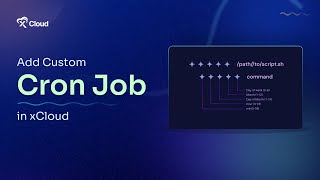
This is a short YouTube tutorial (by M Asif Rahman) that demonstrates how to add and manage a custom Cron job in xCloud. The video shows logging into the xCloud dashboard, selecting a server, opening the Cron Jobs area, entering the command and user, choosing a frequency or custom schedule (minute, hour, day of month, day of week), saving the job, and later editing, checking output, or removing the Cron job.
Questions this video answers
M Asif Rahman.
June 5, 2024.
Chapters
Hello everyone. Today we will learn how to add a custom Cron job for servers in Xcloud. Let's start. First, login to your xCloud dashboard. Navigate to the Servers tab on the top to find the list of all servers. Then click on your desired server where you want to set up a custom Cron job. A custom Cron job can automate tasks like emails or backups at predefined intervals. Now, from the Server Dashboard, navigate to the left sidebar and click on Cron Jobs. You will then find the Add Cron Job button on the right side of the screen. Click on it to proceed with creating a custom Cron job. Enter the required commands in the Command field by providing the crontab path for each command that specifies the task you need to automate. Once you're done with the commands, input the user. You can use the root user by default, or enter a specific username for a particular site in this field. Next, we'll proceed to the frequency of the Cron job. You can choose from various interval options or set a custom schedule. If you select the Custom option, you can specify the minute, hour, day of the month, and day of the week to set the schedule. To show you how this works, let's configure a custom schedule for the Cron job. In this video, click the Save button to save all changes you made. Congratulations. You have successfully created a custom Cron job on xCloud. You can now find it in the Server Dashboards list under Cron Jobs tab. If you want to change anything, click on Edit under Actions to make the necessary changes. Here we have updated the custom schedule by editing the Cron job. You may also click on the Output button under Actions to check the output of this Cron job. Moreover, you can delete it entirely by clicking on the Remove button. That's all for today. We hope this video came in handy. Subscribe to the xCloud channel now and stay updated. Happy hosting.