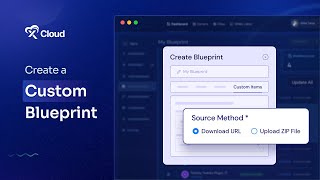
This is a YouTube video titled "How to Create a Custom Blueprint with xCloud | Full Step-by-Step Tutorial" created in July 2025. The content is a tutorial presented by a single speaker explaining how to use xCloud to create custom blueprints for plugins and themes, including steps for uploading items and adding post-deployment scripts to streamline project launches.
Hi Web Builders, do you need to use your Pro plugins and themes in multiple projects? Xcloud lets you create custom blueprints so everything is ready to go. Let's learn how to make one in just a few seconds. First, log in to your xCloud account. Go to the upper right menu on your dashboard. Click on Team Settings, then go to My Blueprints. Click on Create New Blueprint to start building your custom setup. Choose the Custom Items tab. Give your blueprint a name, then enter your plugin or theme name for your item. Select the item type. It can be a plugin or a theme. Let's upload a theme. First, choose how you want to add your item. You have two options. Either use a download URL or use a Direct Zip upload. To use a download URL, enter the download link, the version and a short description. Click Create Item. Your item will now appear in the list on the left. Now let us create another item using the Direct Zip upload. Before you start, make sure you have integrated a provider for uploading the zip file. Give your item a name. Choose the item type as plugin. Then choose a storage provider. Upload your zip file, add the version and description. Finally, click Create Item. To build your custom blueprint pack, you need at least one plugin and one theme. Now go to Available Custom Items and choose your items. Do you need to perform any additional setup after installation? You can add a post deployment CLI script as well. Now go to the CLI Script tab. For example, we want to add a new admin user while installing the site. Type your commands, then click on the Create button. That is it. Your new blueprint will now appear in the list. Now you can launch your projects faster and more easily. Thanks for watching. If you enjoyed this tutorial, give us a thumbs up. And don't forget to like, share and subscribe for more tutorials and tips. Happy hosting.