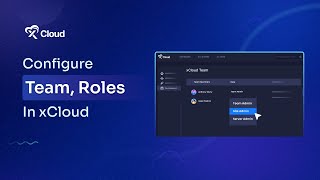
This is a short YouTube tutorial transcript explaining how to manage teams, add members, assign roles and permissions, create teams, switch between teams, and add billing methods within the xCloud dashboard. It gives step-by-step UI actions (Team Settings → Add New Member → set role/permissions → Send Invitation) and notes constraints (cannot delete default teams or teams without permission).
Chapters
Welcome to another xCloud tutorial. Today we will learn how to add team roles permissions and manage them smoothly in Xcloud. First log in with your credentials in the xCloud dashboard. On the top right corner of the dashboard, select the dropdown icon and select Team Settings. Here you can manage your teams, add new members, etc. Select the team to which you want to add a new team member and click on Add New Member. Now add a new member email ID and select the user role as a team server or site admin. Here we will add a server admin. You can choose from two options to give access to all servers or a specific server. In the Role Permission section, customize user permissions for specific uses like adding or deleting a server, etc. After setting all permissions, scroll up and hit the Send Invitation button. A confirmation email will be sent to the user inbox automatically on the team page. Using these options, you can change or delete roles and resend emails to invite again. Deleting is not an option for your default team in xCloud and in those you don't have permission. To create a new team, select Team Management. Click on the Add New Team button. Here select Set a team name, then upload an image to add your team profile picture. Now click on Save Changes. Your team will be created successfully. When creating a new team, you automatically switched to that team. To switch back, click on the option on the previous team and select Switch. Click on the option on a specific team to switch edit or delete that team. After creating a new team, add a billing method to continue using the team. On the billing page, select Add a payment Method option. Click on you can link debit or credit credit cards Add your card details, Mark Check to save information to 1. Click checkout. Then add your number and click on Save Card. Thanks for watching like share and subscribe to watch more tutorials.