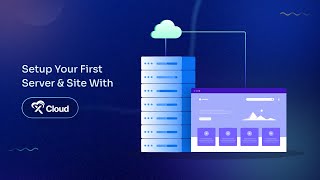
M Asif Rahman walks through setting up an xCloud managed server and launching a WordPress site on it. You'll log into the dashboard, provision a server by choosing its name and region, then create a WordPress site and verify your domain's DNS settings.
Chapters
Welcome to xCloud tutorial. Today we'll show you how to set up your first server and launch your website with xCloud managed servers. Let's get started. First, log into your xCloud dashboard. Once you're in, look for the Add New option and click on it. You'll be presented with two choices. Select xloud Managed Server. However, if you want to go with other server providers, you can select from the available options. Now we are going to set up your server with xCloud. You'll need to fill out some essential details. Let's start by selecting the server name, then choose the server types. If you want a cost effective solution, then go with general and for faster speed and larger storage, you can select Premium. Now, based on your ram, SSD and bandwidth preference, select the server size, Select the region and click on Next. The setup might take a while to complete. Congratulations, your server is ready. Now it's time to add your WordPress site to the server. Click on the New Site button. In this step, Select Install new WordPress website here. Fill out the essential information. Then you can create a staging site or add a live site with a domain. Later on, provide the domain details. After that, you need to verify your DNS. Review all the following settings and click on the Next button. The configuration process may require some time to finalize. Kudos. Your website is now active. If you want to see all your sites from one place, simply click on All Sites in the top navigation bar. You can create as many sites as you want. To check out your servers, click on All Servers and there you have it. Thanks for watching. Don't forget to like, share and subscribe for more tutorials and tips.