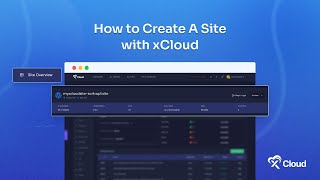
M Asif Rahman walks through setting up a WordPress site on xCloud managed servers. Log into the dashboard, add a new site, point your domain's DNS to the IP address xCloud provides, enable HTTPS, and optionally create a Blueprint to pre-install themes and plugins.
Chapters
Welcome to the xCloud tutorial. Today we will show you how to create a site with xCloud managed servers. Let's get started. First login to the xCloud dashboard and go to the All Sites tab. Click the Add New Site button to select your preferred server from the drop down. As the first step we are going with the install a new WordPress website option. Here you can create a staging site or add a live site with a domain. Add the required information and to verify DNS provider copy the IP address from the Setup DNS section. Let's go to namecheap to add the DNS provider. We have used the domain from namecheap for this tutorial. Apart from namecheap you can use your preferred DNS provider. From the namecheap dashboard go to the Advanced DNS tab. We already have a DNS server integrated to add an additional DNS, select Add a Record. To add the IP address you copied earlier with the information needed to add the DNS provider. Now go back to previous page in the xCloud dashboard to verify the DNS. Click on the Verify My DNS button and a pop up notification will appear showing the DNS has successfully verified. To enable HTTPs for your new site you have the options like free SSL certificate along with the HTTPs you will get the exclusive functionalities like WordPress multisite and Blueprint with xCloud hosting. With xCloud Blueprint you can pre install themes, plugins, configured pages, site settings and more as a WordPress package. Click on New Blueprint to add a new Blueprint. Add a name to your Blueprint as you like and select the theme and plugins you want to use on your WordPress site. We have selected three plugins in the Blueprint. Now click on the Create button to add the blueprint. Also in more advanced settings, see your Admin information, versions and database. Click on the next and wait for the setup process to reach 100%. Congratulations. Your WordPress site is now created on xCloud. Your website is now live and ready to take your first step into the digital world. Thanks for watching. Don't forget to like, share and subscribe for more tutorials and tips.