[TUTORIAL] How to Customize Your White Label Reseller Page in xCloud?
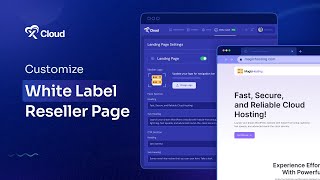
A short video tutorial demonstrating how to customize the White Label reseller landing page in Xcloud. The speaker walks through enabling the landing-page editor, uploading a logo, editing Hero and CTA sections (headings, subheadings, button text and URLs), adding social media links, saving changes, and previewing the personalized page.
Chapters
More from M

How to Deploy EmDash CMS in One Click on xCloud: A Fast, Lightweight WordPress Alternative

Self-Host OpenPanel in One Click on xCloud: A Privacy-Friendly Google Analytics Alternative

xCloud September 2026 Release Notes: Site Security Pro, AI Caching, Docker Backups & More | xCloud







xCloud August 2026 Recap: App-First Deployment, 250+ One-Click Apps & DeepSeek Harness Hosting

Deploy Vaultwarden Password Managed on xCloud (Self-Hosted Open Source Password Manager)