Relieve Neck Pain & Stiffness in 10 Minutes (Follow Along)
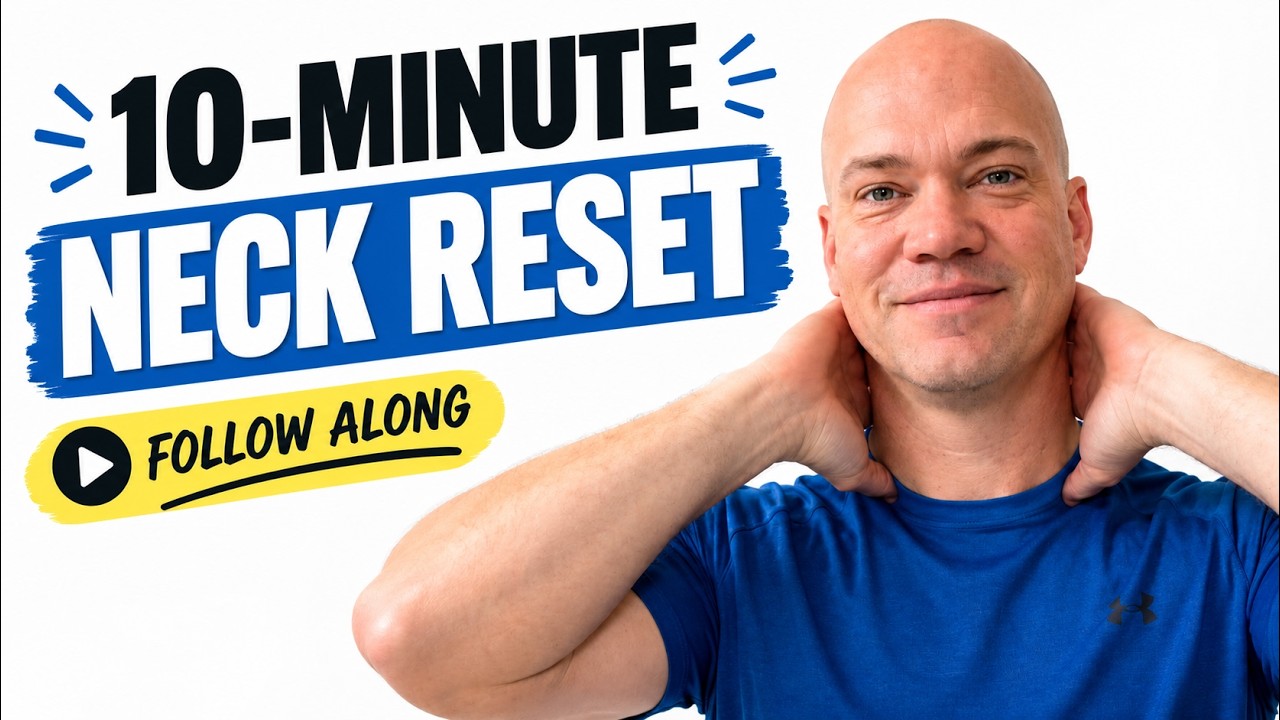
A 10-minute routine to reduce neck pain through range-of-motion checks, jaw massage, tongue activation, eye-movement drills, and vestibular exercises. You reassess your mobility after each section to see what works.
Chapters
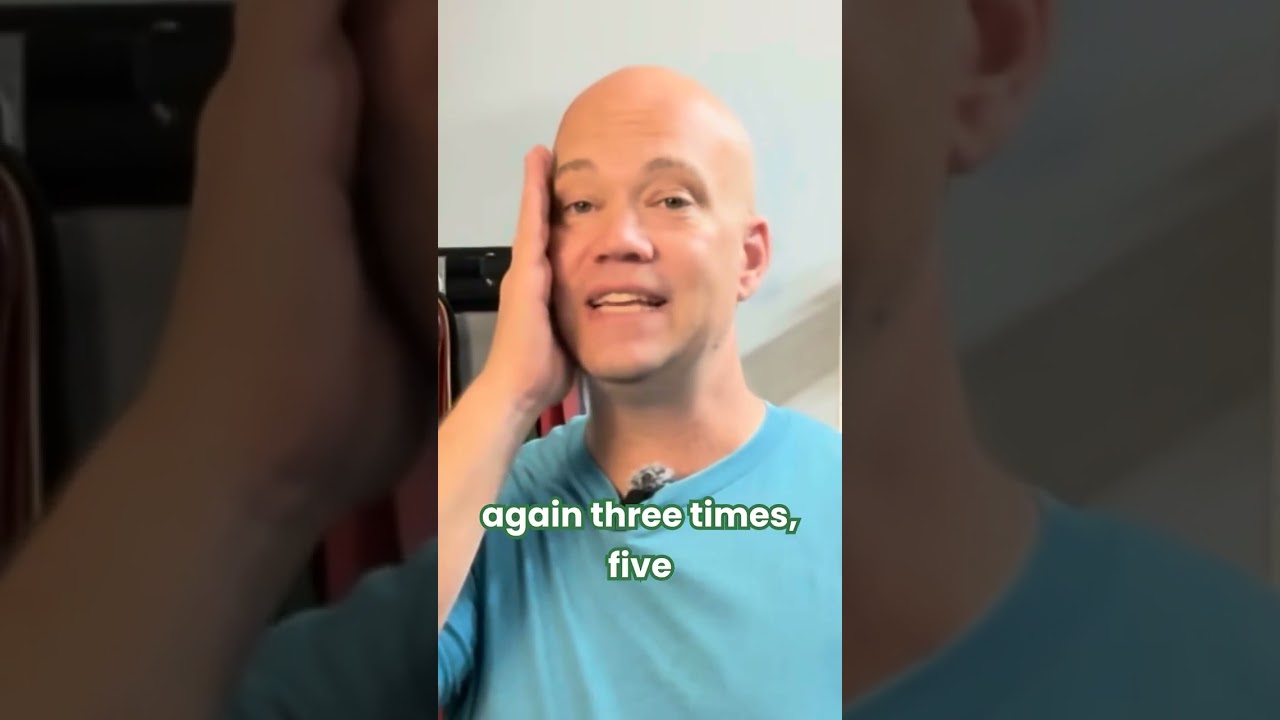
I have people ask me all the time, how do I make my neck feel better? And even though I have lots of videos on this channel that you could go to, I'm going to take you through a short little routine to help your neck feel better and move better. It's only going to take about 10 minutes and you don't need any equipment. So here's what we're going to do first. We're going to assess your neck range of motion, because if we want to know that this worked, we have to know before and after. So the first thing we're going to do is we're going to get nice and tall. We're going to just evaluate what kind of pain we have. If there's nothing, that's great. But from there, what we're going to do is try some movement. So we're going to rotate as far as we can to the left and to the right and just gauge how does that feel? Does it hurt? Does it feel tight? Does it feel stiff? We're going to do the same thing, tilting our head to the left and to the right. And then we're also going to go up and we're going to go down. So gauge if any of those movements feel uncomfortable for you and if any of them feel stiffer, And we're going to come back to those to reassess to see what tools work best for you. So the first thing we're going to do is what's called a visual reset. I have a video of that right up here that you can check out if you want more in-depth detail, but we're going to go through it right now. So the first thing we're going to do is we're going to cup the hands, we're going to close the eyes, we are going to cover the eyes. We're just looking for complete darkness. Don't put any pressure on the eyes. We're just trying to let the eyes rest and relax. Now keep doing this. You're going to hang on here for about 30 seconds, and when we're done, we're going to blink the eyes rapidly. I'll let you know when that comes. The reason we do this is because this helps us to calm the sympathetic nervous system, which can be creating more pain for you. So what we're going to do is take the hands away from the eyes now and rapidly blink for about 10 seconds and allow your eyes to kind of be reintroduced to the light. Now, after each one of these drills, I want you to reassess that tight movement in your neck. So if it was rotation, Or tilting, check it now and just see if that helps. A lot of times that's all you need is just to bring down the sympathetics. Now from there, another thing that's really involved in how our neck moves is actually our jaw. So the thing we're going to do here is we're going to take our hands and place them over the sides of our cheeks, and you're going to clench your teeth down. And when you do that, you'll feel the muscles pop out. That's what we're targeting with our massage. So we're going to take our fingers and just give it a light Massage right into here. Now, for some of you, this may feel really, really tender. And if that's the case, just back off. You don't need to really push hard. We're just trying to get some blood flow moving into the area, and we're trying to get the muscles to relax and loosen up. So we're going to do that for another 10 seconds. So we're going to do circles both clockwise and counterclockwise. You can also move forward and backwards, up and down. Just find what works for you. You may also notice that one side is more tender than the other. Alright, now that we've done that, let's reassess our neck range of motion, whichever one was tight on you, see if that helped. Now, the jaw being tight and clenched can really create a lot of lockup up in here, and that's why massage might be helpful. But what we're going to do now is, now that we've massaged it, we want to actually move the jaw, because once the jaw is moving, it allows the neck to move better. So we're going to take our teeth and separate them by about half an inch, and we're going to move our jaw left and right. So just right here. And then you can also go forward and backwards. And just trying to see how that feels. Now, if your jaw starts popping and that's painful, back off a little bit, keep your range of motion a little bit shorter. But you can also take those 2 movements and combine them into a circle. So here, and go the other way. Now that we've done that, go ahead and reassess and see how that feels. If it feels worse at any point during this when we reassess, then that's an indication that that drill is not good for you right now. It's something you'll want to come back to down the road. If it gets better, this is a drill to keep in mind, and you're going to do this one whenever you're having that stiff neck pain. We're going to add one more layer to the jaw. We've been doing all these different movements. We're going to add a little bit of resistance now. With the hands. So we're going to push in here and push here, and we're just trying to go left and right, adding a little bit of resistance. And we can do the same thing this way, push forward and back, and just get some activation of the muscles now and see if that helps. Do it for another 10 seconds, whichever direction you want to do. If you want more information on how to use the jaw, you can get that information from this video right here. Okay, now that we've done that, reassess again. Check your range of motion. How does that feel? Is the pain getting better? Is the mobility getting better? Do you feel like you're able to move your neck more freely? Okay, moving on. Now we're going to go to the tongue. The tongue is a muscle that really creates a lot of stability in the neck. So if stability is an issue for you, then we're going to want to activate the tongue. And this is very simple to do. We're going to show you 2 different things. The first one is we're gonna take our tongue and push it into the roof of our mouth, and you're gonna push it fairly hard and enough where you're gonna start to feel muscles in your neck. So we're gonna push and hold for 3 seconds. 1, 2, 3. It's hard to talk while we're doing that. And let it relax. Repeat that again. Push the tongue into the roof of the mouth for— and relax. One more time. Push in. 1, 2, 3. Okay. So now that you've done that, you've got some activation happening in here. We're going to turn the head, see how that feels. A lot of times just by getting some more activation in the tongue, the neck starts to really free up and move a lot better without pain. Now we're going to add one other tongue exercise to this. We were moving our tongue into the roof of our mouth. Now we're going to move our tongue into the cheek. Now this could vary. Based on which side of your neck is hurting and what's your— what your limits are. So what we're going to do is we're going to push our tongue into the cheek on this side over here, and you're going to relax. So again, 3 seconds at a time. And one more time. Good. Now, before you do the other side, reassess and see how that feels. If it feels like it's a little bit better, Great. We're going to try the other side. And do that 3 times, 3 seconds each. Go ahead and do it again. And one more time. Good. Now check your range of motion. Did one side of your tongue feel better than the other? If it did, that's great. Let me know which side it was down in the comments because this can lead into many other things down the road. Okay, so now that we've worked on the tongue, we've kind of seen what we can do there. There are more tongue exercises. I'll make more videos on that in the future, but let's move on to eye exercises. Now, the visual system and the vestibular system work very closely together, and if they're not operating properly, then your neck is going to lock up to try and stabilize your, your head, because if your head's more stable, it's easier for your eyes, which are not under control, To be more stable. So we want to give the eyes the ability to be stable when your head moves. So the first thing we're going to do is an exercise called a smooth pursuit. You need your thumb. We're going to put it right in front of us. We're going to do a horizontal smooth pursuit. You're going to tuck your chin just a little bit, hold this in front of you, and just go left and right, following your thumb with your eyes. You're looking right at the thumbnail as you do this. If you feel like your eyes are jumping off of your thumb while you do this, Slow yourself down and see if that helps. So we're going to go horizontal. Reassess yourself. Check your range of motion here. Check it. See how it feels. Then we're going to go vertical. Now vertical often can be more powerful for something like neck problems because vertical eye movements actually help stabilize everything in the spine. And if the issue is near your spine with the little muscles around there, This is going to help to activate that. So again, we're going to do this for about 15 to 30 seconds, just up and down, keeping your eyes on your thumb. And now we're going to go ahead and reassess again. So turn your head left and right, tilt it left and right, see if that feels better. Now from there, we're going to add one more piece to this. This is called smooth pursuit with head turns. This is particularly helpful if you have a hard time rotating your head. So what we're going to do is we're going to keep that chin tucked. We're going to stay nice and tall here. We're going to take the, uh, whichever side you're having a hard time moving your head to. So if you're having a hard time going to the left, you're going to take your thumb to the left, keep your eyes on it, but your head doesn't move. Hold that for 3 seconds. Now turn your head to point it directly at your thumb. Don't turn your body, just your head. Now we're going to do the eyes again. We're going to follow the thumb with our eyes. And then we're going to turn our head to the thumb. And then we're going to follow up with our eyes, and then we're going to turn our head to it. One more time, we're going to follow it with our eyes, and then we're going to turn our head. Now oftentimes what we're doing is we're teaching our eyes to lead the way for our neck. It's a normal thing that we are hardwired to do. Pretty much every animal is hardwired to do it, and your eyes can lead the way. So what we've done is, in slow motion, gotten the eyes to lead the neck movement so that we can turn our head. Now that you've done that, try reassessing and see how you can go, how much further you can go with that neck rotation. I can already feel a difference actually going that way. I use this one all the time for myself. It's very, very helpful. Okay, last thing we're gonna do is we're gonna do what's called a VOR. This is a vestibular drill. Your vestibular system is your inner ear balancing system, and it tells our brain which way gravity is pulling us and which way we are moving both our body and our head in relation to that gravity. So what we want to do is make sure that that is calibrated correctly, because if it's not, your brain will set the tone in the muscles of your spine, particularly in the neck, to avoid falling over. So right now gravity's pulling me this way, my neck, my My brain says, okay, neck muscles, stay right here. If it thought gravity was pulling me this way, then it's going to be, okay, we're going here, and my neck is going to be off. So we want to reestablish how well does the vestibular system know how we're moving our head. So the VOR is a very simple exercise. We're going to put our thumb out in front of us. We are going to keep our eyes right there on the thumbnail again, and then we're going to turn our head left and right. So, So it's similar to the smooth pursuit, but now instead of the thumb moving, the head is moving. The neck is actually moving. Keep your eyes on that thumb. Now, if you find that your eyes are bouncing off of the thumb and you're not able to stay on that, then that's a problem and you need to slow yourself down on this. So now that we've done horizontal smooth, uh, horizontal VORs, we're going to reassess our neck range of motion and see if that's helped. Again, we want to do vertical also because vertical tends to be more powerful for things in the neck and the spine. So we're going to go here, same setup. You're looking at your thumb and we're going up and down. We're going to do this for about 15 to 30 seconds unless you start having dizziness or you feel like your eyes are popping off of the target. After you've done that, reestablish your base and check your neck range of motion again and see if it's improved. These are all just the tip of the iceberg on what you can do For neck stiffness, neck immobility, and neck pain, but this is a good place to start. If you found 2 or 3 of these worked really well for you, write them down, go to them, repeat them several times during the day or whenever you're having that neck stiffness. It's going to make a world of difference because once the neck and the head move better, everything else in your body is going to feel better. If you want more information about this, I did write a book called Rewiring Pain. If you want to know how to get ahold of this book, just comment book and I will send you a link with a little discount. And it talks about all the drills that we just did and many, many more. So if you have any other comments or questions, leave them down below. I'll answer them all myself. And until next time, live healthy.
More from Bill
Stop Stretching Your Neck. Try This Instead (It Might Improve Your Vision Too)