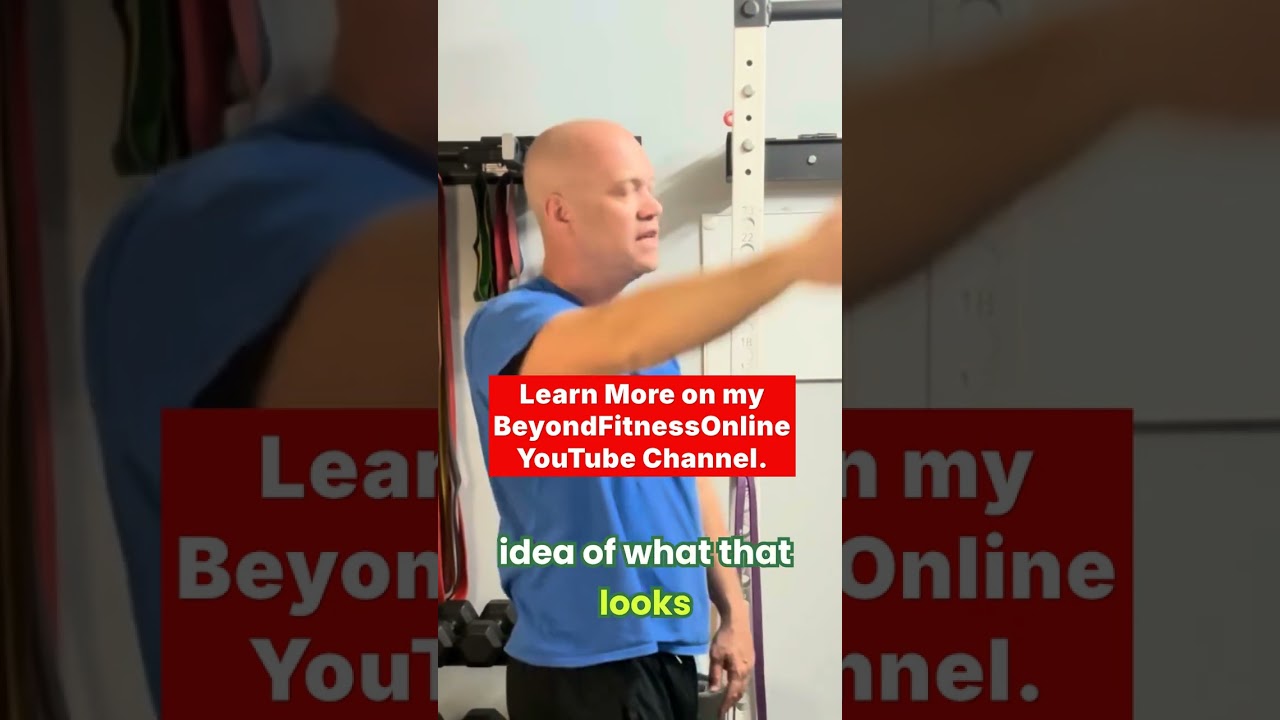
In this instructional video, Bill Daniels of Beyond Fitness Online addresses common desk‑related postural problems—rounded shoulders, forward head, and anterior pelvic tilt—by teaching a single, multi‑component exercise he calls the Bent Over Y. He first explains how to self‑assess posture using side‑view photos and an arm‑reach test to gauge shoulder range of motion. The exercise is broken into discrete cues: (1) controlling the pelvis like a tipping bowl to tuck the tailbone, (2) internally rotating the arms at the shoulder so the thumbs point down, (3) performing horizontal eye saccades between two floor markers to engage neural pathways, (4) assuming a mini‑squat with hips pushed forward and heels pressed into the ground, (5) lengthening the spine, breathing deeply, and bracing the core, and (6) extending the arms into a wide “Y” while maintaining the previous cues. The eye saccades are repeated while holding the Y to reinforce neural activation. After the set, viewers re‑test shoulder range of motion, compare before‑and‑after photos, and are encouraged to share results. The video blends biomechanical instruction with neural‑activation techniques to create a quick, repeatable posture‑improvement routine.
Chapters
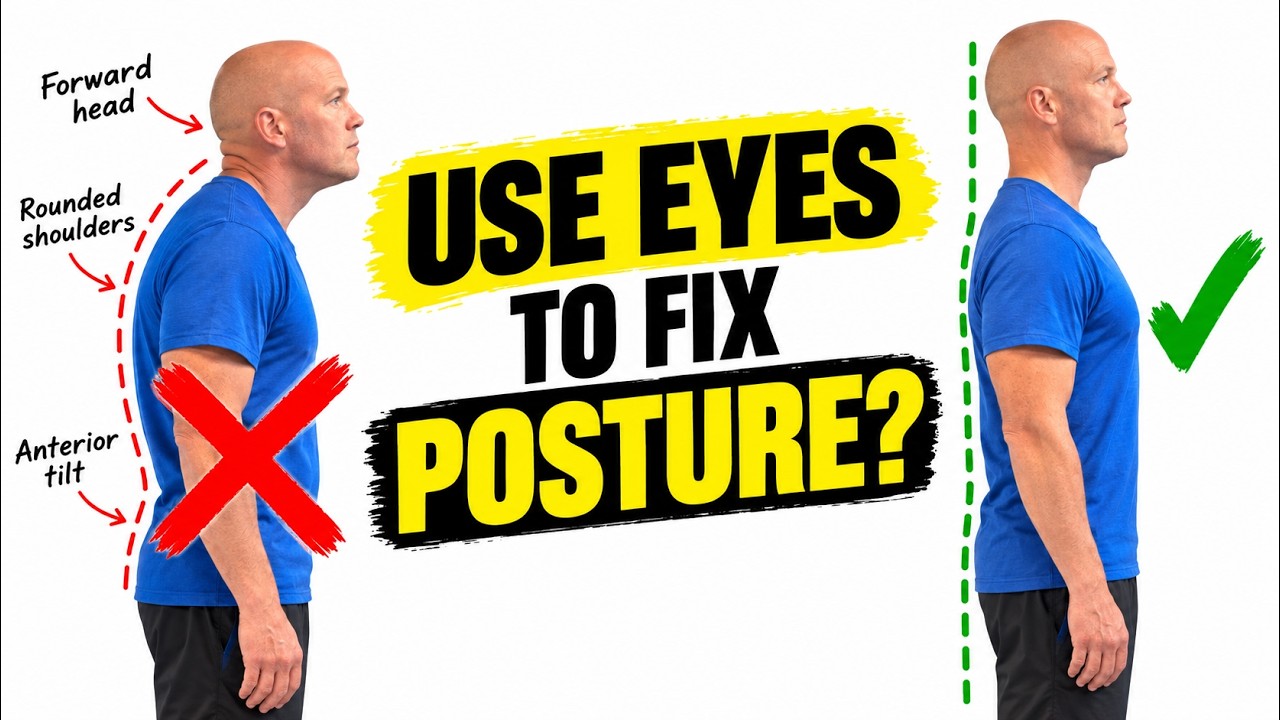
If you've got rounded shoulders, a hunched upper back, forward head posture, tight shoulders, we can fix that by changing the inputs that go into your nervous system, and it's very simple. Hi, I'm Bill from Beyond Fitness Online, and today we're going to learn one new exercise that I call the Bent Over Y. The first thing I want to do is show you the posture that I'm talking about. Now, this is very common amongst people who work at a desk or are in a sitting position and hunched over all the time. What we tend to see is with the pelvis, it tips forward, leaving us with a huge arch in the lower back and kind of that big butt sticking out. And then it also leads to a rounded upper back, forward shoulders, and the head can even stick out like this. Now clearly, that's not how we want to look. That's not ideal for movement or energy efficiency. So we want to try and fix that. It also puts you at a slightly higher risk of injury when you're walking around in that position all the time. And that happens because the body's always trying to be efficient. So if you're in that position a lot, your body will always tend to tighten the muscles towards that, and over time we get stuck in that posture. So what I want to do is show you an exercise to fix that. There's 2 ways to assess yourself for this. One, if you've seen a picture of yourself from a side view, you're going to know, oh, my posture is good, my posture is bad, there's things to fix. If you're one of those people that finds yourself in that rounded head forward posture, it's also going to limit your shoulder range of motion, and that's just how the anatomical parts of the shoulder work. So you can test yourself by taking your arm and seeing how far you can reach here. So do one arm, do the other arm, and then try them together and get an idea of where your range of motion is right there. Now that we have a baseline, we're going to do the exercise. Now there's a lot of parts to this, so I'm going to teach you one part at a time. And then we're going to put it together at the end. The first thing is understanding how to control your pelvis. So as we said before, if your pelvis is already here, you want to learn how to kind of tuck it back under. Okay, so kind of learning how to go back and forth with the pelvis is a key to doing this exercise correctly. Think of your pelvis as a bowl and you're tipping it forward and backwards. Okay, learn how to control that first. If you can do that, then you can— Do this in the exercise later. The second thing we're going to do is get our arms into an internally rotated position. Now, that's rotating from the shoulder, not from the wrist or elbow. So we're not just turning the hands over, we're actually turning the whole arm inward so that the thumbs are going to be down like that. The third thing we're going to do is a movement with the eyes. It's called saccades, and that's when your eyes flip from one thing to the other and they just go back and forth. Now, we want to have that in a horizontal position. It's easiest if you have 2 marks on the floor in front of you, and that way you actually have a visual target to go to back and forth. If you don't have that, you can pick little lines on the floor or any kind of marks that are already there. That's fine. It does not have to be something that you put down per se. So here's the exercise. The first thing we're going to do is we're going to get down into a squat position. So the feet are hip-width apart. We're in a little bit of a mini squat. When we get into this squat, notice how we're forward bending, we're leaning over a little bit. That's good. We actually want to do that and even push the knees forward. So when we do that, you'll start to feel some things moving in the back of the legs. That's what we're trying to do. From there, press your heels into the floor as hard as you can. You're going to feel the hamstrings, the back of the thighs, now activate a little bit. Now we're going to do that first thing we talked about where we're going to take that pelvis and we're going to try and tuck it. If you had a tail, tuck Tuck that tail between your legs, okay? So right there. Second thing we're going to do is you're going to get nice and long through the spine. Take your arms, the second thing, and rotate them in so your arms are— your thumbs are pointing downward. And from there, we're going to take a deep breath in, and then as we exhale, engage the core, engage the abdominals in this position, and extend your arms up. You're going to get to a certain point where you feel Stuck, and that's okay. Hold that there. Take another breath in, and as you exhale, lift those arms higher. We're going out at an angle like a Y. Okay? Inhale. Exhale, engage the abs, and extend the arms higher. Hold that for 3, 2, 1. Take a rest for a moment. Now, you might find that to be fairly challenging. It's a lot of muscle activation. It's a lot of cognitive activation to think of all the different parts that you're doing while you do that exercise. So we just did the physical part of it. You can test your shoulder range of motion again right here, one, then the other, and then both, and see if it's improved. Now, in order to get this to stick a little bit longer and not just let the muscles get tight again, we need to get neural activation, and we do that with the eyes. Using a movement called saccades. So that was with the eyes flipping back and forth. So we're going to get back into that same position. We squat down, we push the knees forward, we push the heels into the ground. Then we tuck the pelvis, we get long through the spine, thumbs are pointed down. Take that inhale. Exhale, engage the abs. Extend the arms up into a wide position. While you're holding that now, now you're flipping your eyes back and forth between those 2 spots. Hold that, do it for 15 seconds, then relax and come out of it. Now check your shoulder range of motion again on one side, then the other side, then both sides together. And then if you can, take a picture of yourself with your phone and see if your posture has improved. Most likely what you're going to find is that now you're standing taller, You're looking with— like you have better posture, you're looking more stable, and your shoulders are moving better. So give that a try. Let me know in the comments below how that worked for you. What was the most difficult part for you? And if you have any questions, leave them there as well. And until next time, live healthy.