My Youtube Studio Setup Tour
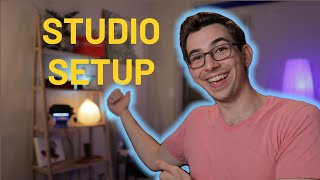
Richard Kohberger tours his YouTube studio and shows why lighting and mic placement beat expensive cameras. He shoots with an iPhone and Shure MV88, contrasts it with a Canon M50, and uses affordable LED panels and Philips Hue bulbs to light his space.
What's going on, everybody? It's Richard Kohberger here, the blue collar nerd. You may have noticed lately that I have a new studio setup, and in this video, I'm going to be walking you through how I set this studio space up. Now, in order to be able to show you my camera setup and everything, I'm actually going to be shooting most of this video from my iPhone. Now, when trying to get into video production stuff, it's a really common mistake to focus on the camera first and everything else later. Honestly, the camera should be pretty close to last on your list as far as things to invest in, so. So if you're working with a limited budget and all you've got is an iPhone, that's perfectly fine. The only thing that's really gonna give you away for shooting on an iPhone is the audio, which is why I've got this little guy right here. This is the Shure MV88 iPhone microphone. This goes for about 150 bucks on Amazon. I'll put a link in the description below and pretty much everything I'll be showing you in this video today. You can find a link to it in the description below, if you're interested. With that being said, let's switch to the iPhone. So just to quickly prove my point, here's the same shot from my iPhone with the shure microphone plugged in. Now, don't get me wrong, it's not good, right? You'll definitely notice the audio sounds a little less clean, a little bit more echoey. Maybe that's mainly due to the fact that the microphone is now attached to the iPhone, which is kind of far away from me. Whereas before, I was using an external shotgun microphone, which I have on a boom just out of frame here, and I'll show you that in a minute. You'll also notice that my background is not nearly as blurred. That's called a bokeh effect. So while there are some compromises, it still looks pretty good. It doesn't look super amateurish. Good cameras do not make good images by default. All cameras will make crappy images by default. What gives you a good image is mostly lighting. It's also a lot of knowing how to use the camera that you have. All right, let's go handheld, and I'll show you around. Okay, so here's from the other side, what the setup looks like. You can kind of see there's the background there, there's that light that was behind me. And on the other side of the wall here, I have my other computer My main computer desk. Now this light here, this is my key light. It's the main light that lights up my face. I also have this other light back here kind of pointing at the wall there to help light up my background. These two lights are actually exactly the same light. It's just that my key light over here has a softbox on it, whereas this one does not. These are newer 480 lights. What's nice about these lights is that they're LED, so they're pretty low profile. And you can see on the back here we have two knobs, one to adjust yellow light and one to adjust blue light. So we can adjust how dim or bright these lights are, but we can also adjust the temperature, how cool or warm these lights are. Now, now these lights came as a two pack and that two pack ran me about 155 bucks. The additional softbox that I have on that light, that one ran me about 37 bucks. Now, light is also a great tool to help make your background pop a little bit, make it a little bit more interesting. So in that little paper lamp there, I have a hue bulb. Philips hue bulbs are Internet connected light bulbs. And I actually have them a lot in my setup. Then I have a scene set up, a homekit scene where I can just press a button on my phone and and all of the lights come on set to the proper settings for my filming mode. So that blue light you see there behind the picture, that's a hue bloom bulb, kind of looks like that angled up towards the wall. This paper lamp here also has two hue bulbs in it. Now this light here I'm using to help brighten up my background a little bit. This is actually meant to be like a closet light, but it actually works really great as a studio light. It's very versatile. It's just got this kind of magnetic mount here, so you can put it wherever you want. You could also screw that mount in if you preferred. And if you tap the top of it, you have several different modes. So you can see there's off, that's the standard mode. Then we can go just white light, just orange light, which is actually the mode that I use for my background. And this strobe version, which we would never use, but there it is. It's also dimmable. If I were to hold down on the top, it would adjust how bright or dim the light is. And you can see I have it plugged in here. It's actually a battery powered light, but I'm just bad at managing batteries. If you look at the first release notes video that I did in this studio. You'll see that my background gets darker as the video goes on. That's because of this guy. This guy was dying and it just got dimmer and dimmer as the video went on. So after seeing that in editing, I was like, you know what? I'm just going to leave it plugged in so I don't have to deal with that anymore. Now here is the camera I'm using. I'm using a Canon M50 mirrorless camera. If you buy it with the KIT lens, the lens that comes with it, it's about a $600 camera. Or if you buy just the body and you have your own lens already, that'll run you about 579. If you're new to the world of cameras. That might sound expensive, but that's actually very much on the low end. Now, this lens that I have on here, this is not the kit lens. This is an upgrade lens that I purchased. That is the Sigma 16 millimeter f1.4 lens. What I really like about this lens is that f 1.4, that is the f stop, which is a measure of the aperture. And the aperture is what allows light through the camera and onto the camera sensor. The lower the F stop, the bigger the aperture, meaning more light gets through. That's helpful in two ways. One is that it means I can use a lower ISO. ISO is basically something that artificially brightens the image, but it also makes the image grainier. Lower F stop also means greater bokeh effect, which is that blurred background effect. I like that look. That's the look I was going for. And so I wanted a lens with a low F stop. Now, this is a prime lens, meaning it does not zoom. 16 millimeters is the focal length. You cannot zoom it. So if you need to adjust your frame, you have to physically move the camera. Now, I also have the kit lens sitting right here in my background. And I'll show you that one when I switch back to my main camera. Now, if you were going to invest in this Canon M50 camera, one accessory that I would highly recommend purchasing is one of these right here. This is a dummy battery. It's very light and kind of plasticky compared to the regular batteries. But you put this in and then there's this hole at the bottom that you plug in that AC adapter to. That allows you to send constant power to the camera instead of using batteries. The battery life on this camera leaves much to be desired. And when I was just using Regular batteries. It used to drive me crazy because I couldn't get through one filming session without swapping out batteries. And there was always just this constant anxiety of, do I have the batteries with me? Am I going to be able to film? So, so this little dummy battery with the AC adapter has been a game changer for me. Now, attached to my camera is this guy right here. This is the Rode Videomic Pro Plus. This is kind of an expensive microphone. It usually runs about 300 bucks. But if you're going to invest in an external microphone, I highly recommend this one. The main thing I really love about this one is that it turns on and off automatically when you turn the camera on and off. Not all of them do that. So with a cheaper microphone, it's really just a matter of time before one day you. You shoot your video, you load it into the computer, you go to do your editing, and then there's no sound. And that'll be because you forgot to turn on the microphone separately. So for me, just to avoid that heartbreaking scenario, this is very much worth it. Now, just like all cameras look bad by default, all microphones sound bad by default. You can get really great sound out of a cheaper microphone. The main factor is how close is the microphone to your mouth, which is why instead of having this mounted on the camera itself, which I could do, I actually have it on this boom mount. This boom mount was like 15 bucks. Pretty cheap. And that way I'm able to keep it just out of frame, pointed at my chin slash chest area. For a shotgun mic, that's usually the positioning that's going to give you the best sound. Now, down here, I have this little ring light just kind of clamped to the windowsill, and I'm using that as a fill light. So over here is my key light. And it's at an angle, so it kind of leaves a shadow on my face. And. And this light brings up that shadow just a little bit. I do still like to leave some shadow. I think it's a good look, although that entirely depends on what you're going for. If you want a brighter look, then more fill light is going to be better. Now, up here are my practicals, meaning just like my regular room lights, but I am actually kind of using them as studio lights. So I have that one set kind of dim. These are also hue bulbs, that one set kind of dim, helping to brighten up the background a little bit. And then this one, you see I have foil around it. That's maybe not the sleekest look. For just, you know, as far as room aesthetics. But I have it like that because I'm using that light as a hair light, meaning when I'm sitting down here in this chair, it's lighting up my. My hair like the back of my head, helping separate me from the background. The foil is there to help focus the light and make it spill less across the rest of the room. Speaking of spilling light, I do plan on getting an egg crate or a honeycomb for this key light. I'll put a picture of what one of those looks like up on the screen. I. What those do is help focus the light so that it doesn't spill into areas where you're not intending it to go. Right now, that light is spilling onto my background and giving me shadows that I'd rather not have. Now, for my windows, I've also installed these blackout curtains. However, if you are just getting started and you do not want to invest money into a good lighting setup, then the sun is actually going to be your best friend. Sitting next to a window with indirect sunlight is great soft light. It achieves this. But even. Even better, the bigger the light source, the softer it is. So a window is effectively a light that's all of this space instead of just this little space. The only downside to using the sun as your light source is that you cannot control it. Other than that fact, it's the best studio light around. By the way. I'm sure a lot of people wonder what this is in my background. This is an Oculus Quest, a virtual reality headset. And I have it on this little stand that's rgb. It changes colors. I might eventually move that elsewhere, but that's where it is for now. All right, that's the setup. Let's switch back to the main camera. All right, back on the main camera here. And I want to show off my filming mode automation I was talking about. So a lot of these lights are hue bulbs, like I talked about. So they're Internet connected. And then I have the main studio lights, those panel lights, connected to WEMO switches. Those are basically little boxes that you plug into your outlet, and then the outlet itself is Internet connected, and you control when power is going through it. So I'm going to turn off filming mode here. As you can see, a bit of a different look. Now, there are two lights that I cannot automate. That is that little ring light that I had clamped to the windowsill. That's my fill light. You can see my hand kind of making a shadow here, and that pole light that was meant for closets. Can't automate those because if I plugged them into a wemo switch, it wouldn't work. You have to press the button to turn them on. They're not controlled by when power is being sent to them, which is fine. It doesn't chat my ass at all anyways. Let me stop talking to you in the dark. I'm going to turn filming mode back on. Eh, eh. Another thing I wanted to show you was the kit lens. So this is the lens that came with the Canon M50. And as you can see, this one focus. This one is a zooming lens. So zoomed all the way out it is a 15 millimeter. And zoomed all the way in it is a 45 millimeter. This is a perfectly good lens. The only downside is that its lowest F stop is 3.5 versus the 1.4 on the Sigma lens that I'm using. And so with this lens, I won't be able to achieve the same amount of bokeh, the same amount of background blurring as I can on this lens. And you'll also need more light. You'll need brighter lights to get the same effect. Let me show you what I mean. I'm going to put this lens on and I'm not going to change any settings on my camera. So here I am now with the kit lens and as you can see, the image is significantly darker. And now here I am still using the kit lens, but with the camera in automatic mode. I generally don't recommend using automatic mode. I recommend setting the settings up yourself. Yes, that involves learning some more things about cameras and how they work. But you end up with a better looking image. Looking at the image in the screen next to the camera here, I can see that I look a little bit magenta. The white balance is a little bit off. But this will do as just a demonstration of what this lens generally looks like. So as you can see, my background is less blurred than it was before. And the only way to really achieve that blurred background here would be to get really close to the camera. Like this. Uncomfortable yet. And here we are back on the Sigma lens. Now I haven't told you the greatest downside of this lens, which is that it's a $400 lens, which is almost as much as I paid for the camera. But it's a great lens. I think it looks really clean and I'm very happy with my purchase. Anyways, that's all I got for today. Thanks for hanging out. If you're interested in any of the things I showed you today. All of the links are going to be in the description down below. I'll catch you guys in the next one. Appreciate it. Peace.
More from Bill


Capturing the 80%: How SmartAC’s Gen-2 Targets Non-Membership Homeowners | Podcast Ep. 296
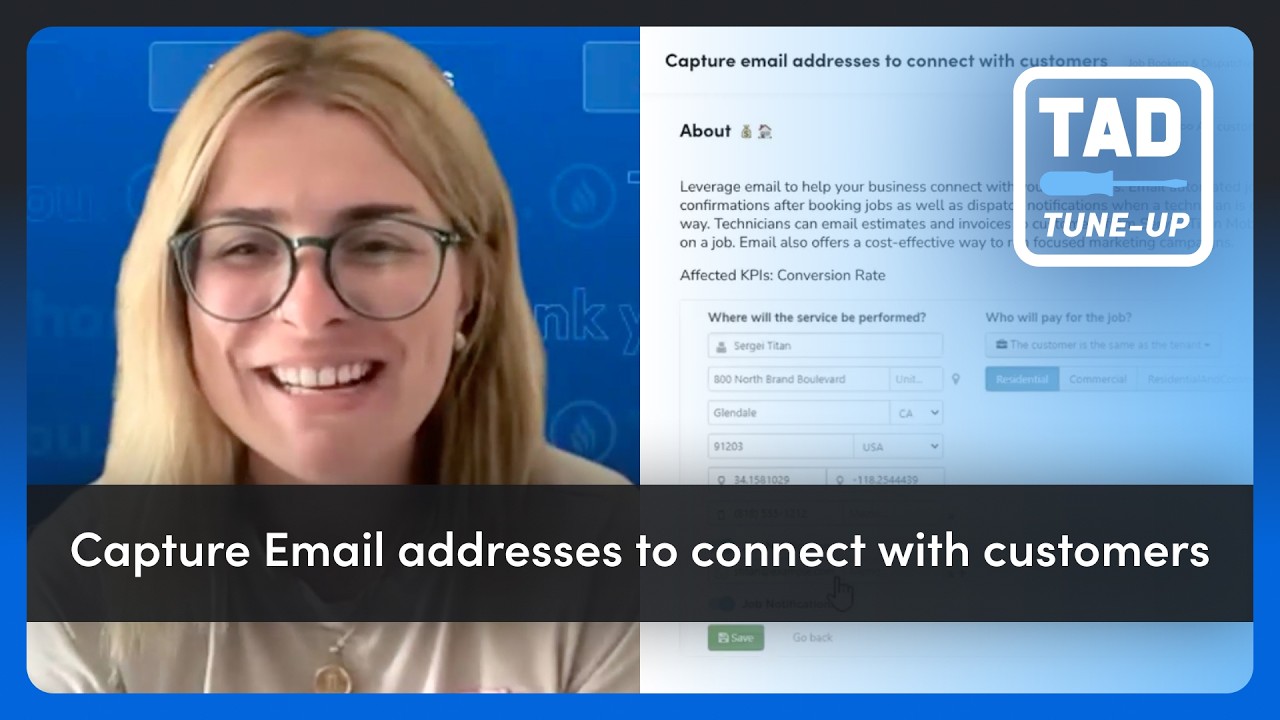
Build better customer data with every booking in ServiceTitan | TAD Tune-Up Series

The Biggest Change for Roofers Coming From Other Roofing Software to #ServiceTitan?

