Release 58 "Amber" Overview | Non-Job Forms, Redesigned Permissions, And More!

Richard Kohberger walks through ServiceTitan Release 58, covering a bulk payment entry screen for multiple customers, a redesigned permissions system with search and nested dependencies, and technician-assigned forms accessible on mobile via a My Forms tab.
What's going on everybody? It's Richard Kohberger here, the blue collar nerd. And I hope you came hungry because this release is full of delectable treats. So first, under the highlight section we have an accounting note. Enter payments for multiple customers in the same screen. So on the accounting tab, when you click Collect Payments, you'll be taken to this new screen where you can enter multiple payments for multiple customers all at once. And you can apply these payments to invoices or apply them as credits to customer accounts. So a couple of things to note about this feature. First is that it does require you to have payment collections enabled. So Payment collections has been around for a good while now, so hopefully you already have that turned on. If you don't, I think you're really missing out on a lot of great features. The second thing to note is that this works for cash and check payments only. It does not work for credit card payments. So the intended use case for this is like for example, if you got a bunch of checks in the mail all at once and then you needed to enter in all of those payments in one go. Alright? Next, under the onboarding section, we have a highly awaited change, the Enhanced Permissions experience. So the user permission and role permission pages in Service Titan have been completely redesigned. So you know how in Service Titan the permissions page is just like a long ugly list of checkboxes and text. Well not anymore baby. You get out of here ugly and hello beautiful. So first of all, all the permissions are broken up into these hot new things all the kids are using called key categories. We've also got a search bar, so no more having to control F to find what you're looking for. Every permission also now has tooltips, meaning you can hover over it to get an explanation of what that permission does. And permissions with dependencies are automatically nested under their parent permission. So like for example, you can't have the Delete payment permission unless you already have the Create Payment permission enabled. And so the Delete payment permission is nested under the Create Payment permission. And if you were to check off the Delete payment permission without having the Create Payment permission already checked off, then it would automatically check off the Create Payment permission for you. You're also able to collapse and expand categories if you want to get some of them out of your way. And there's also this actions menu where you can reset everything to the default or where you can save the permissions and create a new role preset from the permissions that you Just made. Next, under Forms and Media, we have another very long awaited feature which is Technician forms. So you know how in Service Titan, a form has to be attached to either a job, a call, a customer, a location or equipment? Well, not anymore, baby. We got a new kid on the block. Wow, who's that? So handsome. So when creating a form, you can now choose to assign that form to technicians. Technicians will access these forms from a new tab on their main mobile dashboard called My Forms for. From there, they can select any technician forms that you have published. So they can access any of the published forms on demand. By clicking that Add form button, you're also able to trigger these forms based on non job event timesheet codes. So for example, if you had a safety meeting non job event and non job event timesheet code, well then you could set it up so that anytime a technician attends a safety meeting non job event, the safety meeting attendance form is automatically triggered for them. Now, back in the office, you'll access these completed technician forms from the search page. So you would say search for form and then adjust all of the other filters to get what you're looking for. So maybe you want form statuses completed, maybe you're looking for forms from a specific technician or forms in a specific date range. In any case, this is where you find them all right, next, under Jobs and Projects, we have the project page redesign. So you know how in Service Titan, the project page is just like one big long page that you have to scroll through. It's not really organized in any way. There's no good way to navigate it and it's got like a bunch of wasted space everywhere. Well, not anymore, baby. The project page has been completely redesigned, so everything is now broken up into categories and you can quickly navigate to those categories from this menu on the left hand side. Or if you prefer, you can still scroll between the categories. It is still one scrollable page, but now you have quick navigation options. So if I wanted to see estimates, I could just click on that section and boom, I am instantly brought there. There's also this new actions drop down which consolidates all of the action buttons that were previously in the top right of the page. You also have your custom fields here at the very top of the page and they are fixed so that when you scroll they are always floating there. But if you do want to hide those custom fields and get them out of your way, you do have this hide button right here. And that will free up a little bit of real estate. If you don't need to see those custom fields, you're also able to edit these custom fields directly in line, meaning you don't have to go to a separate page or click a separate edit button. You can just click on them and start editing them right away. The project status is also very quickly editable. And for everything else, there is this edit pencil in the upper right hand corner. There are other minor changes, but I'm not going to break down every granular detail here because honestly, I think it's pretty intuitive. I think it makes pretty good sense. I think it's a great improvement over the previous project page, and it'll just make sense once you start using it. All right, next, under reporting, we've added appointment key performance indicators to the jobs data set. Now this one, this one's a sleeper. This one doesn't seem that important, but actually it's extremely important. These KPIs were added specifically at my request. So these KPIs solve for a problem that I came across while working with the upcoming jobs report, which is the report that a lot of Service Titan users set up to have scheduled to send to themselves in the event that they can't access ServiceTitan for whatever reason. This whole escapade also resulted in me building out a new default report called the Emergency Outage Report. That report is in all of your accounts right now, and the details of exactly how to set that up are in the description of that report. I highly recommend setting that report up. Even if you already have an upcoming jobs report scheduled. I highly recommend replacing it with this one. I made a whole separate video about creating an emergency outage plan not just for Service Titan outages, but for things like power outages and Internet outages as well. And in that video, I explain exactly why we needed these new KPIs and why we needed this new report. That is a really important video. I'm going to put a link in the corner of the screen here as well as in the description down below, and I highly recommend checking that one out. All right, that was the highlight section. Now moving on to the improvement section. So under accounting we have create customer statements that include only invoices with a certain export status. So on the accounting screen under AR management, you will now see this new filter for invoice export status. Next, you can now create customer statements as of a certain date in AR management. So if you just wanted to generate a list of outstanding transactions as of whatever date January 1st, you can now do that. Next, you can now create a rule that determines how frequently you can send AR statements in bulk. So under Settings, Invoicing and Customer Statement, there is a new setting called Statement Send frequency. And this setting will allow you to bulk send statements as much as you want without worrying about accidentally inundating somebody with a whole bunch of emails about the same thing. So let's say for example, you set this frequency to four weeks and then you go to bulk send some statements. Well, if there are some customers mixed in there who received their statements already less than four weeks ago, then you will get this pop up. And from there you can choose to either follow your frequency rule, meaning send it to everybody except for the customers who have already gotten their statements less than four weeks ago, or you can choose to send to all selected meaning ignore the frequency rule, just send it to everybody. All right, next, under Forms and Media we have additional Smart fields and PDF forms, and those new smart fields are as Invoice Item 1 subtotal, Estimate 1, Item 1 subtotal and Invoice subtotal. Next, under Inventory, view long lists of documents attached to purchase orders. So when multiple items are attached to a purchase order, you can click the Documents link. That will open up this list of up to five bills and five receipts and includes a link to view all of the bills and receipts. Next, you can now add the current average cost of items to report templates. So utilizing average cost is a great feature that came out in the last release. If you haven't heard about it, definitely go back to the last release Notes video and check it out. But you're now able to add that current average cost to the following report templates. Aggregate inventory stock Aggregate inventory, stock report for serialized items and inventory line items. All right, next, under Marketing Pro Reputation Management, we have auto verification for reviews. So this is an optional feature, but if you do toggle it on, then an algorithm will automatically verify reviews that have high accuracy. And this algorithm is based on statistical analysis as well as information that we got from beta tests. All right, next, under payroll and timesheets, there are now smarter default start and end times on technician timesheets. So you know how in Service Titan if you add a meal to somebody's timesheet, it defaults the time to 12am, therefore guaranteeing that you're going to have to edit it. Well, not anymore. We changed it. So when you're editing timesheets now, there are now default start and end times that actually make some sort of sense depending on the timesheet code that you're using. For example, meal will default to a start time of 12:00pm and an end time of 12:30pm A clock in clock out code will default to a start time of 8am and a clock out time of 5pm Will you still have to edit them a lot of the time? Sure, but at least now it's not guaranteed that you'll have to edit it and you'll at least be in the ballpark. This is just one of those little things that makes a big difference and it's great to see here. Shout out to Amanda Hincamper, who pointed this issue out back in April in the Service Titan Masterminds group Next we have the redesigned technician and employee edit screens. So the technician and employee edit screens have been redesigned. They're now separated out into groups. Just generally a cleaner, more modern design and one that fits with the rest of the redesigns that we've been working on. The settings all now have tooltips so you can hover over them to see exactly what they do. And something else to note here is that the role level permissions which used to live under the Operations section of Settings have now been moved here under the People section. That just makes more sense because you edit individuals permissions here from the technician or employee settings pages, and so it just makes sense that the role level permissions would live under that same section. All right, next, under purchasing, purchase orders show all items received based on receipts attached to the purchase orders. So purchase orders are now going to show all items that were received, including items that were not actually on the original purchase order. And this is to help inform managers of all items that were received as a result of a purchase order, even if not all of those items were the things that were actually on the purchase order. Not that vendors would ever mess anything up. Right? Next, you can now prevent inventory personnel from editing notes on customer records, but allow them to comment on inventory transactions. So a new edit note permission allows owners to control who can edit notes on customer records and who can comment on inventory transactions. So when someone has the permission to edit notes, they can edit notes on customer records. But when they don't have permission to edit notes, they can still add pin, edit and remove comments on inventory transactions, which still allows them to relay internal information. Alright, next, you can now update project numbers on purchase orders. Purchasing managers can now update the project number on a purchase order, which allows them to move a PO that was incorrectly assigned instead of having to cancel the PO and create a new po. And next, the Bills link was removed from the side panel navigation. So considering that billing and accounts payable are part of the Accounting module. We removed the Bills link from the side panel of the Inventory module just to avoid confusion. To access Bills, go to Accounting in the main navigation bar and then click Bills in that side panel. All right, next, under PriceBook we have a handful of great changes relating to PriceBook Connect. So first we have changes to the Auto Dismiss feature, so you can now select which fields you want to be auto Updated, Auto Dismissed, or manually managed in PriceBook Connect. So if you choose Auto Update, then whenever a supplier makes an update to that field, you're going to automatically accept that update into your own Price book. If you choose Auto Dismiss, that's basically saying you don't care about the vendor's updates, you're never going to accept them. You want to update that yourself. And and if you choose Manual, then that means you want to make the decision individually every time you want to see what the vendor update is and choose whether you want to accept that or dismiss it. Okay, next we have changes in the Updates section. So now you can access the updates, Dismissed updates and history log pages from the dropdown menu in PriceBook Connect. Speaking of the History log page, did I mention there's now a history log page? Yes, you can now view item changes in the History log section of PriceBook Connect. Note that this is only for the items that are downloaded from PriceBook Connect and the changes that are being made from PriceBook Connect. So like the accepting and dismissing of changes, your manual editing of your own prices and stuff isn't going to show up here. We also have the history of items in expanded mode, so you can now view the changes that happen to Price Book items in the expanded mode. Expanded mode meaning this right here, look. And finally, under support, we've made some improvements to the Help widget, so depending on the type of support case that you are creating, you will now have the opportunity to provide additional pieces of information that will help the support agent resolve your case faster. For example, if you select that you are creating an invoicing related support case, then you will have the opportunity to provide an invoice number. Anyways, that's all I got for today. Remember, I did not go over the entirety of the release notes in this video. I just covered the ones that stood out the most to me, which in this particular release was like most of the notes actually. But regardless, if you want to see everything, every nitty gritty detail, then check out the full release notes. I'll put a link in the description down below. Please leave a Like if you like this content and find it valuable. Please subscribe to Service Titan's YouTube channel if you haven't done that already and leave me a comment down below. Let me know what you think about this release. What's your favorite feature and what do you think I should make a video on? Next? Please remember that your engagement through likes, comments and subscriber numbers are the ways in which my success is measured. Appreciate it. Peace.
More from Bill


Capturing the 80%: How SmartAC’s Gen-2 Targets Non-Membership Homeowners | Podcast Ep. 296
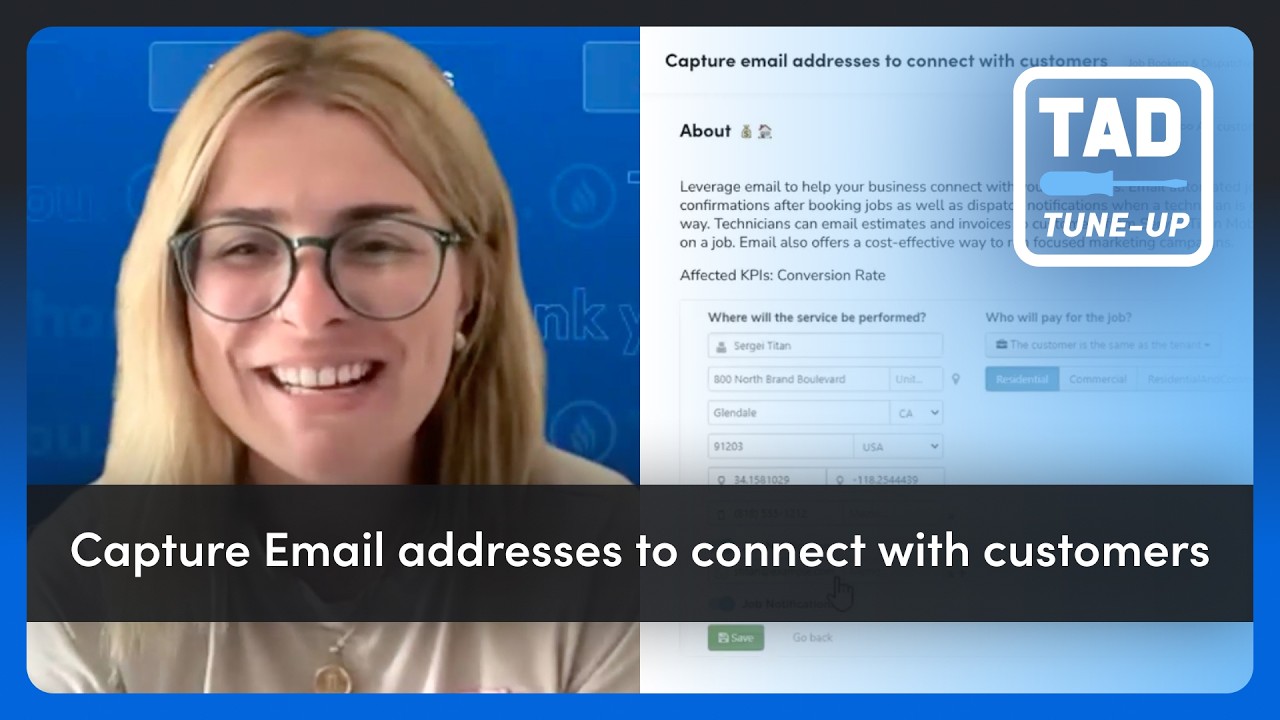
Build better customer data with every booking in ServiceTitan | TAD Tune-Up Series

The Biggest Change for Roofers Coming From Other Roofing Software to #ServiceTitan?

