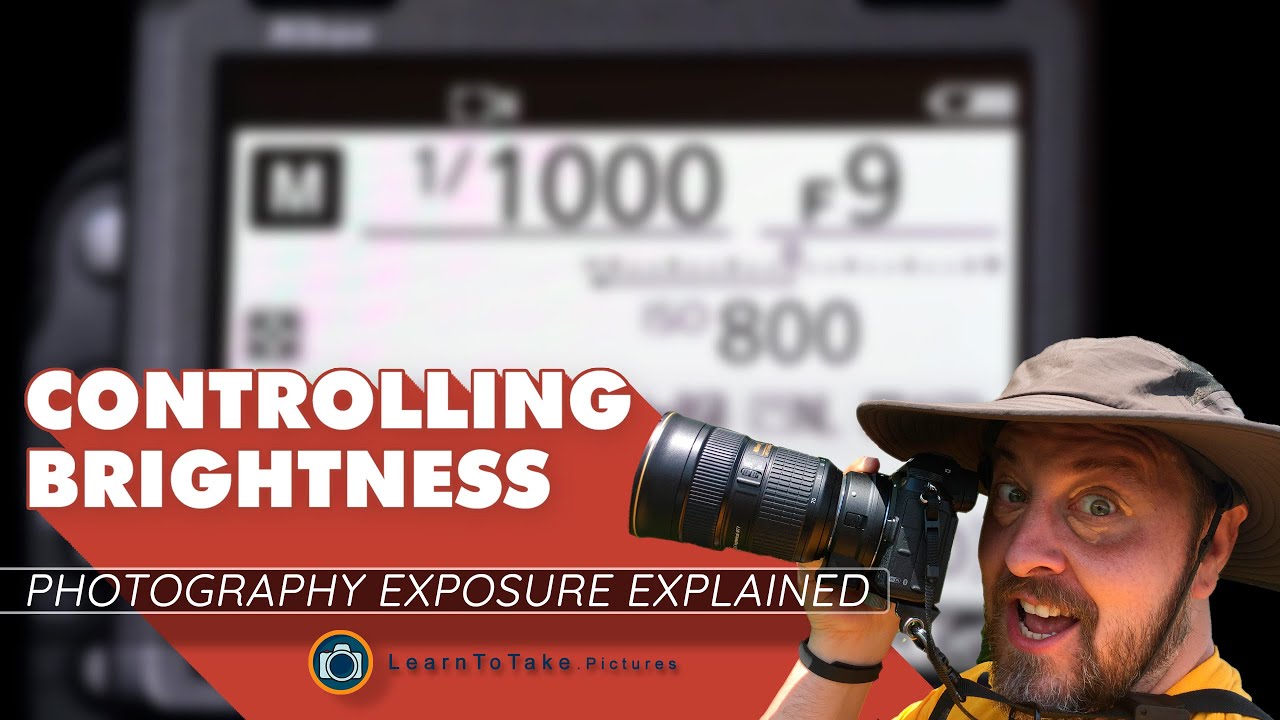
Don Orkoskey breaks down the three exposure settings: shutter speed (measured in fractions of a second), aperture (f-stops, where larger numbers mean less light), and ISO (sensor sensitivity). Higher ISO increases brightness but adds noise, though modern software can reduce it.
Chapters
Hey there, thank you for choosing to tune in and watch this video. I'm pro photographer Don Orkoskey from WDO Photography and learn2take.pictures. Make sure you hit that like button and subscribe if you enjoy this content. Thank you again for being here. The most fundamental part of learning photography is learning how to control light. We do this by changing settings in our camera called our exposure settings. Let's talk about those. When we take a picture by pressing the button on our camera, our camera shutter opens, a volume of light comes in, and it strikes our sensor. There are 3 variables in there that we can control to adjust how bright our picture ends up being. The first setting that we want to talk about is called shutter speed. This is the amount of time that that shutter stays open for. When it comes to shutter speed, we measure it in fractions of a second: a half a second, a quarter second, an eighth of a second, and so on. Typically, your camera won't show you the one over in that fraction because it's always a one: one half, one quarter, one eighth, one five hundredth, one one thousandth of a second. So what you'll see is just a thousand, five hundred, two hundred, one hundred, twenty, ten, five, four, three, two, one. 250, 125, and so on. With this being the case, the larger the number, the less time, and therefore the less light is recorded by our sensor. So remember, bigger number equals less light. Our second exposure setting is called aperture. Our aperture controls the volume of light that comes into our camera. This is the size of the opening within our lens that the light passes through. Just as with shutter speed, our aperture is measured in fractions. We call these f-stops. If you look on your camera and you adjust that aperture, you'll see 4, 5.6, 8, 11, 16, and so on. If you notice, 4 5, 6, 8. It seems like there's something in the middle there, that 5, 6, that doesn't add up. You would think 4, 8, 16 would be double or half, right? Because 8 is double 4. However, because we're working with circles, therefore we have to take pi into account. Not pie as in pizza or apple pie, But pi as in the mathematical formula. Every time we double the amount of light, we have to use pi to factor that in. That's why 5.6 is twice as much light as 4, and 8 is twice as much light as 5.6. This can be a little confusing, but just remember, just like shutter speed, these are fractions, and the bigger the number, the less amount of light. So if you need more light, whether it's with aperture or shutter speed, you want a smaller number. The third setting that we can adjust in order to change the level of brightness in our photo is something called ISO. ISO is what we call the sensitivity of our sensor. Now, Unlike with shutter speed and aperture, when you use a larger number, you'll notice the brightness increasing in your photos. This is because you're increasing the sensitivity of your sensor. As we increase our sensitivity, there's actually less light that our sensor is using to create that picture. As a result, the higher we go in ISO, the more we can experience what we call noise. What is noise? Well, it's something that you get from what's called gain, or essentially cranking up the volume even if the signal— that is, the amount of light— isn't as strong. What results is less contrast, less color saturation, and less color contrast because the sensor is working with the smaller amount of information that it has. In trying to present a better-looking picture for us. Don't let me scare you off of using a higher ISO. After all, it's more important to get the photograph than to worry about that noise. These days, there are more and more programs that you can use to reduce some of that noise after the fact. Well, there you have it. Now you understand the Fundamentals of exposure: how to control the light that's coming into your camera when you're taking a photograph. Thank you so much for watching. Please make sure to hit that like and subscribe, and of course, visit me at learn to take dot pictures for more great information. I really appreciate you being here. Thanks for choosing to watch.