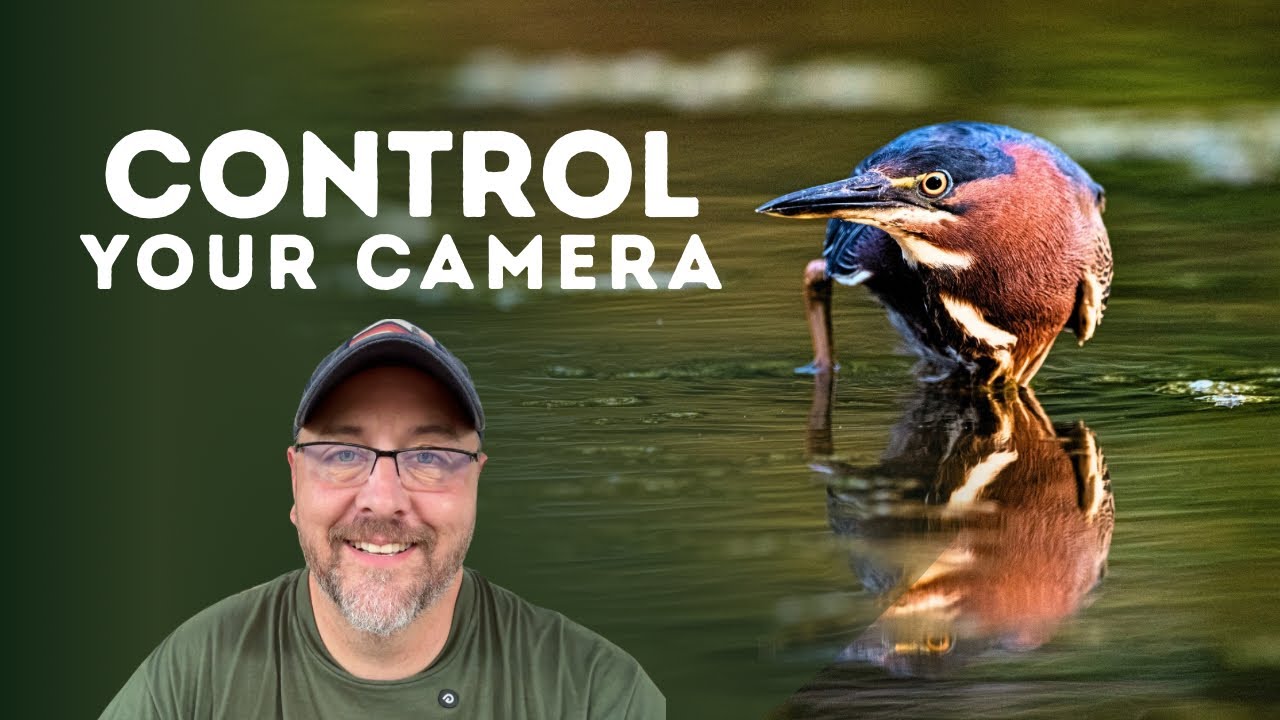
Wildlife photographer Don Orkoskey teaches beginners how to escape auto mode for bird photography. Use shutter speed faster than your focal length (1/600s for a 600mm lens), wide-open aperture, and auto ISO. In low light, open the aperture further or use a tripod to slow down the shutter.
Chapters
You want to go out and photograph birds, but you don't have time for an introductory photography class to teach you what all those settings mean on your camera, and you're frustrated with the automatic setting results that you're getting. So let me tell you in this video what settings you need to go out there and successfully do bird photography. Hi, I am professional wildlife photographer Don Orkoskey, and I'm going to tell you the settings that you should start out with If you're frustrated with the bird photography results that you're getting in automatic. So let's go. The first thing that we need to do is put our camera in the correct exposure mode. If you have 2 command dials on your camera, then choose manual exposure mode. Now don't worry, you're going to still be able to do autofocusing, and we're actually going to let the camera control the ISO by selecting Auto ISO. What if you only have one command dial? In that case, you want to be in shutter priority. Now, if you use a Canon camera, that's going to be Tv on that command dial. If you're not a Canon user, it's probably going to be S on that dial. If you look for P, S, A, and M, That S is what you want to choose. First, let's talk about those of you that have 2 command dials, because you're going to be able to control not only your shutter speed but also your aperture. So let's first start with aperture. Your aperture— and remember, this is if you have 2 command dials and you're in manual mode— your aperture should be set pretty wide open. That means a small number. Another word for aperture, or another name for aperture, is f-stop. So your f-stop should be a small number which lets in the maximum amount of light. At most, you want to be at an f/8. That is kind of where we're going to cut things off when it comes to photographing birds. Now, regardless of if you have 2 or 1 command dials on your camera, what you wanna do next is make sure that your ISO setting is set to auto. And again, no matter which you have, a single or 2 command dials, the next setting we're going to set is our shutter speed. And our shutter speed needs to be fast enough that it freezes the motion of the birds, but it also needs to be fast enough that we don't end up getting camera shake while we're using it. The way to defeat camera shake, especially if you're not using a tripod or a monopod, is to use a shutter speed which is faster— that is, a higher number— than the length of your lens. Okay. Now, if you are really serious about photographing birds, you're going to have a lens that at the absolute minimum is 300mm. Most likely you're going to be in the 400, 500, or 600mm range if you are serious about getting good photos of birds where you're able to reach them far away. So when it comes to our shutter speed, at minimum We need a number that is bigger than that size of our lens. I have a 600mm lens, which means I have to use a shutter speed of higher than a 1/600th of a second. So that's something like an 1/800th of a second or 1/1000th of a second. If you have a 400mm lens, then you can be at 400 or 500— sorry, a 1/400th or a 1/500th of a second. These settings should get you much better bird photos in sunny conditions. And when it comes to photographing birds, oftentimes even if they're sitting still on a perch, they're going to be moving around. So it's a good rule of thumb to be above 400 anyhow, regardless of the size of your lens. So these settings are for ideal days where the light is very bright, where you're not on an overcast day deep in the woods. If you are going deep in the woods, or it's overcast, or it's near sunrise or sunset, then you may need to adjust these settings so that your aperture is even larger. I said prior to this that 8 would be kind of our limit in that regard, but if it's overcast, you're deep in the forest, then something like 6.3, 5.6, that's probably as big as you want to go. And now you might look at your lens and say My f-stops don't go below 6.3 or don't go to 5.6. If that's the case, use the biggest aperture that you have. If that's 6.3, so be it. The other thing you can do is use a monopod or a tripod to make sure that you've got extra stability. This will let you reduce that shutter speed down, so the number will be a smaller number. Which will provide more time for more light to come in. So that's it. Those are the settings that you need for good bird photography, even without knowing what those mean. Go out and try it. Let me know how it goes. I'm really curious to hear how this has improved your success rate. And when you're ready to really find out what all those settings mean and what they do then I highly recommend that you watch my playlist of shorts that explain all of those settings in easy-to-understand ways, or you pick up my book On Exposure Settings. That too is a very easy-to-understand read, and it will help you to understand when you can push things one way or the other And try to go outside of those settings. I really appreciate you being here. Thank you so much for watching. If you enjoyed the video, I really hope that you'll like it and that you'll subscribe to my channel if you're not already. Thank you once again, and I'll see you next time. Bye-bye.