Learn to add depth to photos by layering foreground, midground, and background elements. Shoot through branches or objects to frame your subject, use shadows as guides, and employ selective focus to separate layers and create a 3D effect that pulls viewers in.
If you want your photos to appear deep, then you've got to understand layering. What is layering in photography and how do we achieve it? Layering is having an active foreground, midground, and background. Why do you want this? Because that 3-dimensional pop that you get from this is going to make people feel like your photos are more real, like they're actually in the scene rather than just looking at the scene.
Wow.
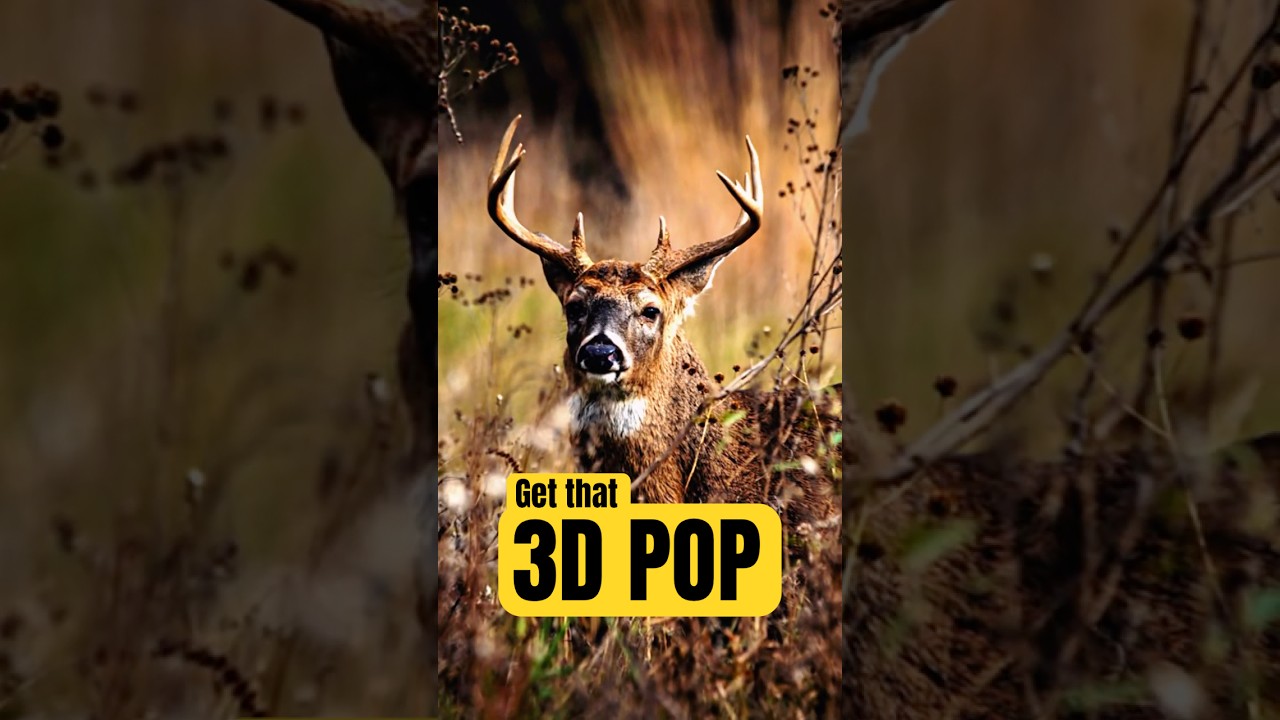
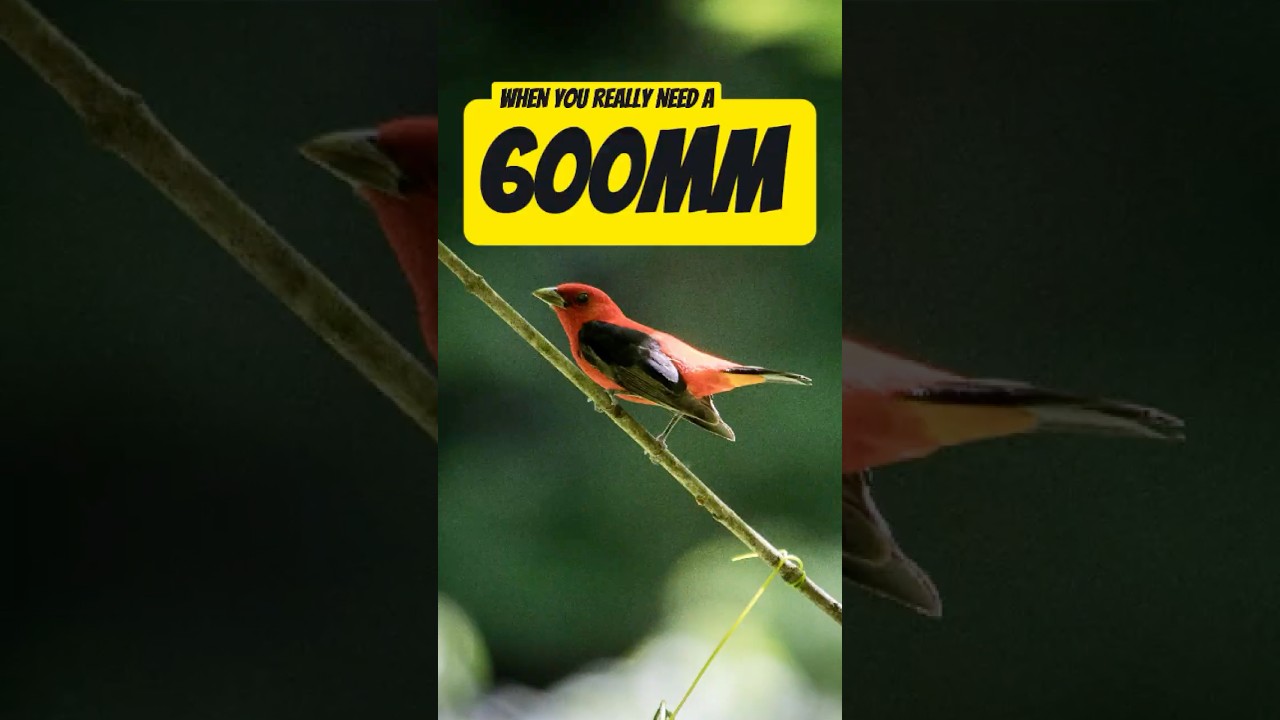
So let's talk about how to do that. Number one, having some sort of foreground object, or even better, something that you're shooting through, something that is framing out your subject. So we're looking at our subject through that frame. This is a powerful technique that's not going to only give you that depth, but is also going to keep people less aware of the frame of the image that they're looking at. Let's look at some examples. This photo is a great example of framing within the frame. By using the branches to surround our subject, we get the idea that we are viewing our subject from a distance, and because those branches are there, we don't really pay attention to the actual edges of the frame. Here's another example where the shadow is what is framing our subject, showing that it doesn't have to be something physical that is framing out our subject within the frame. And finally, in this example, we can see how not only the lighting but also selective focus can help us to set our subject apart from the foreground and the background, placed there in the midground. So play with those things to give your photos a greater sense of depth. Thank you so much for watching this video. If you haven't subscribed already, please go ahead and do so. Toss a like on this video. And I'll see you next time. Bye-bye.