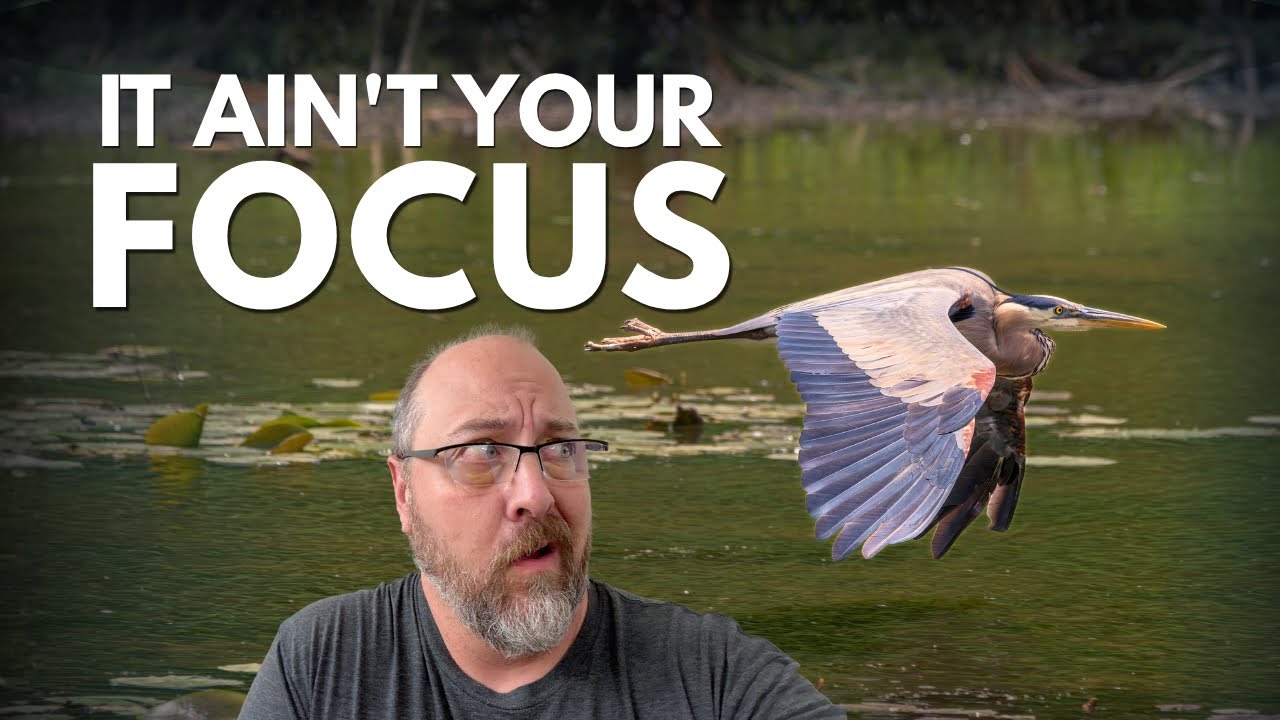
In this instructional video, professional wildlife photographer Don Orkoskey explains why perfectly sharp wildlife shots can appear soft after review—a phenomenon he attributes to atmospheric distortion. He describes the physical cause as temperature differences between the ground or water and the overlying air, which cause air molecules to move erratically, especially when humidity is present. This turbulence refracts light and reduces perceived sharpness even though the image was captured at high shutter speeds with proper focus. Don then offers practical mitigation strategies: get as close to the subject as possible, photograph subjects that are higher off the ground, shoot when ground and air temperatures are similar, and choose low‑humidity conditions. When distortion cannot be avoided, he recommends post‑processing sharpening tools such as Topaz Labs or DxO. The video concludes with a typical call‑to‑action encouraging viewers to like, subscribe, and explore more photography content.
Chapters
I'm professional wildlife photographer Don Orkoskey, and let me congratulate you on photographing mirages. It is a gorgeous sunny day, beautiful temperature, short sleeves even though it's springtime. You've come out to do some wildlife photography in a beautiful place. Everything seems perfect. You've got a monopod or a tripod to keep your camera stable. You're shooting at a thousandth of a second or faster, so you know you're freezing that motion. Your autofocus is dialing everything in. You just feel really great. Then you get home and you look at those photos and everything looks soft.
Hey, what happened?
One of our big challenges as wildlife photographers is dealing with something called atmospheric distortion. Atmospheric distortion will make you feel crazy.
You think I'm crazy? Yes, I am.
Everything looked right in the camera. You checked it on the viewfinder on the back of your camera and it looked sharp. You even zoomed way in and it looked sharp. So what happened? Well, atmospheric distortion is caused By the atmosphere. The atmosphere! Ahhhhh! The heat difference between the ground or the water that we're shooting over and the air above it. That difference means that the molecules are going to wave around, and if there's humidity in that air, it's going to be even worse. So I've told you the cause, which means you're probably waiting for me to offer a solution. And the kind of bad news is there really isn't a good solution. Atmospheric distortion is something that we have to deal with as photographers. There are things that we can do to minimize it. Number one is by being closer to our subject. The less air there is between you and your subject, the less atmospheric distortion you're going to experience. The higher up off the ground your subject is, the less that difference is going to be evident. Oh, here comes a snake. That was exciting. I really hope it doesn't come up on the boardwalk. There's a few other things that we can do to reduce our issues with atmospheric distortion. First one is choosing a time of day when the ground temperature and the air temperature are going to be pretty equal. And while you can still get atmospheric distortion when there is a low amount of humidity, shooting when there's less humidity is going to be helpful. Something else that can help with atmospheric distortion is if it's not too bad, you can use a sharpening program. Topaz Labs for one, DxO for another. So if you're dealing with issues from atmospheric distortion, remember to try to get closer to your subject, try to capture your subject further off of the ground, and if need be, use some editing software to just try to sharpen things up a little bit. Well, I hope you found this video helpful. If you did, make sure to give it a like. Also, be sure to check out my channel and subscribe for lots of content to help you improve your photography, wildlife or otherwise. Thank you so much for watching, and I'll see you next time. Bye-bye.