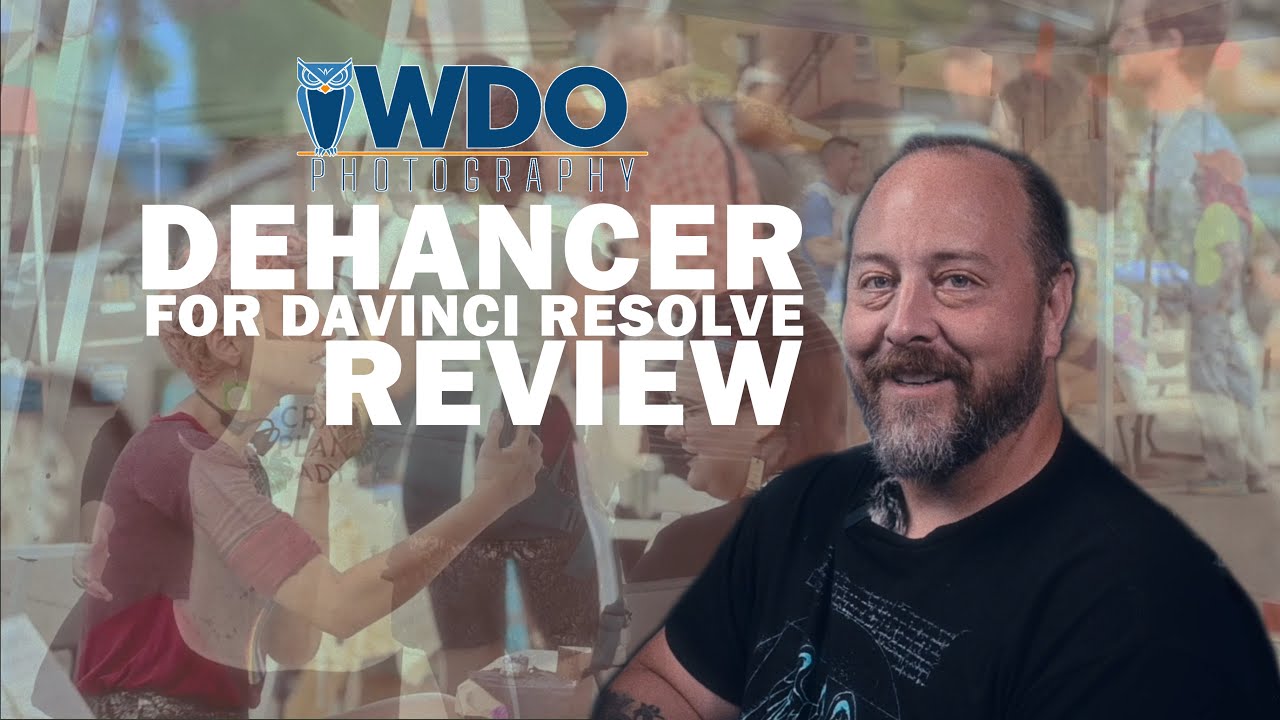
Don Orkoskey walks through Dehancer, a plugin with over 60 film-emulation presets for DaVinci Resolve, Lightroom, and Photoshop. He demonstrates how it adds grain, halation, bloom, and vignetting to footage, and highlights Fuji Velvia as his favorite preset. The plugin excels at a cinematic film look but may not be essential if you rarely edit video.
Chapters
Hey there, thanks for watching. This is Don from WDO Photography, and today I am making this video to review Dehancer, which is a plugin for DaVinci Resolve. Now, the Dehancer team has sent me a license that I can use to do this evaluation. They've asked me to do the evaluation, but there was no exchange of money. This is not a sponsored video, so I'm just giving my honest review of the Dehancer plugin specifically for DaVinci Resolve. They do make the plugin cross-operating systems and they make it for a variety of editors, not just for video editors but also for Lightroom and Photoshop. So too, they have an iOS plugin that you can download even on your phone or on iPad that you can use on on stills as well. So I am primarily a still photographer. I don't do a lot of video for clients. When I do, it's normally stuff like what I'm going to show you here, which is event stuff. So there's not a huge need for me in terms of a plugin like Dehancer. It is ultimately to give you this more cinematic look. But let's go ahead and dive in. I have a project, like I said, that I've put together basically just to do this review. This is footage from an event that I did— I do every year for a group called Assemble. They're a local nonprofit that does a lot of educational stuff, and if you're in the Pittsburgh area, they actually have this year's event coming up on September 7th. So, if you're around Pittsburgh, it's called Maker Date. I highly recommend you grab some tickets or just send them some money to support them at this time when they're doing their fundraiser. So opening up DaVinci, you know, I've got the video all together here. I've put an adjustment clip in here, and the reason for that is because I'm not primarily a video editor. I do a lot of stuff, and when I do video, I basically hand that over to the client and they do most of the editing themselves. So, but I've pulled this together, I've made this adjustment clip, and I'm going to add Dehancer to the adjustment clip. Now you don't have to do that, you can put nodes in and do everything that you're normally used to doing when you're adding an effect in DaVinci. However, I'm a bit of a noob to it, so this is the way that I learned to do it, and that's how I'm going to do it. So if you scroll down in your library here— now if you don't have library open, you can just go up here to effects and turn that on. Once you have Dehancer installed, it'll be, generally speaking, at the bottom of your library. So I'm going to just bring that over and drop it straight on my node, and right out of the gate it applies some stuff. Stuff here. So if you're shooting in Rec.709 or any of these other source formats, you can start with that, right? The real strength with Dehancer is in these film emulations. That's, that's really what it's for, is film emulation. So here there are over 60 different film types that you can choose from. Now growing up shooting film, I was always a huge fan of Fujicolor. I'm just drawn to Fuji's choices here, and some of my favorite film to ever shoot was Velvia. So I'm just going to apply that, and look at this, that's beautiful. I just love the, the colors that Fuji provides here. So we look at some of this stuff just right out of the gate, looks pretty awesome. But I'm gonna just start from right around here to get a look, get a feel for what's happening. Around here. I'm going to give it just a little, a little bit of overdevelopment here to just, just bring the light up a little bit. I'm not going to do it too much because most of the clips are brighter than this one. You can adjust your white point, you can adjust your black point, you can do all of this other stuff here. One thing that I think is really cool is here under print profile you can again change what print look you're going for, which again, this is kind of a nice contrasty look here, if that's what you're, what you're after. You can also go for more of a traditional cinema look, right? So a little less contrast, a little flatter. And you can adjust your colors a bit here. So this is a summertime situation, maybe warm it up a bit, right? A bit more yellow in there, maybe even a bit— that's, I think, overkill on magenta. But, you know, again, you can, you can really play with these and, and take them wherever you want, right? So you can add film grain in there, and I think looking at this, this one, because, you know, there's a lot of shadows, her shirt's very dark, you know, his beard, the tire there, and too there's a lot of bright highlight here off of the back window of that car, so you can really get an idea of how much that grain has an effect on things. Again, this is all for this cinematic film look, right? And you can change the film grain profile going between 8mm and 65mm. So if you want that real sort of 16mm, you know, 1970s kind of, kind of look, right, or student film kind of look. Personally, if I'm adding some film grain, it's probably going to be more in the 35mm because that's what I again what I used to shoot when I shot film. So another thing that's great is you're able to add halation and bloom. So if I enable the bloom there, we can play with this quite a bit, right? Again, just that sort of Country Time Lemonade kind of feel, right? Summertime. Although Country Time Lemonade, obviously their commercials were all in the country, but you get the idea. Again, all this all the stuff that they really allow you to do in here. You add some vignetting, you know, all this stuff is great. And again, what it gets you is a film look. So if I bring my head back to there and I go ahead and play this, you'll see again this film look that's been applied to it. So I like it. I think it looks very cool. I don't know if this is necessarily the type of plugin that I would get a ton of use out of because, let's be real, I am again mostly a still photographer, and the, again, the corporate stuff that I'm doing is generally speaking not In, in this sort of vein. So as far as my— so as far as a review goes, I think that this is a really awesome tool if you're going for cinematic look on your videos. If you're like me and you're not doing a whole lot of cinematic-looking video, then, you know, maybe it's not, uh, not for you, right? So that said, Like I said, they also have these apps that you can use and plugins you can use for stills. So if you're going for a cinematic or film look on your stills, you know, check them out for that as well. I will also say that they are really awesome people to work with. They did give me this license for free to do this review, and I had some issues because again, I'm not really— I'm a bit of a noob when it comes to DaVinci Resolve. So I was actually looking for their plugin to show up under LUTs instead of under the effects, and I was like, I keep installing it and it's not there. But their customer service was really great in helping me figure that out, and they've just been really, really an awesome group to work with. So Dehancer, check them out. I'll put a link down in the description. Please give me a like if you enjoyed this. Thanks for watching. And leave a comment if you've used Dehancer or used similar plugins and let me know what you think and let everyone else know what you think as well. And I'll see you guys next time. Thanks so much for watching.