
Wedding Arms Workout: Strength-First Plan to Sculpt Arms and Back
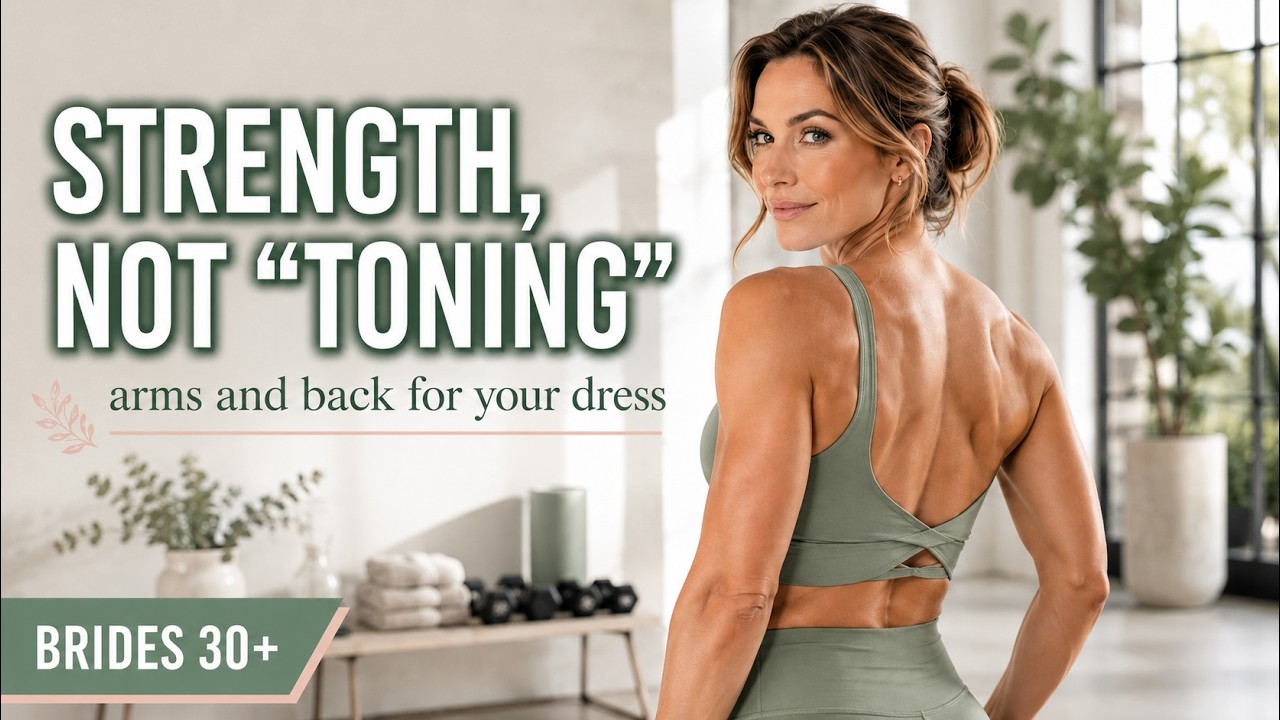
Cheryl McColgan, a NASM-certified trainer, explains why light-weight wedding arm workouts don't work and shows a strength-first plan instead. Build your shoulders and back with progressive overload and compound moves like assisted pull-ups and lat pulldowns to create a V-shape that narrows your waist. Eat enough protein, train near failure, and use a carb-load before photos to fill out your muscles.
Chapters
Hey everyone, I'm Cheryl McColgan, founder of Heal, Nourish, Grow. I am also an NASM certified personal trainer as well as an NPC fit model competitor. And you can see today we're in my home gym and I wanted to share with you a workout that I have been seeing that people are searching for online. And what I've seen a lot of in the search is just not something at all that I would recommend, and that is a workout to get wedding arms. And what I'm seeing is a lot of very lightweight, very high volume kind of training, which is great for endurance, but it's really not going to give you the kind of muscles that you'd like to see in your wedding dress if you're trying to look good for photos, if you're trying to, you know, have a certain aesthetic. And so since you're searching for that, I just want to explain a lot of what's out there right now is, um, and I got sucked into this too a long time ago, I'd see the Madonna arms workout and it's basically a 10-minute workout that might as well be cardio, very, very lightweight, like 1 or 2-pound dumbbells that you're doing a bunch of stuff with. And yeah, my arms would get tired and they would burn, but that's really not building you any muscle. It'll give you endurance in the muscles, but it's not going to build the kind of muscle that you would like to see if you're looking for that very aesthetic wedding arms kind of look. So what I thought I'd show you today is the actual workout that I use to get a very capsule shoulder look. Another thing that is not out there if you search for this online is talking about the back. And the back is a very important part of the wedding dress too, because a lot of people have very low-backed or backless wedding dresses. And so many of the workouts actually focus on only arms. This workout is going to be arms and back, because that is a very, um, good way to make your shape look much more aesthetic. Especially when you get to be older, us older ladies, you tend to start carrying more weight in your midsection and things kind of redistribute so that you don't have as much of a waist maybe as you used to when you're younger. And one way that you can counteract that is to create a shape in your body that gives the illusion of a smaller waist. And the way you do that is by broadening your upper body, so delts, and then also this area called the latissimus dorsi in the back. If you can build those a little bit, it creates more of a V-shape, so it gives the illusion of a smaller waist. And these are all things that brides are obviously looking for when they're looking for a wedding arms workout. So all that being said, before we begin, I have already warmed up. What I'd recommend for a warm-up, uh, for upper body workout is obviously to just get yourself warm. So walk for 5 minutes. I like to use the Assault Bike for upper body days because you're also moving your arms, which moves up the arm muscles. You can also just do to do things like arm circles. And then also starting with any of your exercises, starting with a lighter weight to begin so that you use that to warm up the muscles, and then moving into your working sets. So where you're really going to get the kind of muscles that show for a wedding is to use real weights with progressive overload. And I'll describe kind of some things as we go through the exercises, how you know you're getting there. So progressive overload doesn't always mean heavier weights, although that's maybe the easiest way to do it. It can also be more repetitions or more sets. And so there's a lot of different ways to do it. But the thing that I really want to caution you to avoid is using very light weights. It's not going to create any muscle. You've got to stress your muscles enough to create stress to make them grow. So these little light weights are really not going to be doing any favors. If you're already going to be doing a workout, you might as well lift the heavier weights and get some muscles. The second thing I'd like to mention— always say tone. People have used this word for a long time, it always drives me crazy. Toned muscles— all toned muscles are, are actually building your muscles and then getting to a low enough body fat that you can actually see the muscles a little bit more. And so depending on how far it is now to your wedding, you may or may not have a lot of time to accomplish that, or the desire to accomplish that is also another question. I mean, None of this is anything anybody has to do. It's just because that's what people are searching for. That's why we're talking about it here today. Um, so that's the two components is build muscle and then lose body fat. So you'll notice right now I'm kind of at a higher body fat level for me because I am in a building season. And to build muscle, you also need to eat. And so that's kind of contradictory with some people going into wedding because a lot of people are kind of losing weight going into the wedding. But especially if you're a newbie, you can still build some muscle. You can get stronger, and as long as you're not in a severe calorie deficit and you're eating a lot of protein, which is the other thing I talk a lot about on my channel, uh, eating the proper amount of protein in a calorie deficit can really help you maintain your muscle. And that's especially important in any diet, but really important too if you happen to be on a GLP-1 for weight loss. You definitely want to be strength training and eating the proper amount of protein. If you don't know what that amount of protein is for you, I have all these resources over on my website, Heal Nourish Grow. There's a women's protein calculator. There's a body composition calculator, how to lose weight, gain weight, calculate your calories, know how much protein to eat, all that good stuff. So I think that kind of covered everything that I wanted to talk about before we actually get into the workout. And if you're already getting bored of this, I'm just going to show you the exercises. There's going to be a lot of cuts in here. I'm not going to show you every rep, every set. Might give you some tips on specific exercises, um, but from here on out in the video, it'll kind of just be moving through a little bit more quickly, but I wanted to set it up properly so that you know what you're getting. If you go to the website, you'll get the whole workout. Um, ideally you want to start this 3 months before, 6 months before, a year before, but honestly it's never too late because if you start working out or if you start working on your upper body, it's just going to give you more confidence and you'll get stronger in a fairly short amount of time, especially if you're a new beginner. And so I think no matter when you find this before your wedding, it's definitely worth your while to start an exercise program because it'll just make you feel more confident in your wedding dress, whether or not you think you have the quote-unquote wedding arms or whatever that is that people are looking for. It will help your confidence. It'll just help you feel better on your big day. So all that being said, we're going to start. A lot of these exercises can just be done, you know, I have— I'm lucky I have a great home gym from Force USA, but a lot of these can also be done with dumbbells.. And within the 2 to 3 days I have mapped out in your program, you can interchange those fairly easily. So if, for example, the first exercise is assisted pull-ups, um, there's a specific machine at the gym that does that. You kind of put your knees on it and pull yourself up. But if you have a set of some like this at home, you can use a band. And if you don't have this at all, you can substitute one of the other exercises. But all that being said, we'll go ahead and get started here. So this is the first one, assisted pull-up, and we'll show you the back view here. So you'll notice there, first of all, you can get all different kinds of bands. This one does not give me much help because pull-ups are something I've been working on, and I have been— until my shoulder got flared up— I have been doing just regular pull-ups with no assist, which is crazy that I have never got to that, by the way. But you'll notice, so that band didn't give me as much weight. You can use 2 bands to to make it easier. But the key is you don't want to stick necessarily to a specific number of reps when you start training. You want to go until you're almost close to true muscular failure. So what that means, and then hopefully you can see that a little bit in this set, is that you truly— your muscles just will not even work anymore. So for example, if I have this little dumbbell right here and I was doing bicep curls, I could do this for a really long time, and that's just not that effective. You want to try for time's sake and for strength's sake to stay somewhere in between 8 to 12 reps. But if you had a heavier weight and say you get to 7 and you literally just— your muscle won't even move anymore, that is true failure. You want to be getting close to that every time. So especially if you're new, it is really good to test yourself to get close to that so you have a better sense of what that is, because most of your training you want to have what we call 2 reps in reserve. So that is you're getting close to failure, but if pressed, you could really do 2 more before you actually failed. So you want it to be challenging enough that you're actually, again, stimulating the muscle to change. So we'll go on and move to the next one here.. And like I said, try to move this along as much as possible. Okay. The next one we have for this is the Smith overhead press. I like this for beginners because you can set it up so that it's very safe. You can see I have these stoppers in place. So if I get to that point where I truly fail, you can just drop it and this will catch it for you. So there's no worry about, you know, not being able to push yourself in the exercise. I will say, if you've never done this before, definitely check it out with lighter weights first. Now that I'm warmed up, I'm okay with kind of using my regular weight here. But again, if you're warming up with these or it's a new to you exercise, always start with the lightest weight possible. Test it out, test your range of motion, make sure everything's feeling good before you move on. So now we'll go ahead and show you the overhead press. This is awesome for shoulders, that's why we're doing it. It's also more of a compound lift, so you're getting in biceps, triceps, chest a little bit, mainly shoulders. But these bigger lifts do kind of involve many more muscles, and that's why I like doing things like the pull-ups and this overhead press before we get to the more specific body part exercises, because this will just help you build overall muscle in your whole upper body. Okay, you can see that that intensity level is close to failure. You could see me slowing down. You could see my inability push was going. I wasn't to true failure because if that was the case, I wouldn't have been able to push it up that more. But I guarantee you, if I went 2 more, that, that was true failure. So again, you always want to be pushing yourself to that point. That's how you make the muscles grow. So now I'll show you the dumbbell variation. If you have those in your house, this is just as good. It's a bit bigger range of motion. The weights are a little harder control because they're in individual hands, so So you might want to start with a little less weight there. Okay, for the seated variation, as you get stronger, these can be harder to get in the air, but once you get them up there, then you should be good to go. So sometimes you have to do a little help from the legs or something like that, but basically it's the same motion that we were doing before. You can see it's a little bit larger range of motion because I can really come all the way down towards my shoulders, and that will really give you the ability to hit even more muscles. And I don't even know what count I'm on. And this is the beauty of getting, you know, your reps in a range of somewhere between 8, 12, 15. And you're just getting close to that point where— not where it just starts to burn, but where you literally cannot press the weight anymore. And my right arm stronger. I'm starting to get there pretty quick with my left arm. And you can see, see, just about to that point where not true failure, I'm still pressing, but very, very close. And okay, I think we're just there. Okay, now we have this set up for lat pulldown. And when you're Working on this, you're going to get a lot of your arm muscles and shoulder muscles involved, but what you're really targeting is the latissimus dorsi, which is back here. So as you're pulling down, you're really trying to focus and connect with that muscle. But again, this is a heavier exercise, and when you have more weight on there, you might be calling in some other muscles. And I feel like in this particular instance where you're trying to kind of just build and get stronger in the whole upper body so that those muscles show and look quote unquote toned when you have you know, lower body fat and the ability to see them. Um, so, but ideally you're going to want to try to connect with those muscles and really use the big muscles of your back to pull down the bar more than your arms, your shoulders, your biceps, all that stuff. But again, they will have some involvement. So let's— all right, now we have the lateral raise. This is pretty much a staple in any fit model or bikini competitor, uh, workout because this area, the upper deltoids, is what the division and what the aesthetic is. And it's what a lot of people that aren't competitors like too, is this, you know, larger upper delt. They call it like a capped delt kind of shape. And the reason this program for wedding arms doesn't have a ton of biceps involved is because if you get the biceps too big, it can be outbalanced quickly, the delt look. So depending on what kind of look you want, obviously you can tailor that to your own body, and that's part of the fun of learning these different, different exercises, how they affect different body parts and how they grow them, which is what we call hypertrophy in bodybuilding and weightlifting. But we want to try to grow the delts so that it gives that wider upper body shape that we talked about before, and also just gives the shoulders a really nice look when you're wearing strapless or sleeveless kinds of things in the summer, or your strapless wedding dress obviously is what we're talking about here today. So for the lateral raise, these can be very, uh, what's the word I'm looking for, um, very humbling because it can, uh, you often have to start with a pretty low weight and it's harder to progress on these. So if you're not able to move up to a dumbbell or you're limited by dumbbells in your house, for example, you may have to progress by doing more reps to get to failure than by getting a heavier weight because the heavier weight might cause you to involve more traps, for example, upper back. And that for women isn't— I mean, a lot of men train that, but most women don't really like that look of growing this upper neck area. So also, when you're doing the lateral raises, you want to focus on really bringing your scapula down, keeping your scapula down throughout the movement. All we're doing is raising our arm up and down. You don't want to use these other muscles to get involved to kind of raise everything up at the same time. You really want to focus on just using the outside of your arm. And if you're looking for some good content on scapula movement during the different lifts, Cori Fit has some great content on that, so I'll go ahead and link her in the comments as well. But now for the lateral raise. So you can do them one at a time, especially if you've got one arm outpacing each other. We're all a little unbalanced in general, um, with our bodies anyway. And maybe, hey, maybe all around. But anyway, all you're doing is simply lifting out the side. And you can also make these more difficult by slowing the pace, making a pause at the top, and again keeping the scapula down as much as possible so we're not growing the traps at the same time. The one cue— I heard a good one from Jeff Nippert on this— is to push more out instead of lifting up. So pushing out to the sides as if you're sweeping your arms through water being slowed down. So I like that cue a lot because I feel like it makes me feel my delts a lot more. And I have no number idea what number that is, but they're getting very difficult to lift here. Okay, and again, this one's a one where you want to get that close to failure as possible, but The more tired you get, the more likely you are to bring in those other muscles to help. So that's another reason I like just doing the movement really slowly and really feeling your muscles. So when you get to that point where you can no longer do the exercise with good form and this muscle is pooping out on you, you don't want to call in the rest. So that's a good time to start, but it should get to be— hopefully, hopefully you're able to see that on the video.
It's—
I like, I have no idea what number I was on. I was using— what am I using? Yeah, 10-pound weights. When I try to go up to 15, which is my next jump in the set, it's very difficult. So another thing you can do is I have 1-pound ankle weights, which sometimes I'll add those on my wrists while I'm doing these. What I really need to do is get the 12-pound dumbbell. That's what I use at the gym. But again, you can accomplish the same thing. It just might take you a few more reps to get to that point where you're really stimulating your muscles., with a lower or less heavy weight. So hopefully this is all making sense, and it's why that these little guys generally won't do much for you. Um, unless you're— if you're a true beginner and you haven't worked out a lot, you're going to be finding yourself using 2, 5, whatever dumbbells a lot, especially with this particular movement, because this is not a very strong muscle. But again, the idea is we don't want to be limited to the light weights because we want to use enough actual weight that it stimulates the muscles. Can't stress that enough. All these workouts where— arm workouts where they're having you 2 minutes doing all these things is not really going to build your muscle and give you that look that you're looking for. It's not going to quote unquote tone your muscles. It'll give you more endurance in your muscles. It will make them maybe a little bit stronger, but it's not going to grow them.
Just one final tip I wanted to share that you can actually use on your wedding day, and it is something that if you competitor or a vertical if you're a competitor, you don't want to, you already know how to shape your body, but if you know people that compete, you know, when they get on stage they do like a little pump-up routine before they go on because it fills your muscles full of blood and you'll notice now that I'm about to the end of the workout that my upper body might be looking slightly fuller than it did at the beginning and you can accomplish that on your wedding day by using some of these physical therapy bands So you basically just do some lateral raises on each side, and to an extent where you, you know, this is not a very big resistance. This is the one time where doing that fatigue will help. It's just getting the blood going to the muscles, and you would do that ideally just before your photos or about before you're ready to walk down the aisle. You know, nothing that's intense enough to get you sweaty, but just something that's going to activate your muscles and push some blood into them. You can also just do some movements like this across the body, and the shorter you make the band— I had one of these break on me recently, so I'm a little nervous— but the shorter that you make the band in between your hands, the stronger the resistance. So just make sure you get some bands that are appropriate for your strength level, and you can do a little pump-up prior to your photos or prior to walking down the aisle, and you'll get even more a little bit more fuller look. And one thing to know about this, the other thing that we do in bodybuilding, a lot of times, you know, you're dieting going into a competition, and just before, usually about 4 to 5 days before, you'll start adding carbs back in.
And what that does is the carbs go into your muscle.
Each 1 gram of carb holds about 3 grams of water. So what it'll help do is draw the water into your muscles, and that helps your muscles look fuller and more firm as well. So if that's something that you want to try on your wedding day, you might want to experiment with it ahead of time just so that you know what kind of look you're actually going to get. And it's quite different when you've been dieting down for a while on very little carbs, your muscles are fully depleted of glycogen stores for the most part, and then you get some food in you, get the water going into the muscles, and it really gives you a much fuller look. Anyway, I hope this was useful. I hope you have the best wedding day ever. Remember to be present. Remember to just enjoy it, and ideally don't be focused on how you look. Be focused on how you feel and how you're feeling with your partner that day. And hopefully though, you know, working out and being stronger and being focused on your health definitely gives you more confidence, and that will shine through in your beautiful wedding photos. So let me know if you have any questions. Would love to hear your comments. Below, as long as they're kind and useful. I get really nervous on YouTube, sorry. But anyway, hope you enjoyed this. Be sure to subscribe, and I'll see you in the next video.
More from Cheryl





30 Day Challenge Series, Day 30: Choose Your Three Habits to Continue for 90 Days

30 Day Challenge Series, Day 28: Schedule Connection (Put It on the Calendar)

30 Day Challenge Series, Day 23: Create a “Stress Release” Ritual (Movement or Breath)