4 “Must Do” Exercises You’re Doing WRONG (Less Gains, More Injury)
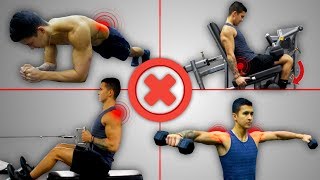
Four exercises you're probably doing wrong: planks, lateral raises, leg curls, and seated rows. Small form fixes like the RKC plank and glute-ham raises activate more muscle and cut injury risk.
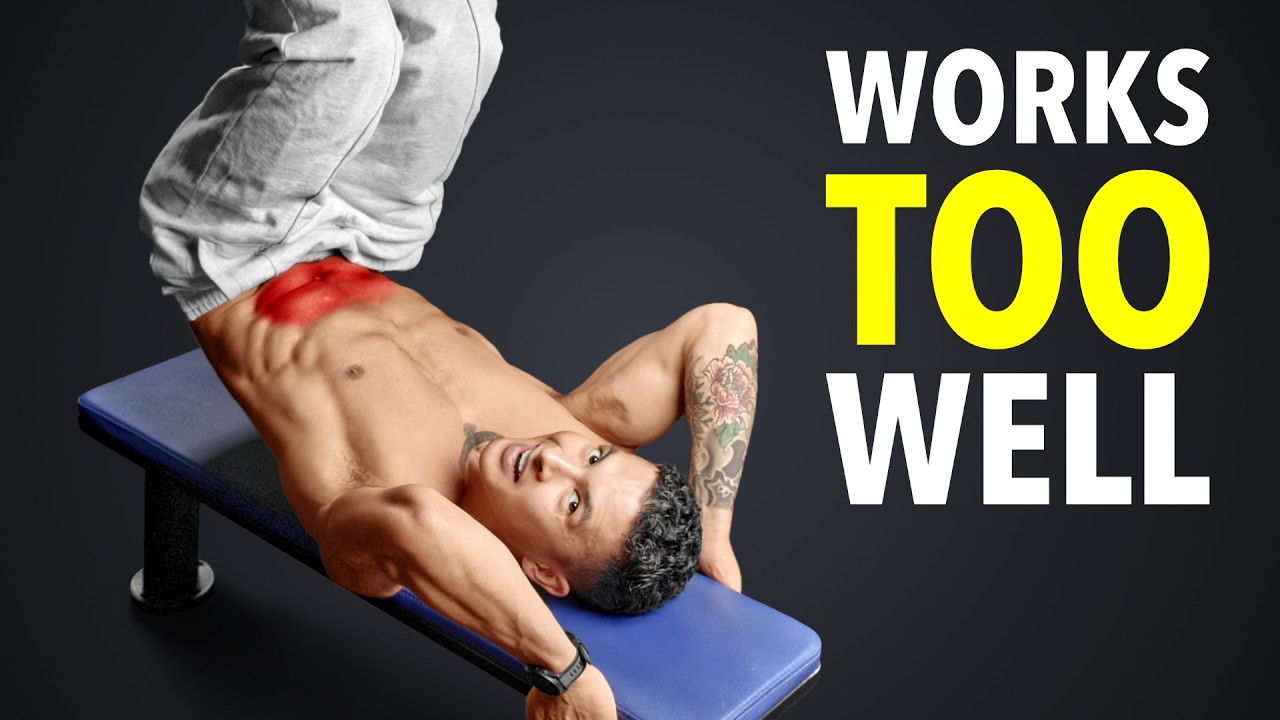
When it comes to building muscle and avoiding injury, it's vital that you choose the right exercises to include in your routine. But even the best of exercises, when done improperly, can quickly start to do more harm than good. And that's why in this video, I'll go through four such exercises that you should be including in your routine, and more importantly, how to avoid botching them up in the process. Like most people end up doing so, the first exercise is the plank. Now, although the plank is a great way for beginners to initially learn how to properly use their core and build up their endurance in a safe manner, the traditional plank itself just doesn't activate the core very well. Instead, what happens is that most people end up sagging their lower back and feeling the movement more in their shoulders and other areas, as opposed to their core. A much better version for strengthening the core is something called the RKC plank, which a 2013 paper by Schoenfeld et al. Found elicited roughly 4 times greater upper and lower abs activation and 3 times greater obliques activation than the traditional plank. And to perform it, you just need to apply two simple tweaks to the traditional plank. First, you want to move your elbows forward such that they're roughly at the level of your eyes. And then you want to come up to the plank position and then initiate something called posterior pelvic tilt by forcefully squeezing your glutes and your abs, which will in turn tilt your pelvis upwards, resulting in an even greater core contraction. When applied correctly, you're going to feel a much stronger activation of the core musculature than you did in the traditional plank. The next exercise, lateral raises, should also be a staple in your routine for optimal shoulder development, given that they've been shown in multiple studies to elicit the greatest activation of the side delts when compared to other common shoulder exercises. But just take a look at how I'm performing them here, for example, which is more or less similar to how most people in the gym perform them. There's three distinct things that I'm doing wrong every rep that all create excessive stress on the shoulder joint. First mistake is I'm raising the weight too high. Not only does this just invite your upper traps to start taking over the movement, but it also creates excessive stress on the shoulder joint. And in fact, a 2014 paper from the Journal of Strength and Conditioning Research found a significant positive association between performing lateral raises above shoulder height and shoulder impingement in a group of trained subjects. Now, what the study also found, though, is that when combined with mistake number two, which is that I'm internally rotating my shoulder by pointing my thumbs down towards the ground slightly to better target the side delts, you essentially create the worst possible conditions for your shoulder joint to be in, which is made even worse with mistake number three. I will admit that this one is less problematic, but still is suboptimal. And the mistake is that I'm raising the weight directly out to my sides. And what this does is it creates more stress on the AC joint and the shoulder as a whole. So to fix all three of these mistakes, here's what you want to do. First, fix your arm angle by moving your arm forward slightly into something called the scapular plane, shown here, and incorporate a slight bend in the elbow, which multiple biomechanical analyses have found to be a much safer and stronger position to raise from. Next, we know, based on research presented earlier, that to perform perform the lateral raise and minimize any risk of shoulder impingement, you need to incorporate external rotation of the humerus as you raise the weight. So to achieve this without compromising your side delta activation in the process, as I've explained in past videos, you want to incorporate just a slight lean forward and then point the thumbs towards the ceiling very slightly, which is going to help you externally rotate the humerus. And then when you raise the weight, just raise to shoulder height and no further. And these can also be done on an inclined bench to take the lower back out of the equation. But either way, by incorporating these three tweaks, you're going to minimize the stress placed on your shoulder joint while still maximizing the activation of your side delts. The next exercise, leg curls. Either lying or seated, or a great exercise to include in your routine for optimal hamstrings development. This is because we know, based on research from the Journal of Strength and Conditioning Research, that development of the upper hamstrings is maximized with what are called hip dominant exercises where there's less knee flexion involved, such as with deadlifts, whereas development of the lower hamstrings is instead maximized by knee dominant exercises where there's less hip flexion involved, such as with leg curls, which is why they're a good idea to include in your weekly routine for balanced development of your hamstrings. Despite this, though, there's a couple mistakes that people make with this exercise that limits its effectiveness. First off, most people just aren't aware of the function that the calves have during knee flexion, because one of our two calf muscles, the gastrocnemius is actually a two joint muscle as it crosses both the ankle and the knee, meaning that it can actually assist you with your leg curls by helping the hamstring flex the knee and essentially takes away tension from the hamstrings. However, given its fiber length, we know that this muscle cannot be active during both knee flexion and plantar flexion. Therefore, a really quick and easy way to shift more of the tension onto your hamstrings is to simply point your toes away from you as you perform your leg curls, because doing so will help you inactivate the gastrocnemius and instead lead to greater hamstring activation, which you're likely going to feel right away. Secondly though, and more importantly, is how the body compensates when you start to fatigue with this exercise and squeeze out those last few reps. And it does so by putting more pressure on your lower back. Because with both the seated lying and even the standing leg curl, once you begin to fatigue, your body will try its best to both shorten the range of motion and make the movement easier on your hamstrings. But given that your hips are locked in a fixed position, it can't effectively do this and it resorts to bringing the butt up and arching the lower back instead. Which is why you may have experienced lower back soreness a day or two after performing the leg curl. I mean, I'm not even going heavy here at all, but you can clearly see my lower back start to compensate. Now, to mitigate this, one option is to simply lighten the weight and avoid really pushing through close to failure. But in my opinion, an even better option would be to incorporate exercises like the glute ham raise or the Swiss ball leg curl, as these both effectively incorporate the knee flexion function of the hamstrings without that lower back compensation problem that most leg curl machines have. The last exercise is a seated row. Now, this exercise, or any horizontal rowing movement for that matter, should be a staple in your routine, given that they've been shown to provide similar levels of lat activation as vertical pulling movements like lat pulldowns, but with more activation in the mid back, meaning that incorporating some form of a horizontal row would be a good idea to maximize your back thickness and overall development. But despite this being a seemingly straightforward exercise to perform, and given that you control the weight and avoid excessive momentum, most people still end up making a very subtle yet crucial mistake with it. And that mistake is simply letting the shoulder roll forward at the end position of the pull. What this does is it not only puts the shoulder in a compromised position, but it also prevents the back muscles like the mid traps and even the lats from fully contracting to the best of their ability. This is because from the point at which your shoulder starts to compensate by rolling forward, your back is no longer fully working. Pull the weight and you've effectively shortened their range of motion, which as a result compromises your back development. And this doesn't just happen on the seated row, but can even happen on other horizontal rowing movements like machine rows and the barbell row for example. And to fix this, you need to pay closer attention to how your shoulder blades move as you pull. Because what often happens when you let your shoulder roll forward at the end position is that your scapula tends to elevate and your traps will shrug up as well as which both take away from your back involvement in the movement. So instead you need to focus on keeping your back muscles involved even at the end range of the movement by keeping your shoulder blades down and back as you pull, which you can do most effectively by first pulling your shoulders down and away from your ears and then squeezing your shoulder blades together as you pull the weight towards you by contracting both your lats and especially those mid back muscles. This is going to in turn keep your shoulder pinned back in a safer position and result in a much greater back contraction which you're going to feel right away.
All in all guys, I hope you're able to see that if you want to build muscle most effectively without getting injured in the process, it's a matter of both not only choosing the right exercises to include in your routine, but also then making sure that you take the time to learn how to execute them properly as that's what makes all the difference. And for a step by step program that puts this all together for you by not only showing you what exercises to perform every week, but also how to properly execute them in order to build muscle in the most effective and safest way possible. Then simply head on over to builtwithscience.com to take the analysis quiz to discover what science based program is best for you and your specific situation. Anyways guys, that's it for this video. I hope you enjoyed this one. Please don't forget to give the video a like leave a comment down below as to what you'd like to see me cover. Next, subscribe to the channel and turn on notifications for the channel as well as this all really does help me out and it's much appreciated. Thank you so much for the continued support everyone. I really do appreciate it, and I'll see you next time.