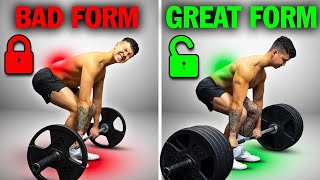
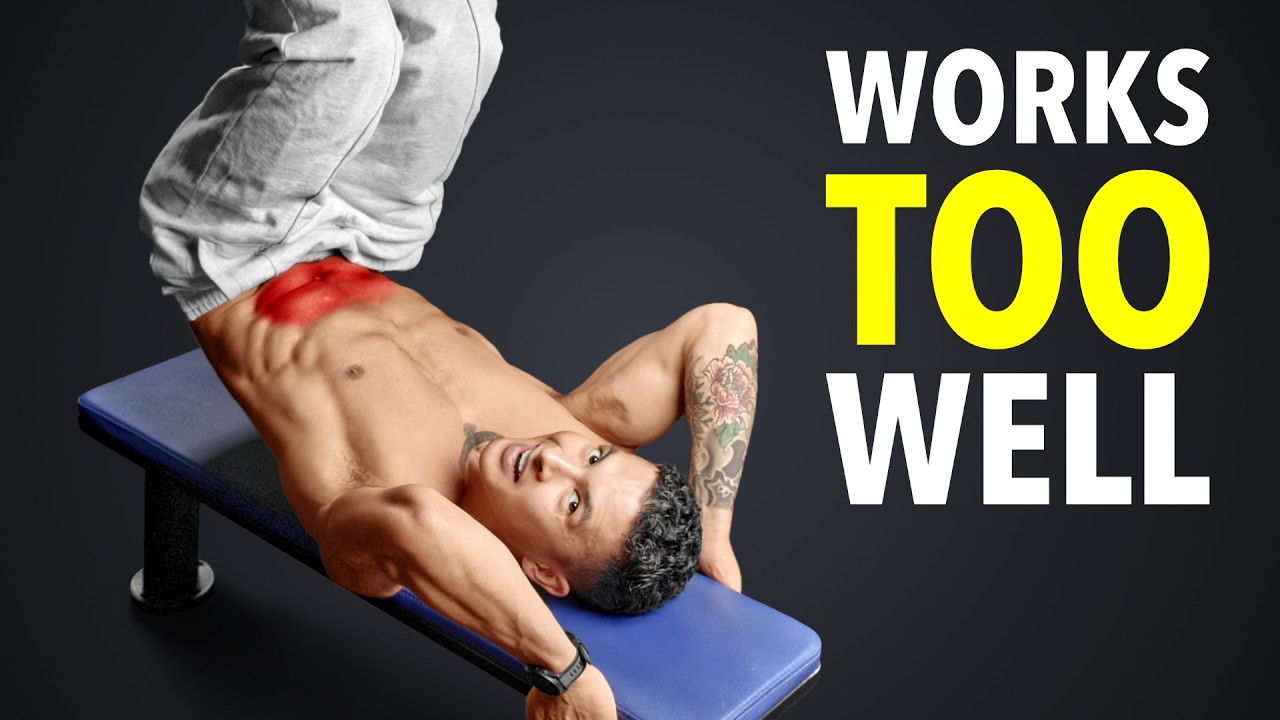
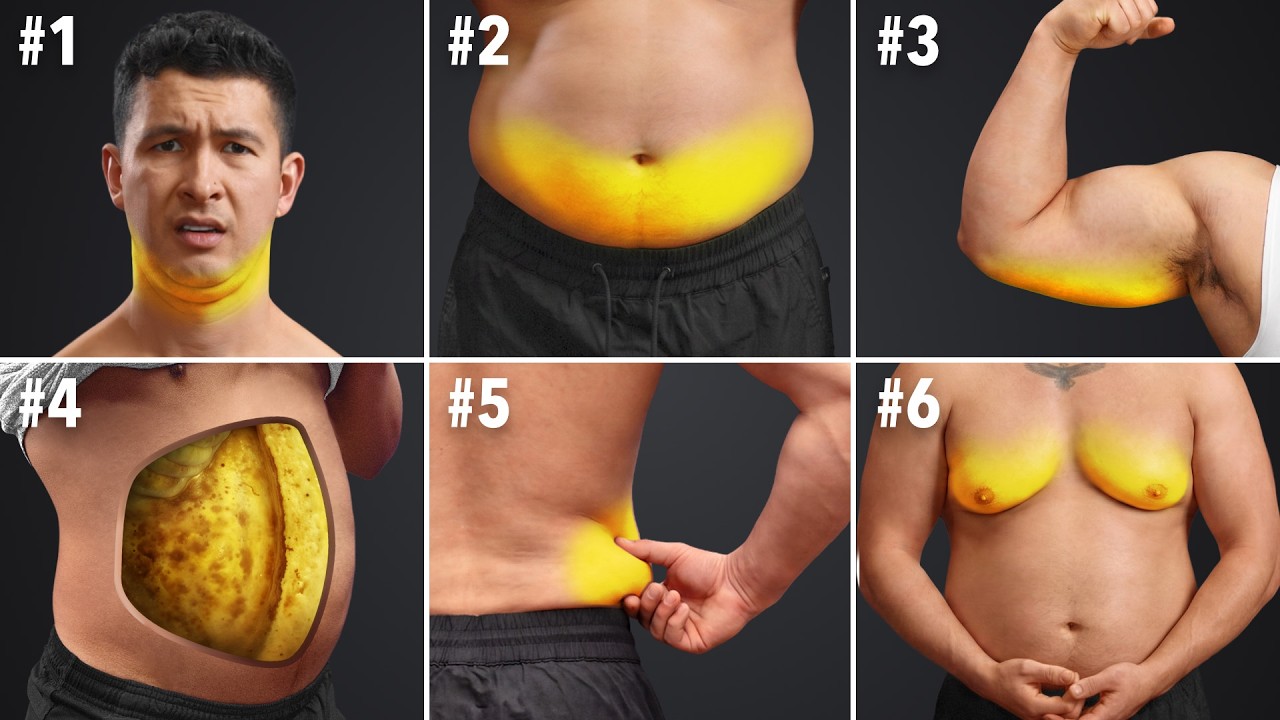
Instructional YouTube video (How to PROPERLY Deadlift for Growth — 5 steps) teaching a step-by-step deadlift technique to maximize muscle growth, increase strength, and reduce injury risk. Covers five actionable steps: (1) creating the pillar — feet, hip and rib alignment, lat/core/glute activation; (2) grabbing the bar — hip-hinge, bar over mid-foot, neutral spine; (3) creating the wedge — knee drive, 360 breathing, bracing and lat tension; (4) push — drive the floor away so hips and chest rise together and finish with hip thrust while avoiding hyperextension; (5) descent — controlled, bar close to body and gentle floor touch. Includes common errors, cues to feel specific muscle tension (lats, glutes, hamstrings, lower back), and a brief promotional call-to-action for programming.
Deadlifts are scary, but they don't have to be. In five super simple steps, I'll show you exactly how to properly deadlift to maximize growth, unlock your untapped strength and performance, and minimize your risk of injury. Step one. Creating the pillar. Getting this right is crucial. We need to get your bones in the right place before we even consider bending down to grab the bar. Let's start with your feet. Walk up to the bar and align it right over your shoelaces in the middle of your foot. Widen your feet to about hip width apart with your toes facing forward. For most people, this is the best foot stance. But later in step four, if this feels uncomfortable, you can widen your feet and or point your toes outward and see if that works better for you. Next, we need to fix your hips and ribs into the correct position. Deadlifting with the hips and ribs misaligned is the most common reason for back injury. They should remain stacked like a pillar and stay that way as you lift. To do that, let's start with the hips. So think of your hips as a bowl full of water. Most people stand with an anterior pelvic tilt, which causes the water to tip over the front of the bowl. Instead, tilt your pelvis back so the bowl is flat. You can think as if you were trying to bring your belt buckle up to your chin. As for the ribs, most people stand with them flared out. Flatten them by engaging your core. At this point, your ribs and hips should be stacked evenly on top of each other. But to keep them locked in that position, I want you to squeeze your glutes and inner thighs together and feel yourself getting taller as you do so. And finally, make a fist in each hand and push them down towards the ground to straighten your arms and activate your lats. At this point, you should feel your glutes, inner thighs, core and lats all working. You're ready for step two, Grabbing the bar. This is where most people will round their back and shoulders and lose the tightness we work so hard to create. Instead, I want you to keep the pillar we created in step one and start pushing your hips back while keeping your fists pushing straight down under your shoulders. You can imagine you had a bag full of groceries in each hand and you're trying to close the car door with your butt. You want to continue pushing your hips back as far as far as you can without your big toes coming off the ground. The moment you lose pressure in the big toe is the moment you've pushed your hips back too far. Once you reach that End point. Bend your knees and bring your shins to the bar to pull yourself down those last few inches. Keep going until you can hook your hands onto the bar just outside your knees. At this point, there's three things you.
Must look out for before you move.
On to the next step. Number one, the further away the bar is from you, the more strain will be placed on the lower back. This is why the bar must be directly over your mid foot with your shins just about touching the bar. If your hips are too high, you'll use more of your lower back, but if your hips are too low, you'll end up doing more of a squat than a deadlift, although it will look slightly different depending on your anatomy. You want your hips to be somewhere above your knees but below your shoulders. A neutral spine. But don't forget that your neck is part of the spine, so draw your head back and pick a spot on the floor a few feet in front of you so that your head extends in the same line as the rest of your back. You're now ready for step three. Creating the wedge. This is the last thing you need.
To do before liftoff.
The wedge is a powerful position that will prevent your lower back from being.
Compromised as soon as you lift the weight.
To create it, drive your knees out against your arms. Then take a deep 360 breath as if you were wearing a belt and trying to push air against all sides of it. And then brace your core as if someone were about to punch your stomach next, to get rid of any rounding in the upper back and shoulders, think about extending your chest and getting tall from your hips all the way to your head. And finally, activate your lats by squeezing your armpits as if you had oranges in them and you were trying to make orange juice. If you've done this properly, you should feel tension in your lats, core, glutes and hamstrings. You're ready for step four. Push.
But first, comment below what other exercises you might be struggling with. I'm doing a series of these exercise form videos and I'd love to hear what you'd like to see me cover next.
This is actually the simplest step, but it's also where most people screw up. They think of the deadlift as a pull and end up breaking out of the position we worked so hard to create. To avoid this, imagine your arms were ropes with hooks at the end of them just hanging onto the bar. Then to lift the weight, rather than going from 0 to 100 and jerking the weight off the floor. Keep the tightness we created in step three and think about pushing the floor away with your feet harder and harder until the bar lifts off off the ground. When done correctly, rather than your hips rising first and lower back rounding, your hips and chest should rise at the same rate. Continue pushing the floor away until the bar passes your knees and then think about thrusting your hips forward or humping the air in front of you to meet the bar at the top of the lift. But to avoid injuring your back at the top, your shoulders should not be behind your heels and your lower back should not be arched. This is a sign that you've extended your back too far. Oh, to prevent this, as you come to the top, imagine you're about to get punched in the stomach and keep your glutes squeezed together at the top. Your hips, ribs, shoulders and chin should all be stacked like parallel floors of a building. Now, if you've done this step correctly, you should feel a slight pump in your lats, hamstrings and glutes. But don't be alarmed if you also feel this in the lower back muscles. They help stabilize the weight as you lift and will be an area where you'll notice a lot of growth. But you want to avoid doing too.
Many lower back demanding exercises all in one workout as it can be too much for these muscles to handle. That's exactly why it's so important that you use a well written program for a step by step plan that shows you exactly how to work out every.
Week and how to do every single.
Exercise in the detail you need to minimize injury and maximize growth. Just head on over to billetwithscience.com and take our free analysis quiz to find out what program is best for you and your body. But for now, it's time for step five Descent.
This is where many people not only injure themselves, but also miss out on a lot of muscle growth. By letting gravity drop the weight, we want to control the weight down, but we need to do this correctly. Now this will look very similar to.
What we did back in step two.
The only difference now is that you have a bar. Many people tend to let the bar sway forward forward in front of them, which causes a lot of stress on the lower back. Instead, push your hips back and slide the bar down as close as possible along your thighs. As soon as the bar passes your kneecaps. That's when you can bend your knees and slide the bar along your shins to get the bar back over your mid foot. But to avoid losing tension and leaving gains at the table. Avoid bouncing the weight up off the floor. Instead, stay tight and gently touch the floor with the weight before your next rep. Congrats, my friend. You've just done the perfect deadlift. Not so scary after all, right?
You can give this video a watch next to find out what other exercises will help grow your back and I'll see you next time.