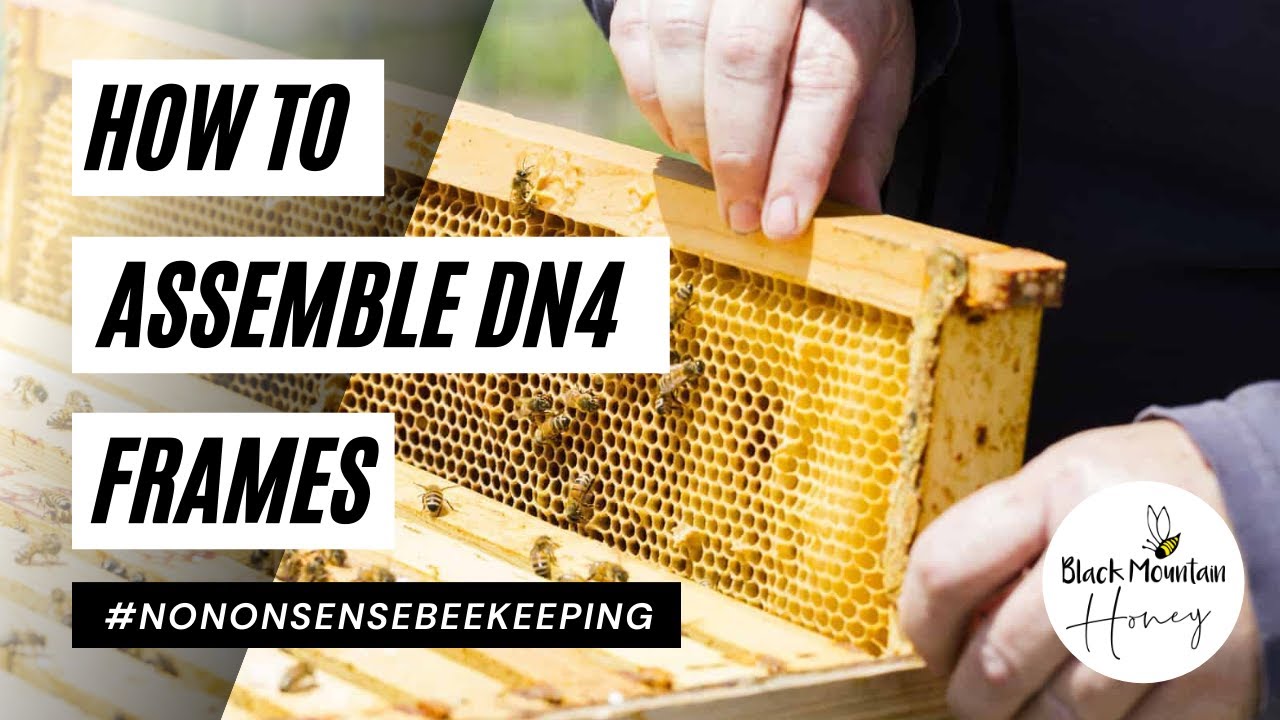
Laurence Edwards shows how to assemble 14 × 12 DN4 brood frames for his smaller bees. He uses frames from beequipment.co.uk at £26 for 50, foundation from Simon the Beekeeper, and a Makita pin nailer with headless pins to secure them without plastic spacers.
Chapters
Hi, I'm Laurence Edwards from Black Mountain Honey, and today I'm going to show you how to make some brood frames. So I bought these brood frames from beequipment.co.uk. It's the, the first time I've actually bought frames off them. I normally get them from either Maisies or Thorns or one of the other suppliers that sells them rather cheap in the sales. This time around, Bee Equipment are actually selling first quality frames for less than the price of second quality frames. So I thought I'd give them a go, and I have to say I'm very pleased with them indeed. Normally you expect to see a few knots or defects in the seconds. They're all perfectly usable, but I mean, there's blemishes on them. These ones that I've got from Beer Equipment are absolutely blemish-free, so I'm very happy with them. I've gone for a 14 by 12 variant here today, so I'm moving over to 14 by 12 for all of my brew boxes. Reason for that is I was working double brood throughout the season, and I just found that the bees that I keep are just a little bit too small for double brood, so I was losing a lot of honey in the supers, um, and the surrounding brood boxes. So I'm going to go for 14 by 12 this year and see if that makes a difference. Um, using the Suyenti box for the 14 by 12, and I'll cover that in another review. So I put my frames together like this, and then I get my foundation. So the foundation that I'm using this year is from Simon the Beekeeper. Again, this was by far and away the cheapest foundation that I could find. I don't find that there's a huge amount of variance from supplier to supplier, so I just tend to go with the cheapest. So you take your brood, uh, your foundation, and you put it in your frame like that, and then you take your end pieces and you wedge them in. So you end up with a frame like that, DN4 variant, so it's self-spacing. I use that all the time in my brood boxes, makes it a lot easier. Don't want any castellations or little plastic spacers. Don't like plastic. Um, so yeah, that's pretty much done. And then I get my nailer, my Makita nailer. Now I've went through loads of different options for this. I started off with hammers and nails and bits and bobs and other nail guns and big nail guns and small nail guns and air-fed ones. And I finally settled on this. So I'll put a link up to this Makita nail gun. I'm really happy with this. So it's actually a pin nailer. So instead of firing brads or gimp pins, it fires pins, headless pins, which means that you have to put probably 2 or 3 in each one. Um, but it's really quick. So I like to put the nails in from the top like that. 1, 2, 3. That's the top one, and then I'll put that flat, put that piece in there, and then I'll go a bit wild and stick a few more in here. That's it, really handy. So when I was using the nailers, I found the big ones really difficult, especially with the 14 by 12, because you're kind of quite high up here. These are really handy. The batteries— I've got a 5 amp battery on there and it lasts for days. I do thousands of these, the batteries never die. That's it, that's the frame done. So get a bit of a close-up on that. You can see it's a very nice clean frame that will go into our colonies later on in the year. So you can get another close-up on some of these frames here, just some of the pieces, very clean. So these were from the beequipment.co.uk. They were £26 for 50 if you get them at the right time, so keep an eye on their sales section. Um, very pleased with them overall. Thanks very much. Tune in next time.