Setup guide for Apidea's Blue mini-mating nucs, which use heat-resistant plastic rated to 130°C so you can sterilize them by boiling. The presenter walks through assembly, recommends hot-glue over wax for attaching foundation, and explains the full queen-rearing process from adding fondant and bees to storing the nuc before moving it to a mating yard.
Chapters
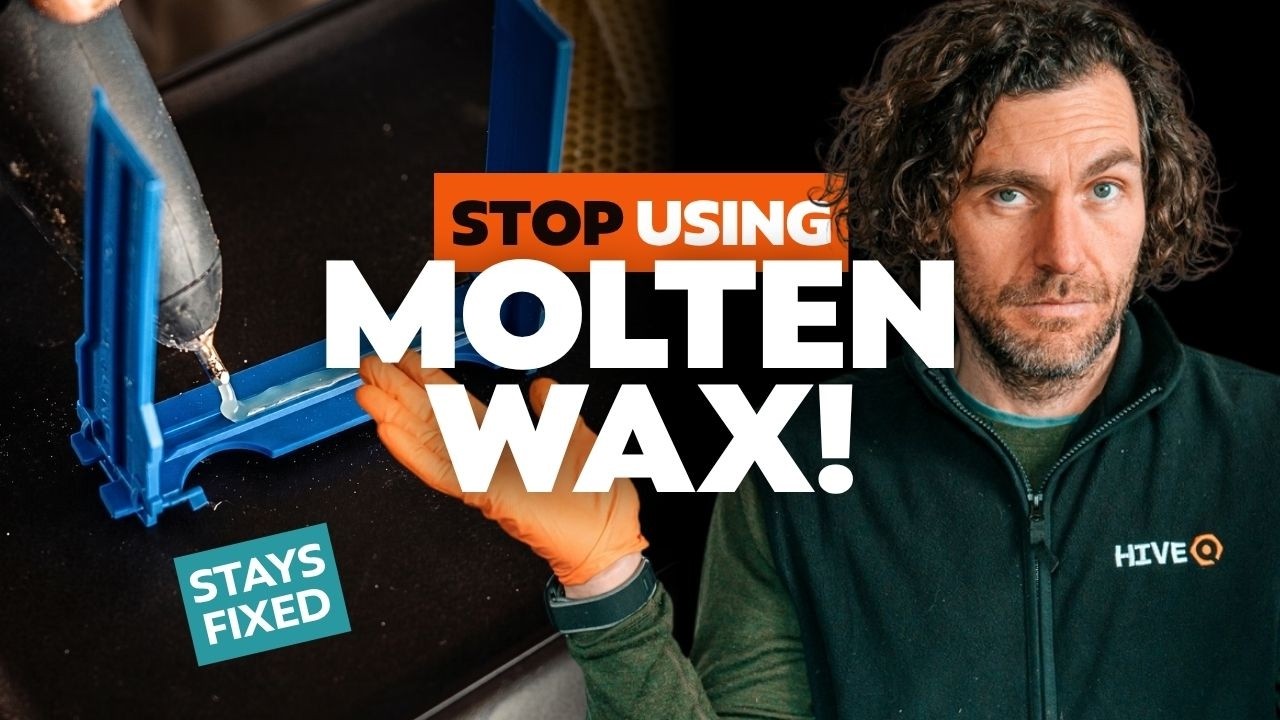
In this video, I'm going to show you how I set up and assemble my Apidea ready for raising some queens. So Apidea very kindly sent me a big batch of their brand new blue Apidea, and I'll break down everything that means in this video, but I'll also show you how to get them out of the box, assemble it, get some wax in, basically do everything you need to do before putting your queen cells in. So before we talk about the blue, let's have a look inside. I've set this one up in advance, but it is super, super easy just to clip these frames together. And then inside every little mini mating Apidea, you have 3 frames like that, You have a piece of plastic ventilation mesh. You have a little queen excluder that lives in the feeder here, and then this feeder is completely removable, and you can feed that with fondant or paste or syrup or powder. Loads of different ways of doing it. There is also another little bit of plastic that goes there that gives you the ability to restrict the queen's flying if you want to do that. And then finally, underneath, you've got the removable tray, because the way that you fill Mini Apideas is you set them up and filled them with bees from the bottom, and then you flip them around and you place the queen cells in the top. So blue, what does the blue stand for? Normally with Apidea frames or with all of these little mini mating frames, the big problem that they had was when you take them apart and try and scrub them and clean them in washing soda and boil them up to make them sterile, which is something that you do need to do annually, the plastic tended to warp and twist 'cause it just wasn't built for that sort of intensive heat. Apidea Blue is built for that intensive heat and it can handle up to 130 degrees Celsius, so way above boiling point without any deformation whatsoever. Now Apidea have said that I can test that, so that's going to be really good fun. We'll do that in a separate video later on this year. But in terms of assembly, the blue frames are exactly the same as the other ones. They just clip into place like that, ready for a piece of foundation. So the way that you'll see a lot of people putting the foundation in here, and some people use plastic foundation with wax on it, but the normal way is to get some molten beeswax and to affix it like that with molten beeswax. But I found in my own experience it doesn't stick very well to plastic, and you're much better off using a really high-quality food-grade adhesive in a hot glue gun like this, and then the foundation is going absolutely nowhere. So you can see all you need is that tiny little bead of hot glue, and then you leave them standing up like that, let the glue set, and then like there is no getting that wax out. That is completely set on there. And then when you come to clean it up at the end, you can just get a tool that goes in and takes off any of that glue if you want to freshen them up again. So no issue for reuse either. So you might be wondering why I don't completely fill that up with foundation. The bees seem to do better, I find, in the mini mating nucs without giving them full sheets all the way down. But I don't just want to give them a little micro sheet at the top, I want to give them a decent amount of wax to work with there. The glue is super strong and it means that when the bees cluster up on these bits of foundation, they can properly draw them out without the beeswax and the plastic falling apart. That was frustrating me previously, and since I've moved over to the glue, I don't get that issue at So it's just a case of putting the frames back in in the correct configuration. We get our little piece of mesh in with the ridge facing you like this. All of the other bits are now in there. I then take my crown board and slide it under the ridge, and if you've set it all up correctly, this little hole here should align with a hole in between the 2 frames. So if I take that off and I turn this one round the other way, When I put it all back together again, see how it's not in the right place and it kind of snags on there and then you can't get your cell protector in? Don't make that mistake. It needs to be like this, that way around. Goes under that little lip there, and then everything is in the correct space. So there we go, that is the Apidea completely assembled. The next job, and something that I'll do in a later video in this series, is getting the bees in there, getting the cells in there. But it's very important to get this set up correctly. I'll quickly talk you through the next steps. First thing I'd do is fill up the feeder all the way up to the top for the first time with fondant, and then I'd go ahead and place the lid on like that. I would then turn the box upside down, remove the floor, exposing all of that foundation underneath, and I would chuck in about 120 grams of bees. It's basically a cup full of bees. You toss them in, close the lid like that. Immediately afterwards, you open up your roof Like this, and you take your queen cell, you open up the crown board, and you place in the queen cell. Now you can see why it's really important to get the hole in the right place. There's nothing worse than putting all of the bees in and then going, well, I can't put the cell in because I've got the frames the wrong way around. Double-check that at the beginning. And then all you do, place the lid on. You've got all of the bees in there, you've got the queen cell, you place it off into cold storage for a minimum of 2 days. Apidea actually recommend 3. And then you take it out to the mating yard and the queen goes out and mates. Apidea products are very, very good. I've got tons of them and they are market leaders when it comes to mini mating nucs like this. I've also got loads of the old fake knockoff ones and I can confirm that they are officially falling apart after only 2 seasons. So these are the ones that I'm going to use going forward and I'm really excited to share the entire process with you.