Eke And Crownboard And Feeding Box All In One - Multipurpose Crown Board
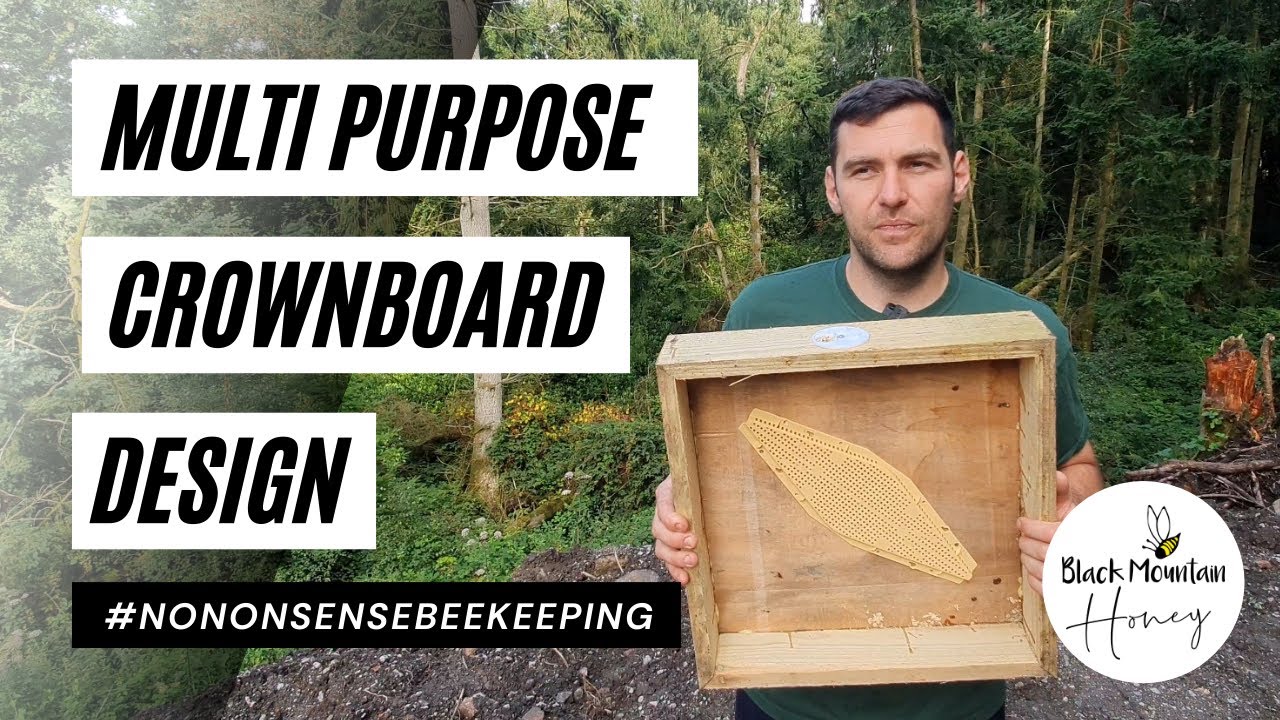
Laurence Edwards shows how to build a multipurpose crown board for UK National hives for £2 instead of £13-£17. One board works as a feeder, eke, swarm trap, emergency floor, and insulation layer. Made from timber and plywood, it takes a weekend to build 100.
Chapters
Hi, I'm Laurence Edwards from Black Mountain Honey. Welcome to another episode of No Nonsense Beekeeping. Today I wanted to show you my multi-purpose crown board. So I've had a couple of questions about these boards. I find them very, very useful for a number of tasks throughout the season, so I just wanted to give you a video, show you how I build them, So I'm not going to do a demonstration on how I actually build them, I'm just going to talk you through the construction of it. It's very, very simple though. I'll tell you why I've decided to make these as opposed to buying them. So you can buy these kind of from loads of different manufacturers, they're about kind of £13 to £16, £17 each, which is fine if you've got 1 or 2 hives. I suggest you just kind of go and buy one from one of these manufacturers because it's really not a lot of money and they're very, very useful. When you're making kind of 50 or 100 at a time though, the costs really, really do mount up. I can make one of those for about £2, so you can see the savings that you make. No Nonsense Beekeeping, we always like to keep the cost down where we practically can, so I've made these for myself. I'm going to talk to you a little bit about the features and what you can actually use these for within your beekeeping, so it's going to be a very, very quick video and I'll just give you— tell you a little bit more about it. So, multi-purpose crown board, why do we need a A crown board in the first place. So normally on a hive you have just a kind of standard crown board. Now that can have a rim at the bottom like that, a single bee space rim, or if you're on top bee space it can be completely flat. So I know a number of people running top bee space hives, they just use a piece of plywood, and that can work well as a top crown board because then you've got the natural space within the hive underneath it. I run National, which is a bottom beespace hive. I would imagine that the majority of people kind of on a hobby level within the UK are using National. Appreciate some don't, and there's other formats available. So this video is specifically for people who are using a bottom beespace system, and if you're using the National, you're on bottom beespace. So I wanted to develop a crown board that was slightly different from the standard crown board, and I appreciate this— there's other stuff out there already on the market And what I've done here isn't anything revolutionary. I've added a couple of extra little holes just for various manipulations, but I wanted to keep it nice and cheap and nice and simple. So a little bit about what I use this board for first. So I keep this on the hive pretty much all throughout the year. Now you don't need to keep it on in summer, there's not really much use for it there, but if you take it off it means you've got to store it. So in the summer I have this plug And all I do is I put that plug on like that, and then that can remain as a standard crown board. So underneath is completely flush, and then around the edges here I've got a single bee space. So when I place that on top of a national hive that's flush with bees, I've got that single bee space around there, and that means the bees can move freely. So as a standard crown board, it kind of fulfills that purpose. Then if you take away this plug, so all I've done there is use a kind of 4-inch hole cutter and I've cut through this piece of ply here. What you can use that for is feeding fondant kind of in the winter or in the early spring if they need a bit of a boost and you don't want to use syrup, you can use that for fondant. So all you do there is you get a plastic container, fill that with fondant, upturn it, and then you can put that on there. Works really, really well. So you can use it as a standard crown board and you can use it for feeding fondant. Also, if you've got like an English-style feeder, so you've not got kind of pre-built Ashforth feeders, you can place an English-style feeder on there. Now Bee Equipment make these feeders and they're really, really good, and I think you can get 10 litres in there one, and I've designed the depth of this here to fit that feeder perfectly. And I know they come on sale at various points throughout the year, so keep an eye out for them. They are really good feeders. So I can put a 10-litre feeder in there, so then in the winter, or in the, sorry, in the late summer, early autumn, when I'm feeding up my bees, I can feed 1:1 syrup in the spring, and I can feed 2:1 syrup going into the winter. So it's a normal crown board, I can use it for feeding fondant, I can use it for feeding syrup if I need to. So what else does this board do? So I've adapted it, and you don't get this on the other crown boards, on the other multi-purpose boards. I've adapted it to have some entrances. So I've got a standard entrance there, and then I've got a couple of smaller entrances as well, and they're not actually entrances. So what I use those for is I invert it, and when I'm doing my oxalic sublimation with ApiBioxal, I'll put that on a hive that way round, rest it on And I'll use it as a top eke. So I'll take the plug, put it on there, and then I can enter my Sublimox or my gas vapour into there once I've put it on the top of a hive, and I can sublimate the colony. So I find sublimation from the top is much kind of more effective than sublimation from the bottom. You haven't got to mess around with kind of runners on any of your floors, and it'll work with pretty much any floor that you've got as well. So all you would do is you would take Take your supers off, sorry, take your supers off, take your roof off, and you put that on the top, and then you can sublimate in like that. Works really, really well. So what else can it do? So it can work as a normal crown board, it can work feeding fondant, it can work feeding syrup, and you can use it as an eke for sublimation of oxalic acid products. It's quite versatile. The other one that you can use it for, and this is kind of like a bit of an emergency use, and this is why I put the entrances on there, Is you can use it as an emergency floor. It's really, really good as an emergency floor. So say you come to a point in the season and you've kind of used up all of your equipment and you need to make a split, or you need to do kind of like an artificial swarm. All you have to do with this is put a brood box on the top. So you've got your void here, you've got your entrance there, it's completely sealed. You put your brood box on the top and another roof, and you've got a floor. And okay, there is— there's a fundamental floor. It's going Excuse the pun. In the way that that's designed is that you'd have kind of 3 inches of space underneath your brood and they would just fill that with comb. But as a temporary fix, that's really, really useful and it's kind of, I mean, if you've got loads of these knocking around, you can just pull one out, do an artificial swarm, and then maybe you kind of, you go and order a floor, or if you're doing a certain type of artificial swarm, you might reunite back after a few weeks. So all you'd say is, right, they're going to fill that with comb, I'll just cut that comb off and discard it, and then I can move on. So the versatility of this is really, really good. So it's mounting up, isn't it? So we've got— you can use it as a normal crown board, you can use it to feed fondant, you can use it to feed syrup, you can use it as a floor, and you can use it to sublimate oxalic acid. There's 5 things already that you can do with it. The final one though And one that I really, really like is you can use this to catch swarms. So obviously don't just go and hang that up in a tree somewhere, you're not going to catch any swarms. But if you've got these hanging around, you can just take them off your colonies at this time of year, single brood box on the top, maybe some old manky frames. Have a look at our kind of swarm catching videos. Put the roof on, make sure that bottom's nice and sealed, leave your entrance open, and you've got a swarm trap. And you haven't kind of— all you've used for that swarm trap is a brood box and a roof. So instead of having to kind of go and cut the ply and do something specifically for that swarm trap, you've got the board ready to do it. So that's 6 whole uses you can use out of this board. And like I say, you can buy them from manufacturers and you could just kind of drill that hole yourself, put a little entrance on it, and it gives you those extra uses. But 6 uses from a board is is a really, really good thing to have in beekeeping. A lot of things you buy, it's only got one use, and then you've got to kind of store it for the rest of the year. So I've actually missed out a final use for it as well, so 7 uses. So over winter, once you've taken your feeders off, you've got a perfect size to put in some really, really nice deep insulation in there. So you can kind of fill that void there with Celotex, and then you're giving your bees really, really top quality insulation on the top of the hive over winter where it's needed. So that's 7 uses from a single piece of kit. Really, really good. So how did I build this then? So all I did is I've mitered all these corners. So I get 4 by 1 inch timber, get rough sawn, not treated, and then you want to kind of miter all the edges like that. I run them through a table saw first to give you this profile here. So what I'm doing is I'm taking off— that should be 1 inch thick, but instead it's only kind of 12.5mm, so half an inch thick. I take off kind of like a rebate from each of the corners so they're all identical, the sides, 4 sides. I'll do a demo of how I make this one day, but I can't do that today, not got the time. And then what I do is all I do is I screw and glue it all together, making sure that I know that the external dimension is to match my external dimension of my National hives. So it's 460mm by 460mm. Then I just cut a piece of 10mm ply and glued and pinned that in as well. The reason I've designed it like that is that it means that the water can shed down and it can't get into the ply. If you were just to kind of pin or tack some pieces of wood on the edge here, Then you'd have your ply exposed on the rear edge and then it would start to delaminate. So that's the reason I've designed it like that. I get secondhand ply. So I've got a really good guy who sells this kind of by the sheet. It's about a meter square. The edges are sometimes a little bit gnarly but I just kind of cut it down on the table saw and then it's really, really good to go. So it's cost me like about 50p kind of per sheet on the ply and then the rebated wood doesn't cost me that much at all. And then I buy loads of these little entrance things. They're about 12p each. I just screw those on and I have my normal style entrance hole, and then I have a couple of different ones, one for the gas valve, one for the Sublimox. So it's a really, really simple construction. I made about 100 of these last year. It, it's quite time-consuming. You've got to do all of the edges first and then putting it together and gluing it, it does take a while. So I did that over a weekend. I was pretty busy the whole weekend, so It does take quite a while, but it's such a useful piece of kit. So I urge everyone to kind of have a go at making one of those if you're in the need for a crown board. So that's it for today's video. Someone had specifically requested that I kind of do a bit of a video about my multi-purpose boards. I always like to kind of give people the option of what I talk about on my videos, so if you see anything in any of my videos and you want me to kind of dig a little bit deeper into it and give you a bit of an update, either how I build it or how I use it, just give me a shout. I'm always happy to kind of entertain any requests. So that's it for today's video. I really hope you've enjoyed it. Please hit the subscribe button, please hit the bell so you're notified of every single video, and I'll see you next time.










