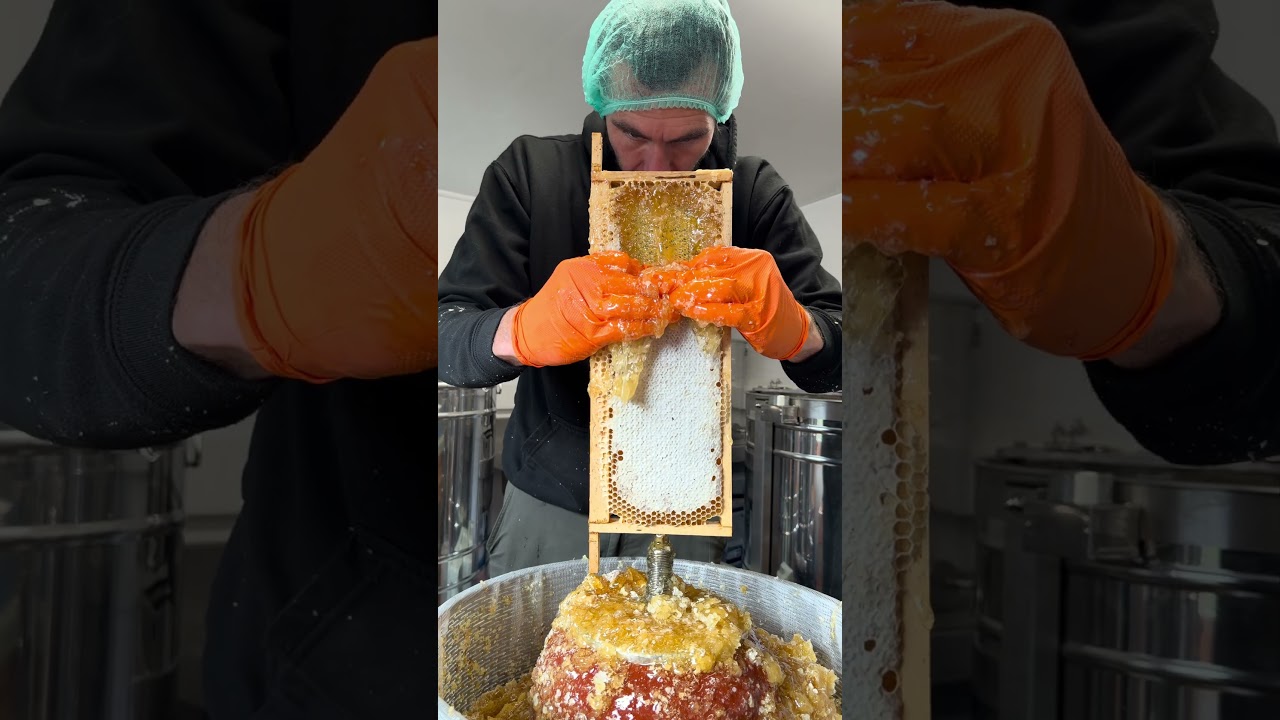
In this tutorial, Laurence Edwards reviews a set of ten fully‑molded plastic brood frames supplied by Paul Beardmore (Modern Beekeeping) for use in a Flow Hive brood box. He discusses the frames’ one‑piece construction, added foundation surface area, sturdiness, and the manufacturer’s claim of 100 % recyclability, while noting his own concerns about plastic waste and potential warping at temperatures around 65 °C. Edwards demonstrates that the frames temporarily warp when hot wax is poured directly onto them, but they return to flatness after cooling, giving confidence that heat treatments will not cause permanent distortion. He then details his method for applying a thin beeswax coating: melting wax in a double‑boiler, using a metal container (or larger tank) to dip a roller, and rolling the wax onto the frames to achieve an even, cooler coating. He contrasts this with his initial, messier dribble‑and‑roll approach and recommends scaling up with a larger wax bath for batch work. Finally, he outlines an experimental comparison: the wax‑coated plastic frames will be used in a genuine Flow Hive brood box, while traditional wooden frames with standard wax foundation will occupy a “fake” Flow Hive brood box, allowing seasonal performance comparison. The video links to his earlier Flow Hive review for context.
Chapters
In this video here, I'm going to talk to you about the frames that I'm going to be using in my Flow Hives. And funnily enough, we're not talking about the actual Flow Hive frames that are going to be in the super. We're talking about the brood box, and we're talking about the plastic fully molded frames that I'm going to use in my Flow Hive brood box. These frames here were provided free of charge by Paul Beardmore from Modern Beekeeping, giving me 10 of these frames just to have a little go with this year. I really like the idea of fully molded plastic frame. Definitely got some concerns around the ability for them to be recycled, but it does claim that they are fully recyclable. And the other concerns that I've got are about warping when they're exposed to temperatures. I've spoken to Paul about this though. He has assured me that they are 100% recyclable, which is really good. And when I go down to the tip now, there is a section in there for hard plastic, and I think you'll be able to scrape these down, clean them off, and fully recycle them You're not going to get anything for it, and you're not going to recycle them back into new beehive frames. But at least you know they're not going to be going into landfill, which is always a major concern for me when using plastics. And the other one I'm kind of going to talk a bit about in this video, because what I'm going to show you in this video is how you actually apply the supposedly thin layer of wax onto these frames, because they don't come pre-coated with wax. Would be really nice if they did come pre-coated with wax. And it can be a little bit of a tricky process to get that thin layer on there. But what I did is I poured thin trickle of warm, very hot wax over some of these frames and they buckled a little bit like that. And I thought, that's really frustrating because that's what's going to happen when you're going to do some sort of heat treatment on them, if you need to clean them, if you need to sterilize them. And I was thinking, that's really annoying because this wax is only around like 65 degrees Celsius and the plastic started to warp like that. However, there is a big however here, Paul, so don't get too worried about this one. Once that plastic has settled back down and contracted back down to room temperature, it contracted back perfectly flat, which gives me real confidence that when you do any sort of heat treatment on these frames, you might get a little bit of distortion, but hopefully that distortion is not going to last a long time. And as soon as they cool back down to normal room temperature, they'll go back into shape. And that is exactly what happened when I started applying wax to them. So this is what the frames look like as soon as you buy them. As I said, they don't come coated with wax. But what I really do like about these frames is that they're a fully molded solution. They're not little bits of plastic that clip together, it's a one-piece design. And what's really nice about it as well is you get additional surface area on the actual area that would be foundation, which means that you're kind of getting a few extra cells, quite a lot of extra cells per frame, which is good if you're using maybe like a single brood box system versus say a wooden frame with wax foundation. Foundation. The other thing I really like about them is that they're very sturdy. You can see around the edges they're using kind of like a bracing system to give it that extra strength and rigidity. I felt some of these other frames and they're like a little bit flimsy. These ones do feel very, very good, and I'm confident that they will last up to a good few cycles within the brood box and hopefully a good few cycles of cleaning as well. So in terms of coating them with wax, if you're going to do this in a big batch, I would recommend getting a big pot in order to do this, as opposed to doing it in a little pot like I did it. And as opposed to sprinkling or dribbling that wax onto the frames, you're much better off putting the roller into a hot tank of wax and then taking it out and rolling it on like that. Just means you're going to get a much more even coating of wax, and it means that you're not going to be putting really hot wax directly in contact with that plastic. Gets a little bit of a chance to cool down before it goes onto the plastic. However, this is the way that I did it. So I always have loads of offcuts from my foundation when I chop the foundation down to put it onto my wooden wired frames. I keep all of that wax, keep it off to one side, and then whenever I'm making any beeswax products or lip balms or coating plastic foundation like this, I melt it down in a little metal container using a double boiler method. I chop up all the wax, get it into a suitable shape, mush it into a big ball that I know is going to fit into my container I turn the gas on on the stove and I get a double boiler system set up. So that's a pan full of boiling water, and then I take my metal container and I put that inside the pan of boiling water as a double boiler method. I drop all of my wax in there, I let it go off for a few minutes, let that wax completely melt. And then if you were doing this properly, you'd use a much bigger container than that, and you would dip your roller into that container and then just roller it directly onto the frames. Or what I did here is I just dribbled a little bit of it onto the frames and then rolled it around with the roller. And then the roller started setting on me a bit, so I started dribbling it on the roller and then rolling it on. You'll see from my version of this that it's not very neat, it's not very pretty. If I was doing it again and I was doing it over a number of frames, I'd definitely invest in something I can dip that roller into, a much bigger metal pot. But I'm only doing it over 10 frames, doesn't make a massive difference. In terms of how they look. If anything, the more wax you put on there, the easier it's gonna be for the bees to draw it out. So I'm gonna use these plastic wax-coated frames in my genuine Flow Hive, and then in the brood box of my fake Flow Hive, I'm gonna use wooden frames just with standard wax foundation. So we'll be able to do a little bit of comparison of the two throughout the season. If you wanna take a look at my first Flow Hive video that I ever did, check out this video here where I do a top-to-bottom review of my first Flow Hive.