How to Assemble a Wooden National Super - Maisemore
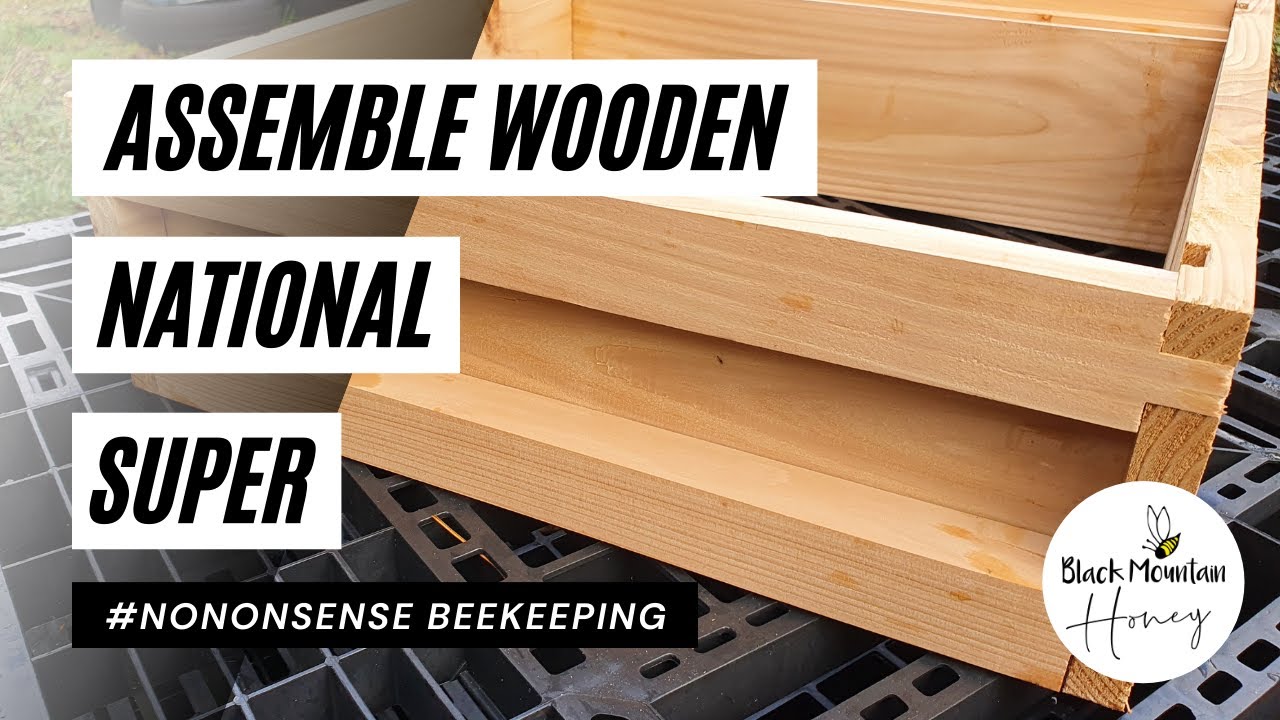
In this instructional video, Laurence Edwards of Black Mountain Honey walks viewers through the complete assembly of a wooden National super and brood box (Maysmoor brand). He begins by explaining why he prefers the glue‑and‑nail‑and‑clamp method over glue‑and‑screw, noting the risk of wood splitting. Edwards then identifies each component—side panels, top and bottom beams, rebates, and chamfers—highlighting their functional roles such as protecting bees, providing correct bee‑space, and directing water away from the hive. He demonstrates a dry‑run to verify orientation, then applies copious exterior‑grade wood glue (EvoStick Blue or Titebond Outdoor) to all mating faces, emphasizing thorough coverage and the acceptability of some excess glue. After positioning the pieces, he inserts nails (typically 20 per box) in a specific pattern to lock the joints, taking care to avoid placing nails where water could collect. Edwards uses frames to check that the bottom and top bee‑space are correct and to verify that the box is square, measuring opposite corners and adjusting by nudging corners until both diagonals are equal (≈648 mm). He then clamps the box—preferably with four sash clamps—to ensure tight, square joints while the glue cures, noting that clamping is optional but improves strength and reduces movement. Throughout, he offers practical tips (e.g., using a hammer to tap tight joints, wiping excess glue, measuring diagonals instead of using a set square) and warns of common mistakes such as mis‑orienting chamfers, using damp wood, or over‑tightening nails. The video concludes with a brief recap of nail positions, the importance of bottom bee‑space, and an invitation to watch a forthcoming review of the Maysmoor product.
Chapters
Hi, I'm Laurence Edwards from Black Mountain Honey. Welcome to another episode of No Nonsense Beekeeping. Today I'm going to show you how to assemble a Maysmoor super and a Maysmoor brood box. Now these are pretty much standard wooden National Seconds components, and this method of installation will work for any wooden National kit. It's just the method that we're following here, it really doesn't make a massive difference Um, about where you buy your components from. However, I'm going to do a separate review, so make sure you hit the subscribe button so you get notified of the review when it comes up for this specific wooden component from Mazemore, because the design of this is slightly different to some of the other wooden national kit on the market. And this is definitely my favorite wooden national on the market due to one specific reason that I'll show you in a different video. So just to keep things nice and separate, all we're going to do in this video is I'm going to show you how to assemble a wooden super and a wooden cedar brood box. So there's a few different methods for putting together wooden kit. You can just glue it and clamp it, you can nail it, glue it, and clamp it if you need to, or you can glue it and screw it. Now I think gluing and screwing is the superior method, but it does take quite a lot of time because the wood is prone to splitting. So you need to drill holes and then kind of chamfer down those holes so that the screws can sit flush to the wood, and then you still run the risk of it splitting. So I've actually moved back now and I just use the standard method, which is the nails that come with the item. I glue it with some exterior-grade wood glue and then I clamp it as well. So I'm using a glue and screw and clamp method, and I find that's probably the quickest method And it gives really, really strong results at the end, and that's what we're looking for. So I remember the first time I ever put together some wooden equipment, I made it a complete and utter mess. And it's quite confusing, like the wooden National Hive isn't a simple hive. It's been designed by so-called experts, I guess, but it's complicated. It's difficult to make at home in terms of kind of machining the wood, and it's relatively complex to put it together. And it's quite easy to get stuff the wrong way around, so I'm just going to try and take it quite slow in this video, go through all of the steps one by one, and show you how to put together the wooden National super and brood box, because the method is exactly the same, but to do it correctly first time round. So in some manufacturers, you get— they're numbered and you get like a nice little plan on how to put it together. Unfortunately, Maysmore don't do that, so you can use this video to help you along. But these are the 2 side components here, so this is where you're not going to be able to reach around and get the handles. So if you look at it from a bird's eye view, you've got 2 components like that there. Then you get 4 bits, and be careful, these bits, they're grouped in 2s. So there's a pair that are similar like that, and they have this profile here taken out. And then there's a pair that's profiled like that. So just be careful, do you know what I mean? There's 2 different pairs there. So you've essentially got in the pack 4 separate pairs. You've got this pair, you've got this pair, you've got this pair, and then you've got this pair. Now the way that I like to put them together, I'm going to do a dry run for you just to show you how all of these fit together. And then I'm going to go back and I'm going to put the glue and the nails, and then I'm going to clamp it together for the additional strength as well. And I'll show you how to kind of make sure it's fully square because you do need to make sure it's square before you clamp it up. Right, so that's the super assembled and I've it as a dry run just to show you before I start putting it apart what it should look like. And the key features here are you've got the pairs. So you've got that one and that one are a pair. This side and this side are a pair. And then this top beam and this top beam are a pair. And this bottom beam and this bottom beam are a pair. And they've got really important functions to all of them. So I'm just going to talk you through them. So obviously this side here is just a flat piece of wood. All that's doing there is protecting the bees inside from the elements. Same on that side. These 2 sides here, they've effectively got almost 3 purposes each. When they come together as a whole, they give you the ability to hold it, so they're handhelds. The bottom beam here has a rebate which has got a bottom bee space element to it. So what that means is that when this piece of wood is in the correct position, it gives you the correct bee space above the frames. So when you're lifting the boxes up, it doesn't pull the frames from below up with it. Really important design consideration. It also has a chamfer on this bit here, and that chamfer should track water away from the hive. Need to make sure that's the right way around so it's tracking water away from the hive, Not tracking it into the hive. Really important. And then this top beam here just gives the frame lugs enough place to sit so they're not kind of going to get jammed into anything. And then the unique thing that Maysmore do, instead of having a flat piece here that you have to pin frame runners onto or castellations, they give you a chamfered piece that you need to get the measurements absolutely spot on, and then the frame directly on there. That's why I like the Maysmore ones, because it keeps it simple, no nonsense, and you don't have that additional piece of work of putting frame runners on, which I find really fiddly. Right, so we'll take it back apart again and we'll put it back together step by step. We'll do the gluing, I'm going to use nails, and then we're going to clamp it all up at the end to make sure it's completely solid. I'm not going to duplicate it with the brood box because it is exactly the same There is no difference whatsoever between the, the super box and the brood box. The only difference is the depth. There isn't even an additional rebate in there or anything to add an additional join. It's just the depth. So I'm just going to do one demonstration, but you can use this for any wooden National Super or any wooden National Brood Box. First thing to say, make sure the wood that you're using is dry. Needs to be dry because you're using a weather-resistant adhesive that says the wood needs to be dry. So make sure it's not damp, but definitely make sure it's not wet. Then the glue we're going to use is the EvoStick Blue weather adhesive one. So this is designed for outdoors. You can use a Titebond. The Titebond outdoor one is really, really good as well. Just make sure the glue's nice and fresh, and you want to use copious amounts of glue. So just have a rag or something to wipe off the excess glue. You can't really put too much on. It gets a little bit messier the more you put on. Just make sure the mating faces are really, really well covered. So the first 2 things you need are these 2 side bits. They're the easiest recognizable bits. They've got no handles, and then they've got that rebate running all the way along there. Put them side by side that way around. So I like to start at the top, and the, the way to remember which one is the one at the top is the one with the biggest rebate. So I'll flash a little picture up there, you can see it's the one with the biggest rebate, and you want that rebate facing inwards. So before you start putting it together, get your glue, and I find it's just easy just to splodge a big bit of glue in like that. Get a stick or something, just mush it around, make sure that mating face is really nice and covered in glue. You might as well just do both sides while you're there. The glue runs a little bit but not too much. Just remember though, really nice fresh glue and make sure you use lots of it and make sure you're getting it across all the mating faces. For me, this isn't an art lesson. It's not about getting it all looking really nice and perfect. It's about solid joinery and it's about making it last. So once you've got your glue in, take your side section. I've picked up the wrong one. It's really easy to get this wrong, so just make sure again you've got the right profile. Once you've gone back and put the glue on, and then all you want to do is put that facing in. At this point, I like to just turn it up on its side like that. It stops the glue dripping. And then you want to take the next piece, which is the opposite to that. Remember, these aren't in pairs, they're in pairs the other way. And you want to make sure that the water is going to track away from the hive, so it goes in like that. That is the incorrect way, and that is the correct way. I find a hammer or the persuader really does help. A lot of these are machined very tight, which is good, but it does help just to have a little hammer to tap them in. Don't worry about getting them all too close at this point. We'll do that at the end. We'll tighten everything up and we'll do the nails. So then I like to flip it over, and again, we're gluing all of these joints all in one hit. You see it dripping down there? Not fussed about that because it means I'm putting correct amount of glue on. We can wipe off the excess at the end. Any excess, you can just bring it back up. We're going to glue all of that joint there anyway, so don't worry about it dripping down. Always better to err on the side of putting additional glue in. And then you want to do the same as you've done on the bottom. And again, make sure you're getting them the right way. Make sure that this side matches this side. Don't get them the wrong way around and don't get them in the wrong orientation. It's really easy to do it. And it's annoying once you have to kind of start taking it apart again. So just make sure it's right. This is the top here, so we've got the bigger rebate one there, and we put the big rebate facing inwards. And then the final piece with the chamfer, and you just remember that chamfer's to track water away from the hive. And then you've got the B space underneath, so you've got the B space above the frames. So at that point it should look something like that, big kind of super with big holes in the middle. Then what you want to do is get some glue and fill these tracks up with glue. Loads of glue, probably too much there, but again, err on the side of kind of excessive amounts of glue. All it's going to do is just going to trickle through onto these pallets here, so I'm not too fussed about it. I'll scoop up a little bit of that excess there, put it on this side. Now, as you can see, I'm no expert joiner here. I make a bit of a mess, but I know that more glue is better. So really slap it on. We'll wipe it all down at the end with a damp cloth. We'll get off any spills or drips. So at this point, I'll go and get a couple of your standard frames. It gives you a visual of what the super is going to look like once it's complete. And it means that you get the measurement and the spacing absolutely spot on. So grab yourself a couple of frames. And then we're taking the final pair of pieces, and what you want is there's a chamfer going that way, and the chamfer should face out again. Now that's not to track water away, it's just to give the frame something to rest on. So all we do is we just pop that into the gap there. Just loosely fit them at the moment, and that is essentially it. All you need to do now is you just need to connect everything together by putting suitable nails in place, but most importantly, you just need to make sure that these 2 rails here are at the correct depth. You need them at the correct depth to get the correct bee space underneath, and you need them at the correct depth to get the frame lugs to sit on the top without protruding over the edge. So the easiest way to do that is to use a frame. So all I've done there is I've just placed a frame in on that end, and then I'm going to place a frame in on that end as well. And sometimes it all slips down, but you really don't need to worry about that. Just prop it up so you get the top of this frame sitting flush with the top of the box. So then we're on to nailing, and what I like to do first is I just get the nails that come with the box, and I like to just put one directly in from the back to keep these into the correct position. That's what's important here. You need these to stay in the right position. If they slip or go up or drop, you've, you've got a box that you can't use. It needs to be spot on. So take your time, get the frames in the correct position, and And just pop a nail in, and it will hold it all in place. So I find that that is the most awkward, tricky, and difficult part of it. So we're essentially fixed into position now. It can move; it can still become not square, but you've got the key frame spacing correct. The key check for that is that these runners let the frame sit flush with the top of the box. That's a bottom B space. Box. So the rest of it is so easy. You've pinned the 2 rails in so you've got the correct depth from the top and the bottom. All you need to do now is join everything together, make sure it's nice and tight and square, and clamp it. So just go around one by one doing all of the corners, nailing each way, and that will keep it tight and that will keep it together, and it adds additional shear force and And then we're going to clamp it together so that glue can activate and stay nice and strong. So once you've got it nailed together, just go around, give it a clean, get all that excess glue off everywhere. Doesn't matter too much about the water at this stage because it will dry off, but just get rid of any of the excess glue. Now other people like to do this in different ways. Other people do put seams of glue between the 2 batons and the risers here. I don't think that's necessary. I mean, the wood expands and fills any gaps up. This is the way I've always done it. Other people put nails in this position, these positions here. Again, I don't see the need for that because it's really strong, and I don't like to have nails on the top, which is where water could collect and degrade. I prefer them coming in from the side. So just to summarize the nail positions, I have 1, 2, 3 nails there, 1, 2, 3, same on that side, 1, 2, 3, 1, 2, 3. So that's 12 in total. And then I have 1, 2, 3, 4, 5, 6, 7, 8. So I use 20 nails. Now I know there's loads of different ways to do this. I like to keep it quick, I like to keep it simple, so they're the nail positions that I use. So again, you don't need to clamp this now, so this will dry perfectly acceptable, but it will dry a little bit better, I reckon, if you clamp it, and it saves any knocks or anything changing it. Um, so it— I'd say the better job is to clamp it, and if you've got the time and got the clamps, Definitely go to clamp it. What you need to do though is you need to make sure it's square, and instead of using set squares or anything like that, really simple tip is just measure corner to corner and they need to be the same distance. And if they're exactly the same distance, all of the box is square. So measuring across there, I've got 65 centimeters or 650 millimeters. I work in metric; I don't work in imperial, so apologies for that. I can put the translations up though, and then that way I've got 64.5, so I need to adjust it 2.5mm either way so I end up at 64.75mm equal. The way that you do that is you take your longer end and just give it a little nudge at either corner. It really doesn't take much to get it right. So that's 647mm that way now. And 649 the other way. So I'm just going to give it one more nudge. Now if it doesn't go, what you can do is just a gentle tap on the corner like that. And now that is perfectly square, 648 millimeters both ways. So I know the box is perfectly square. Now if this was me, I wouldn't bother clamping it, but you can stick a clamp on it if you want, and I'll just show you how to do that now. But like I say, I personally wouldn't recommend doing it unless you've got like 2 or 3 to do. It does slow the process right down because you need a huge amount of clamps. I tend to make up 20 or 30 of these at the time, and I've only got 2 clamps, so I have to wait until each of them sets, maybe half an hour, before I move on to the next super. These are the clamps that I use, just straightforward sash clamps. So all I do with the clamps is you ideally need 4 of these, and you need one at the top and one at the bottom. Now you can put a bit of a jig in place to get some wood to hold things together and just use 2 clamps, Again, it just further complicates things. So all I do is I just put one clamp there, tighten it up, another clamp there, tighten it up, flip it over, do the same, make sure it's all tight. Most important, double-check that the distances from corner to corner is exactly the same. So we're shooting for 4, 6, 8mm here. And then just let it set, and that is as simple as that. And that's it, it is as simple as that. Trust me, once you do 3 or 4 of these, this will be second nature to you. The first time you do it, it's so difficult to kind of understand what goes where without a decent guide, as in like a manual. It is a little bit difficult, so hopefully this video should help you in putting together all of your wooden National kit. Just make sure you put plenty of glue on, Make sure you tidy up the joints. Most important, my recommendation is get a couple of frames made up and put the frames in so you can see what's going on. The key aim with wooden national kit is that you're on bottom B space, and that is the wrong way around. It sounds the wrong way around. What that means is that you don't have any space on the top and that your B space is on the bottom. So you end up, because you work from the top, you end up with no space on the top. So have a look at bottom B space and top B space, and I'll do that on a separate video as well. You need to understand that before you start to put this together, and as soon as you get the idea of bottom B space and top B space, then it's really easy to put together any Wooden National kit. So we're going to do a separate video reviewing this because I understand this has kind of taken a little while to put this video together. I'll just do a separate video and run through what I really, really like about the product And what I don't like about the product so much. So as always, I hope you found the video useful. Thanks for watching. Please hit the subscribe button, and I'll see you next time.










