How to Assemble Maisemore Super and Brood Box
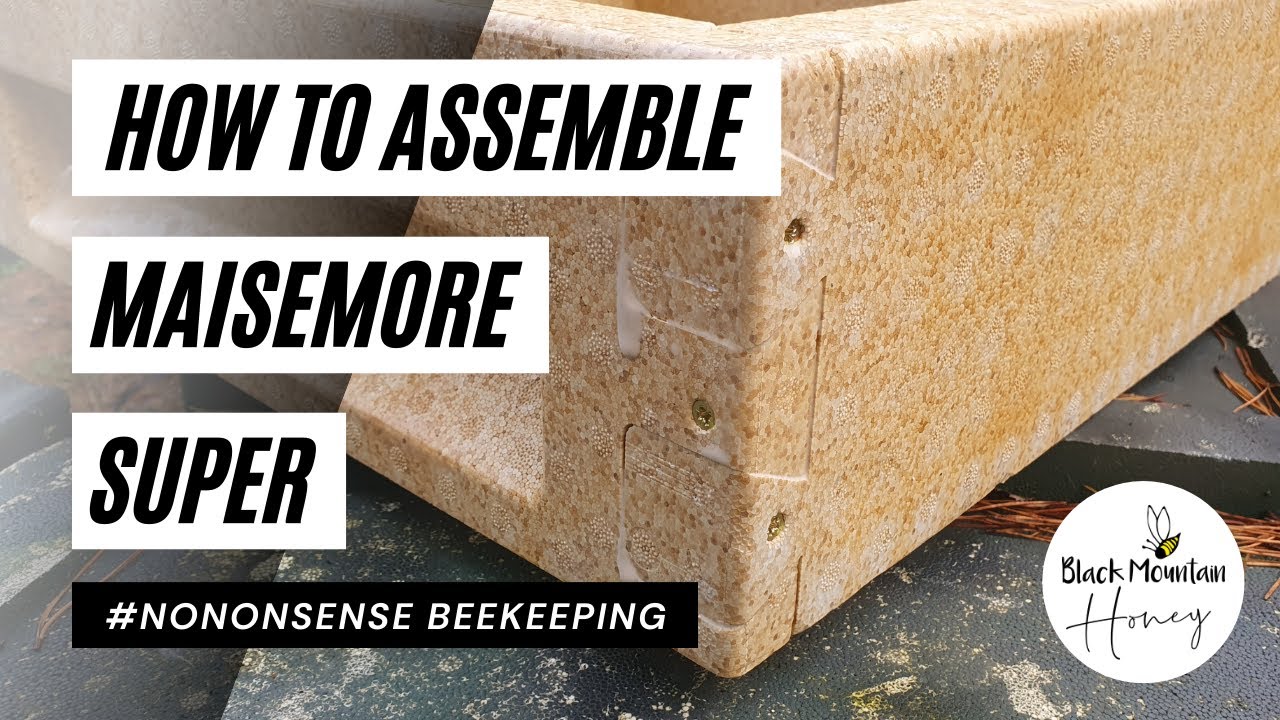
In this episode of No Nonsense Beekeeping, Laurence Edwards walks viewers through the complete assembly of Maysmoor poly supers and poly brood boxes that arrive flat‑packed. After briefly mentioning the cost and components of a full Maysmoor hive, he focuses on the poly components, critiquing the unnecessary plastic wrapping and praising the inclusion of clear assembly instructions and pre‑packed screws. Edwards contrasts Maysmoor’s design with click‑fit hives like Suyenti, explaining that Maysmoor requires both glue and screws for a secure joint. He recommends polyurethane glue (or exterior‑grade PVA as a fallback) and demonstrates the dry‑fit process, emphasizing correct chamfer orientation, generous glue coverage, wiping excess, and careful screw insertion without overtightening. He shows how to check the box for squareness, discusses the integrated frame runner and optional castellations, and offers practical storage advice to avoid accidental bonding when stacking. Throughout, he provides practical tips, personal preferences, and quality‑control checks to ensure a durable, long‑lasting poly hive.
Chapters
Hi, I'm Laurence Edwards from Black Mountain Honey. Welcome to another episode of No Nonsense Beekeeping. Today I'm going to show you how to assemble the Maysmoor poly supers and poly brood boxes. So I bought both of these directly from Maysmoor, got them in the sales. I paid around £100 for a complete hive, so I'm going to do a separate review on the hive and show you what I think about it. That comes with the floor, the roof, The brood box, the supers, the queen excluder, and a crown board. In this video though, I'm just going to focus on how to put together the components that come flat-packed from Maismore. I paid for these products myself, and I'm going to give you my honest feedback and honest review on them. But in this video though, we're just going to strictly focus on how to assemble a Maismore poly super and a Maismore brood box. So when you're buying the hives from them, they do come flat-packed. So the roof and the floor and the crown board and the queen excluder come in as a single piece, but then the poly super and the poly brood box do come and require a little bit of assembly. So I'm just going to run through how to do it. I've done a separate video on how to put together a wooden national super, and this is so much easier. So if you're the kind of person that really doesn't like doing woodwork, poly hives are so much easier to put together. It really annoys me that they come wrapped in plastic. Like, I know it's a poly hive and it's made kind of like a plastic product, but that plastic product is going to last me 30 years. That's going to go in the bin. So it annoys me. Why wrap them in plastic? All of the other companies don't. They just come with some straps on to hold them together. They're pretty resilient pieces of material. You might get the odd knock or two, but that piece of plastic isn't going to protect any damage. So it Does annoy me, so please remove the plastic packaging. So what I like about the Maze Mall ones is that they come with assembly instructions. So a lot of the other ones don't, and you're just kind of left to it. They're really simple to put together, but it is nice that they've gone to the effort just to put that in there to give you the guidance on how to do it. So obviously you can follow this video as well, gives you more of an in-depth hands-on description on how to do it, but it's pretty self-explanatory, so just follow the advice that they give you. So it's a little bit strange, the design of the Maysmoor hive. So I use a lot of Suyenti hives, and you don't need to screw them, but the way that the Maysmoor hive is put together, it doesn't click into place quite as well. The Maysmoor, you really do need to use the screws, and you need to use some glue as well. So I'm going to use a wood glue here. You can also use a polyurethane glue. Polyurethane glue is actually my preferred choice of glue to use on all poly products. So you can use like a 5-minute or a 30-minute polyurethane or a Gorilla Glue or any of those types work really well. I've just run out today, so I'm going to use an exterior-grade PVA, which works just as well. It's just my preferred method to use the polyurethane. But yeah, the Swienti hives, they click together and I don't actually glue a lot. Like these Swienti hives here, they're not glued together. They don't really come apart, and if they do, I just tap them back together. The, the Maysmore ones, they, they do come apart. It's not as interlocking as the other ones, and they do seem to come apart quite a lot more. So they do need gluing, they do need screwing, which for me is a bit annoying because I like polyhives for the ease of putting them together, or they come already ready assembled. Having to put them together, glue and screw them, just slows things down and is a little bit annoying. However, the assembly is incredibly straightforward. So you just take the 2 bits there that have got the integrated runners in. You can put castellations in these as well, which is a good pro point. Put them on the side like that, and then you want to take your other 2 pieces here, and it's quite self-explanatory which way they go, and you just fit it together. But you can't really get this the wrong way around other than you might get the chamfered edge on the inside. You just want to make sure that that chamfered edge is on the outside. As long as you make sure that chamfer is on the outside, then you're good to go. So just as I was putting it together there, I've got that the wrong way around. So you just got to double-check. It's a sharp edge there where it should be the chamfered edge. So it is quite easy to get that the wrong way around. I don't think it's the end of the world if you do that, but just make sure get it the right way around. So that's it, that's the dry fit done, and I've just done that just to kind of show you how, how easy it goes together. If that was the Suyenti, I would just leave that now. It's as quick as that with the Suyenti. With this one though, you do need to glue it, you do need to screw it. So I'm just going to take it back apart again. So it's really simple, coat the pieces in glue, put it together, stick some screws in it. There's nothing more to it. Just make sure you're getting those chamfered edges in the correct position. So it's that way round. Plenty of glue. Okay, so I'm just going to put the You'll see it all pop out like that. Just wipe off the excess as you go. You just want to make sure you cover all the mating faces, get them nicely covered in glue. Again, just wipe off the excess as you go. Now I've seen people do this another way as well where you put glue on both faces. I don't think it needs it. I think you're getting enough strength from one face, but the argument is you should probably put the glue on there. So if you were going to be a perfectionist, I would stick the glue on all the faces. Maybe me being a little bit lazy putting it together, but as I've said before, you can't put too much glue on here because all you're doing, you're just going to wipe off the excess. What I've said before though, make sure it's nice fresh glue. You You don't want glue that's been sitting in your shed for a couple of years. Make sure that it's exterior-grade glue. Tends to be blue no matter who you buy it from, whether it's an Evo Stick or a Titebond. Just make sure that you're getting a good quality glue. My personal preference would be a polyurethane. I do think it sets a little bit better than the PVA, but that's just my personal preference. The PVA is fine as long as it's nice and fresh and it's an exterior-grade. It's Good to go. So again, just do that double check, get this rolled chamfered edge on the correct side to match up with the bottom one, and then just pop it all together. You can give it a tap with a hammer, but it will dent if you do it too hard, so you just want to gently persuade it, get that remnants of glue off. You can use it as a little bit of a filler as well. I know PVA is not the best as a filler, and that's the reason that I like the polyurethane, because it does naturally fill all of the voids. I don't worry too much about this looking neat. There's glue going everywhere there. I'll just wipe it up. Gives it a little bit of a seal as well, but I'd prefer to get more glue on there and for it to be a nice strong joint. than to be a little bit tight with the glue and for there to be any failures. So there we go, that's all glued. And then in the pack you get some screws. I really like that they put the screws in the pack. Probably cost them about 2p to do that, but they're just there and it's ready to go. I hate it when you send self-assembly stuff and it doesn't come with the stuff that you need to assemble it. So I like the fact that they've got the, they've got the screws in there. And then all you're doing is you're just going straight down the middle there. You're connecting the side pieces to the corner pieces, and you're doing that on each of the joints. Now I just take that down just to keep it flush. Really be careful not to overtighten these. The glue is the thing that's going to hold it together. The screw is the thing that's going to keep it together while that glue sets. So all of the strength is in the glue. The screw is there just to hold it together and give you a little bit of shear strength. You don't really get any shear forces running through this, so you could just clamp it and not do the screws and the glue would hold it together. But they give you the screws, so you might as well stick them in. So if you're doing it right, you should see additional glue come out when you screw it together because you're clamping those joints together and it's pushing out any excess. And in joinery, that's what you need to do. Get 2 mating faces coated with glue, push them together, and that's how you get strength. So once you've screwed it all together, you just want to wipe off that excess. And that's it, we're all done. Really quick, really simple. Takes a little bit longer than some of the ones that you don't have to screw, but it does hold it together really well, and this will last for a very long time. So you can add frame runners in here if you want to add castellations. They just sit in the slot there. You can also add a separate frame runner if you want to do that, but they've got an integrated frame runner as well. So when you put the frames in, They do just sit maybe a millimeter below the top, but essentially it works as a bottom bee space poly super. So you don't need to do anything separate to that. It does have the integrated poly runner, which is nice and it saves you time. But I do like the fact that you can add the castellations in as well. So that's it for this video. If you're looking to do this for the Maysmoor poly brood box, the process is identical. There's nothing different. The only thing is you add additional screw on each corner. But everything's the same. Just slot it together, make sure you get the chamfered edges on the correct sides, and then loads of glue. Put your screws in and just wipe down the glue. Let it set. The final thing that I missed is just check it for squareness. It really should slot together and be pretty much perfect, but you might need to do a tiny adjustment. So I've got 700 across that corner there. And I've got 700 across that corner there. So as long as your corner-to-corner distances are exactly the same, the box is square. I would expect it with poly. The manufacturing tolerances are very, very small, so it means that when you put it together, you should get a square box, and that's exactly what's happened here. It's perfectly square, so I don't need to do any adjustments like I did on the wooden National. This one is good to go. So So put it somewhere warm, make sure you've wiped down any drips. Don't let the drips go underneath and then stack them up together because you just end up with one big huge box that you have to prise apart and break. Believe me, I've done that and it's annoying. Make sure each face, top and bottom, is wiped down with no glue and then stack them at 45-degree angles to each other like that, and then they won't stick together. So that's it for the video. I've showed you how to put together the Maysmoor PolySuper. And I've given you the guidance on putting together the Maysmore poly brood box as well. Just follow the exact same procedure. So I hope you've enjoyed this video and I hope you found it useful. As always, please hit the subscribe button, please hit the bell so you're notified of every video, and I'll see you next time.