How To Place A Nuc Into A Beehive
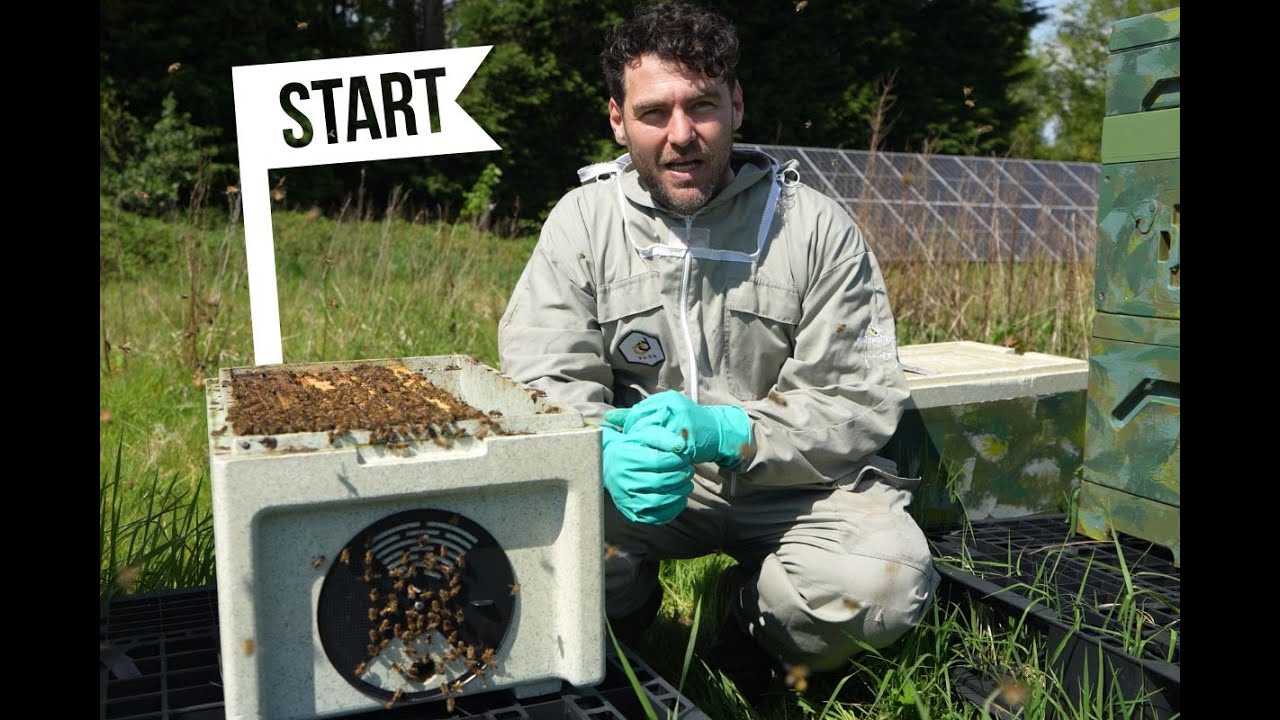
Laurence Edwards of Black Mountain Honey shows how to receive a nuc colony by mail and transfer it into a permanent hive. After letting the bees settle for 15 minutes, leave them undisturbed for at least 24 hours, then move the nuc and position a new hive in the same spot before transferring each frame in order. Feed 1:1 sugar syrup for the first two weeks, then stop when the brood box is about 80 percent full.
Chapters
In this video, I'm going to show you how to receive and transfer a nucleus colony from Black Mountain Honey into their first beehive in your apiary. So at Black Mountain Honey, we like to make things as easy as we possibly can for you. You order the bees online, we'll give you lots of communication, we'll give you a slot for when the bees are going to arrive, and we make sure that we have the very best facility to send the bees in the post So they are secure for the postal service and they are secure for our customers. Painted polynucs, screwed-down ventilation discs, we give you the very best polynucs to get through the postal system. Now your bees will arrive on the Royal Mail Special Delivery Service and they generally arrive with the postman before 1 PM. First thing you want to do is take that nucleus colony immediately and go and put it onto the hive stand, the final position where the bees are going to live. This is really important. You don't get 2 chances at this. Make your mind up where you want to keep your bees, and this is where you're going to place your nuc. So for this example here today, I've collected my nuc from the postman, and I know the disc is already open, but I'm going to place my nucleus colony here. So once your nuc is into position, the first thing you need to do before you open anything up is you need to close off the ventilation screen. Now my recommendation to you is just to get a piece of plywood or a piece of plastic Anything possible just to cover that vent. You want to stop the heat getting out and you want to stop the rain getting in. The darkness also really calms the bees down. So you want to take your lid, place it over the top like that, and then at that point you want to leave them for about 15 minutes. Go and make a cup of tea, sit down, don't open the disc for the first 15 minutes. You want to let the bees settle first. Get your bee suit on, get your gloves on, recharge yourself with a cup of tea, and then 15 minutes later you want to come back to the beehive and you want to open the entrance disc to full position, not the ventilated position, not the queen excluder position, the full position as you can see here. So what you'll see now is all of the bees come out, they start to orientate, and depending on the temperature, they might not do anything at this point. They'll only come out when it's like 12 or 13 degrees and start flying. You need to leave the bees in this position for at least 24 hours. Don't transfer them on the first day, it's a really surefire way to make a mistake. Leave them 24 hours, or if it's earlier on in the year, leave them for a good few days until you see the bees coming in and out on consecutive days, and then you know the colony is orientated. Now depending on the weather, if it's really, really cold, you might want to feed inside this nucleus colony as well. Now if you're getting your nucleus colony in March, you're almost certainly going to want to feed in the nuc. If you're getting your bees in the middle of May, you're probably not going to want to feed your bees in the nuc. And if you're somewhere in the middle, you do just need to make a judgment call. If you're picking up the nucleus and it's really heavy, you don't need to feed. And if you're picking up the nucleus and it's really light, give them a little bit of feed. Now, another one of the reasons that we use the Payne's Poly Nuc for delivering our nucs is that you have that ability to feed. So what you can see here on the side, this is a Langstroth feeder, but it's the same feeder that you get in the National Nuc as well. That is the feeder there. So when you take the roof off, this is what you're going to see. Now, you can't really see it here because the light's out, but I've got a bit of syrup in there. And what I've also got in there is a wooden float that will be at the bottom of the feeder. Don't take that wooden float out. The wooden float does need to be there 'cause it gives the bees a little bit of a life raft. What you also shouldn't take out is this piece of plastic here. This is a queen excluder that stops the queen going into the syrup and the queen dying. So if the weather is poor, put a little bit of syrup in there, keep it regularly topped up, maybe half a liter every few days, but you do just need to make a judgment call here. Feeding them too much in the nuc will make them swarm. Feeding them not enough in the nuc and they can die. So little and often, and just make a little bit of a judgment call. Now, once your bees have orientated to that spot and you've got sufficient amount of food inside of them, you're ready to move them into their full-time home. And this is where it becomes so important to get them into the correct spot at the beginning of this process. If I want to move these kind of 10 foot now, it's basically impossible. They do not recognize that beehive. They recognize the location in which they're in, and that is how we're going to transfer the bees across into their brand new beehive. So the first thing you need to do is move the nuc from that position, place it off maybe five or six feet away, and put your new beehive in the exact same position that the nuc was in, with the entrance facing the exact same way. So there we go. I've got my new hive into position there. I've got the paradise. Smart Beehive. Really excited to get going on this hive this season. If you're not already subscribed to the channel and you want to see more about the Paradise Smart Beehive or the F1 Buckfast queens that we supply at Black Mountain Honey, definitely hit the subscribe button. So next step is you want to take off basically all of the ancillary items on the beehive. Take off the roof, take off the crown board, take off the supers. You just want to leave the floor and the brood box only. And you will see already before I've even done anything, the bees there are a little bit confused. They're thinking, what is going on? Our hive has gone. But they're kind of recognizing this position here. Now they're a little bit reluctant to go in at the moment because there's no smell of a queen, there's no smell of any brood, but we are going to change that now by fixing this colony and swapping over all of those frames. So I've moved my nucleus colony off over to one side there, and then I've got the new beehive set up exactly where the nucleus was. Now after this, things couldn't be much simpler. All you're going to do is go into the nucleus colony, take out the frames one by one, And place them into the new beehive in exactly the same order that they were in, in the nuc. Don't worry too much about seeing the queen at this point. All you're going to make sure is that every single bee that is in the nuc gets into the beehive. If you see the queen, excellent, put her off to one side. Be really, really careful with her. She'll be marked, so she should be easy to see. But don't fret if you don't see the queen. As long as you get every single bee out of the nuc, you'll get them into their new home. So you just take all of the screws off the screen there, check underneath the screen. That's always the first place to check. Make sure that the queen's not on there. And then you're just shaking the bees in like that. Now, if you've got a Langstroth feeder, you can remove the feeder as the first thing to give you a little bit of space. Again, check all over it, make sure the queen is not on the feeder, and just pop that off to one side. And then you just want to go through frame by frame, taking out the frames there. Not worrying too much if you see the queen, coming back round here and placing them back in in that exact same order. Just give you a little close-up, some of the frames there, really nice frames, beautiful frames of brood. You should see anywhere between kind of 1 and 4 frames of capped brood like this. You might have a few frames of eggs in there that might be difficult to see, but what we send you is a really good quality nuc that over the next few weeks will turn into a brilliant colony of bees. So next frame there. So you can see the queen on that frame there, marked green, F1 Buckfast queen. I'm going to get her now and place her directly into the hive, putting her off to one side to make sure that she's safe. So I'm just making sure that I put her in in the exact same order, and I'm making sure that the self-spacing frames here are touching each other. It's really, really important to make sure that they're touching each other because then you're not going to get any random combing. So then all you do, one by one, you can just take the frames over. Once you've found the queen, it makes it a lot easier. You don't have to worry about that. But as I said, don't worry too much if you can't find the queen. You're just going to take every single frame and you're just going to place it into the new beehive like this. Now, once you put all your frames in there, you want to take the box and you want to tip it upside down, and you just want one single tap like that to make sure that you get all of the bees out. You're doing a check inside to make sure that there's no bees left in here, and then you should be relatively confident that every single bee will be in your new colony, including the queen. Really important to do the tap, check inside the feeder, make sure that there's not a single bee left. So you can see there, I've got my 6 frames in there now. Black Mountain Honey Nucs always come with 6 frames, not 5 frames, so you're getting 20% more than our competitors, and obviously you're getting them in a Payne's Poly Nuc as well that's worth £75. So you can see the frame spacers there, all completely touching one another, and that is it. Now we've got our 6 frames into our new beehive. Hardest bit here is definitely done. So once you've got your 6 frames into your new beehive down there, you need to fill up all of the space with foundation. Brand new frames, brand new foundation, and again, make sure all of those frames are touching each other. There's a frame of foundation that I'm going to put in there now. Langstroth frames here, and I've got them wired with fresh foundation in. So once you've got your full colony in there, they're not going to look quite like this because I put some additional frames in here for this one, but it's going to end up looking like you've got 6 frames of bees and 3 frames or 4 frames of foundation depending on the size of your brood box. Now your hive should look like this at this point. Next thing you're going to want to add onto there is either a crown board and a feeder or a polyashforth feeder that's all in one. What I've got here is just a standard polyashforth feeder, and if you're watching this before you bought your beehive, this is my top tip, number one investment for your colonies, buy yourself a full-size poly Ashforth feeder. Don't need a crown board then, means that you give your bees excellent insulation, and it means that you've always got the feeder on the colony to feed them if they need it. When colonies are starting out like this, they always need a little bit of help getting going to draw the combs out, so I do recommend feeding 1:1 sugar syrup just for the first few days or up to like a week or two. Makes your life so much easier, and it ensures that your bees don't starve in the first few weeks. So polyashworth feeder, dead simple. You've just got a slot down on one side there, the bees will access there. I've got a bit of plastic at home that I forgot to bring with me, and all you're going to do is just put the syrup down there in the middle bit, and the bees will come up and feed in it. If you want my top tip for this, I actually don't use the plastic bits that come here. I'll put some syrup in, I'll chuck absolutely loads of hay or straw in there, And the bees just come up from this slot down here and they take down the syrup really, really well, and then there's no risk of drowning. So the nuc is now introduced into the colony. You've got the feeder set up. My recommendation to you is that when that brood box is 80% full of bees, so 80% full of frames, if you've got a 10-frame box, once you've got 8 frames full of bees, you want to stop feeding them immediately. You take the feeder off, you put your queen excluder on, put your super into position with the foundation, and then you do not feed anymore and you cross your fingers that your bees give you a bounteous honey crop in the first season. I always refer back to a guy called Rob Tallis who bought a nuc off us a couple of years ago. He sent me a picture middle of August, overwintered nucleus colony was on double brood with 7 supers full of honey in the first year. 'Cause it goes to show just how prolific and just how good our bees are at going out and gathering a bumper honey crop. Now, if you are interested in buying a nucleus colony from us and you're watching this kind of during the off-season, I do recommend getting your orders in as soon as possible. We generally sell out of our overwintered nucs between January and February each year, and by the time we get to April and May, it's really, really difficult for us to supply them. So get your orders in early and you can get yourself top quality F1 Buckfast nucleus colonies reared in the UK, mated in the UK from blackmountainhoney.co.uk.










