How To Split A Beehive Without Finding The Queen Bee - Simple Split Method
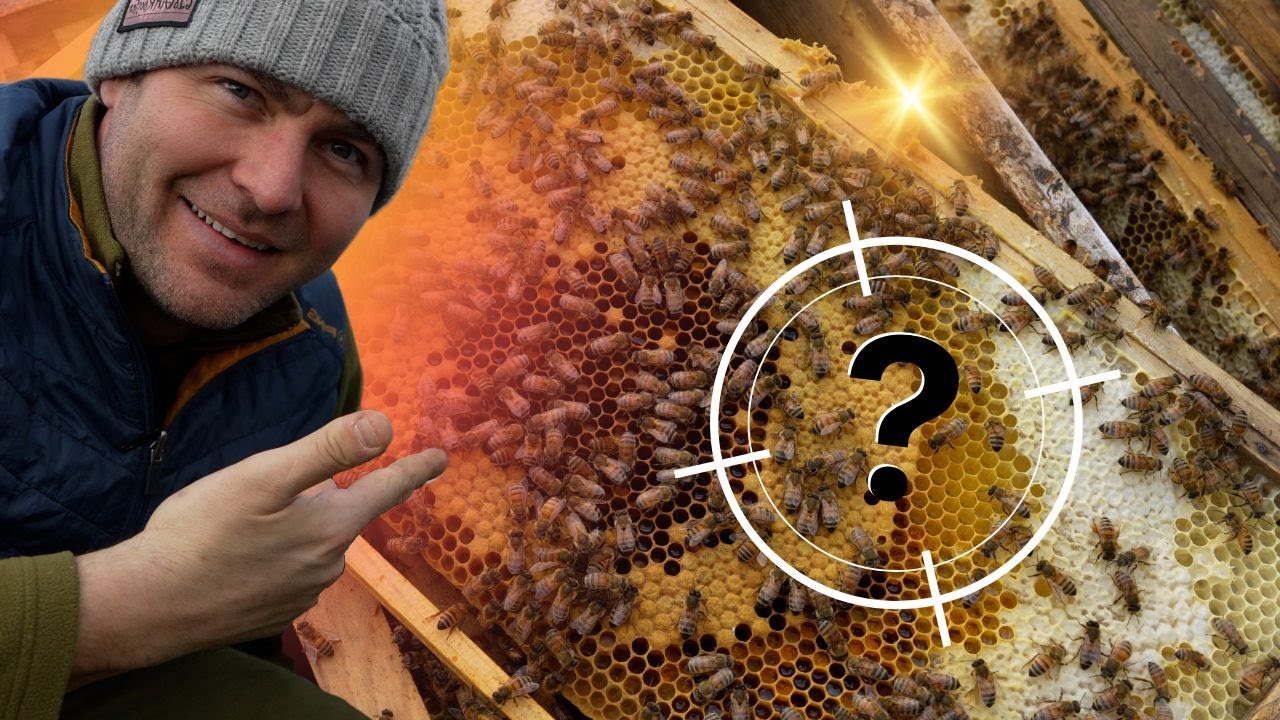
Laurence Edwards shows how to split a beehive without finding the queen. Place a frame of open brood in the center of a new 6-frame box, add frames of capped brood and stores around it, then introduce a mated queen in a slow-release cage. After seven days, destroy any emergency queen cells and check for laying activity.
Chapters
Right, so what we've got here is a brood box full of bees. And I've chosen this colony specifically because look at them. It's cold, it's wet. The bees aren't happy for me to be here. The brood box is full to the brim with bees. My old technique meant I had to go in there, every single frame, find the queen, pin the queen down, shake them off. That was the technique I used. This technique is so much less destructive to the colony, so much easier in the long run. So this colony here, brood box full of bees. I know the queen is in there because the queen excluder was on top. All you need to do now is follow the simple steps to make the split without finding the queen. So if you take a queen excluder, I think a wire frame, so like a wooden framed queen excluder works best here because you've got a big colony of bees. You can use a steel one, you can use a plastic one, but this one just gives the bees a little bit of space to move around. So then the next thing you need to do is take a box. Doesn't matter what size box it is, but it needs to be the same size frames as you're going to make your split in. So if you're using a national Do it with a national box. If you're using Langstroth shallows, whatever, make sure the box that you're putting on next matches the same size as the nuc that you're doing. So then the next thing you need to do is get yourself a frame of eggs, and obviously if you take that from a different colony, you need to shake off every single bee. So you're just taking a naked frame of eggs, and you want to place that into the middle of this brood box. Then what you want to do is you want to continue to build your nuc around that single frame of eggs. So if you want to put a couple of frames of capped brood in there, that's absolutely fine. Couple of frames of stores, that's fine. What you need to make sure though is you've got that frame of open brood, preferably eggs, because that's what's going to draw up all of the nurse bees for you to make your splits. So I've got a nice frame of capped brood, I'm going to put that next to the eggs. Another frame of capped brood, I'm going to put that next to the eggs as well. And then if you're doing a 3-frame split, that's it, you're done. I'm going to chuck another couple of frames in there because I want some stores either side as well. So that's it, that's the split that I'm looking for there. I've got 1 frame of eggs, 2 frames of brood, and then I've got a single frame of open comb as well. And I'm gonna add those 4 frames into a nuc that's got 2 frames of stores. So that's how I'm gonna make up my 6-frame nuc. And you can see already, look how much the bees are going crazy over all of those frames already. So then what you need to do next is you could just put the roof on if you want, but if you've got some supers, some boxes that are already excluded from that queen, Just pop them on top, 'cause that means you'll attract bees from above down to the brood, and you'll attract bees from below up through the queen excluder. Right, 10 minutes later, I've got my brood box down here, got a couple of frames of stores that I'm gonna use to make up the splits. I'm gonna take the bees out of that donor portion of the hive there, not gonna have any queens on it. And there you go, it's as simple as that. No shaking bees, no finding the queen. I've got my 4 frames there. However many frames you put in there, is gonna be covered in bees. So all I need to do now, take up the frames one by one, put them into my nuc. I'm gonna take that to another apiary now. I like to move my colonies to another apiary, and I'm gonna go and add a mated queen. So as you can see, we've got a nice colony of bees here. There are either 1 or 2 frames of brood, some empty drawn comb, and then some stores as well. Loads of bees. They're not gonna fly back to the original hive 'cause that's miles away. Just going to add this queen in horizontally so the fondant doesn't melt on them. Keep the tab closed, and I'll come back in 7 days and knock down all of the queen cells. This is a really small split, so they've only created one emergency cell. There's one that might be a bit of drone brood as well. I'm not 100% sure what it is. I'll be taking both of them down. All you need to do though, go through every single frame, even the ones that you don't think had brood on them, shake them all off. Go over them top to bottom, kill any emergency cells. Be very thorough. If you complete that step, you'll get really good introduction on your queens. Right, so that's it. This colony is now hopelessly queenless. So now I've been through, I'm going to go and check on my queen, check that she's still okay in the cage. So there we go. There's my cage. There's my queen in there. As you can see, really nice, big, long mated queen. This is one of the queens that we sell through our website, blackmountainhoney.co.uk. F1 Buckfast, really good quality queens. What you can also see there is that the tab isn't closed, so that queen has been in there for a week and the tab has been sealed. And all I'm going to do now is I'm going to open that tab. So the tab is now opened, the bees have got access to get in there, eat that fondant, and they will release that queen with a slow introduction. So I can take that queen in the cage now with the tab off, place it in between 2 frames of brood, Or if you've not got 2 frames of brood, in between a frame of brood and your frame of pollen. That's probably where I'd put it. And you want to wedge it in horizontally just so the fondant doesn't drip on the queen. This is what it should look like now, wedged in between those 2 frames there. The bees are all clustering down at the bottom where I've shaken them off. That's what you want it to look like. Right, so we're back on with our splits then. We're going to check in now a week later to see whether the queen's been released, to see how much progress they've made So here is what the nuc is looking like after a week. A little bit of growth, it's good now, it's up to about 4 frames of bees, and hopefully we're going to go in there, we're going to find that queen running around the frames laying eggs. All of that brood now, the original brood, should have emerged. That's why you're seeing growth after a week. So let's get in there, see if we can find that queen, see if we can see some eggs. And there we have it, we have a successfully introduced F1 Buckfast queen. And isn't she a beauty? Look at that. She's a big, really well-mated queen. Lovely color to her. You can see just how long her abdomen is. That's a sign that it's a quality queen and that she's really, really well-mated. What you can also see is that she is laying that up into every single cell that she can. So you've got lots of nice pollen in there as well. And you look down into the cells and you can see all of these eggs. So that's it. We've got a successfully introduced queen. Easy if you follow those steps. You need to get them to the point where they're hopelessly queenless, and you get a successful introduction every single time.










