How to Wire Brood Frames
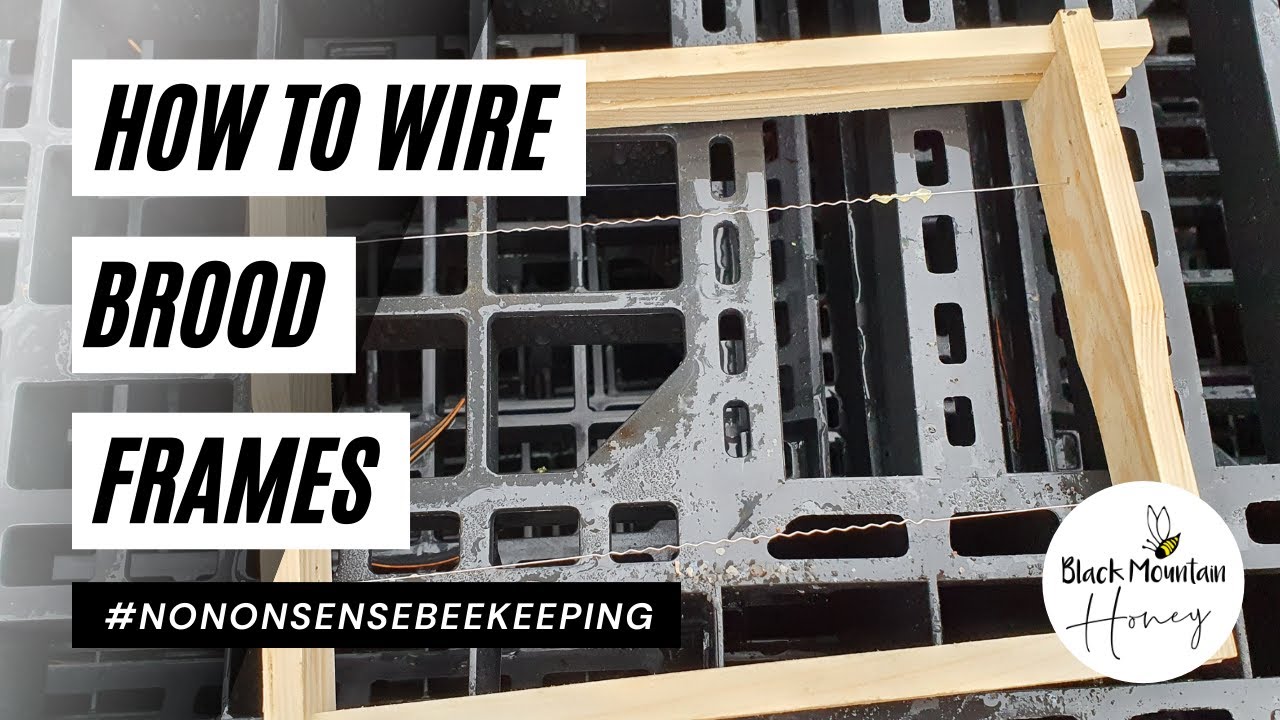
Laurence Edwards of Black Mountain Honey shows how to wire brood frames using stainless steel, gimp pins, and a car battery. Wired frames last longer, clean easier, and can be recycled by melting out the wax and re-using the frame. He walks through drilling eyelets, tensioning the wire, and embedding foundation with a brief electrical current.
Chapters
Hi, I'm Laurence Edwards from Black Mountain Honey. Welcome to another episode of No Nonsense Beekeeping. Today I'm going to show you how to wire a frame with stainless steel wire. So first off is, why do we wire frames? I'm going to do a separate video about this. In fact, I've already done a separate video about this, and this is on the agenda over the next few weeks. Um, but the question is, and I'll answer it in more detail in the next video, is why we used wired frames versus wired foundation. And the short answer is, is that it's a far superior end product. Now there's pros and cons to doing it either way. I haven't always done it like this. I haven't always wired the frames. I used wired foundation, and probably 90% of my frames are wired foundation. It's only once you get to the end of the cycle of the frames that you realize that the wired frame is far superior to a wireless frame with wired foundation. So I'm moving over to fully wired frames for all of my hives going forward, and that includes these mini mating nuc hives that I'm wiring up at the moment, and my brood frames. So the supers that I use, I'm not going to bother wiring them at all. They really, really don't need wiring if you're doing it in a supersized frame. I find after 1 or 2 kind of cycles of wax going in there, as soon as they kind of toughen up that wax, it's absolutely fine and it's really, really easy to extract that without getting any frame blowouts. But for any brood frame, I really like to put kind of a bit of wire in there just to toughen it up, but especially on the brood frames. I think it's really important to do it on the brood frames because they're the frames that you get through most often. So on a super, you can pretty much use the wax in there indefinitely. There's no cocoons, there's nothing being laid in there, there's no residue from any treatments. Whereas in the brood frames, good rule of thumb is to replace a third of your brood frames every year. So there's a kind of big churn on the frames, means that you're melting them down. And then if you're not using a wired one, you need to scrape all of the gunk out of the channels and you're trying to get a new fresh wired foundation in. It's a nightmare. So in this video, I'm just going to do a really, really quick one, how to wire A frame using stainless steel wire. So these mini mating nuc frames that came, they came already assembled, and it's a bit of a faff doing it with assembled frames already, just because it's sometimes quite difficult to get the eyelets in. So what we're using is a fully assembled mini nuc wooden frame. We've got some gimp pins. We've got some brass eyelets. I've got some stainless steel wire, I've got an eyelet punch, and I've just got like some fishing pliers, but you can use like needle nose pliers, anything that you can cut the stainless steel wire with and twist it at the same time, that's what you need. So it's really, really simple to put these frames together, but it is quite time consuming, so it's definitely one to kind of get, get set up in front of the TV or a nice film or some nice YouTube videos And just plod away with it. It's a bit boring. You don't need to really concentrate too much. I can kind of do it as I talk to you, but it does take time and it's very slow. It is a bit demoralizing how slow it is, but you just need to keep in mind the effort that you're putting in now, you're going to get lots of service out of that frame throughout its whole life. And come the end, you can just melt all the wax out. Put a new frame on, put the— embed it using a battery. I'll show you, and then it's good to go. It's such a quick process once you get through to this first and second iteration of reusing the frame. Right, so the first thing we need to do is take a frame, and if it's not already got these holes in here, so 1 hole and 2 hole, I'll put up a little kind of picture there. You need to drill some holes to match the same size as your eyelet. And then you're going to take an eyelet and you're just going to pop it in the hole. So this is why it's quite difficult to do it with an assembled frame. Once you've got your eyelet in like that, you just need to tap it down with a hammer. It's easier to do that stage when the frame's not assembled. So just go through all your sidebars, tapping the eyelets. So the end bar should look like that. Now, if it doesn't go in properly, what you need to do— so I find probably 70% of them I can get in, just push them in and then finish it with a hammer. If they're really tight, you need to get your eyelet punch and just push it in. And sometimes you might need to hold it there and just give it a couple of taps to get it going. And then you can finish it with the flat face of the hammer and then it goes in. Again, that one just landed in nicely. So that's the eyelets done. This frame, it's only got 2 on each side. If you're doing it on a bigger frame, you might have 4, might have 3. Probably want about 6 or 7 centimeters between each of the wires that are going to go across. So once you get to that point, you need to take a nail or a gimp pin and find somewhere where on your frame that's going to be able to take the full depth of that gimp pin. I like to use the end down on that corner there, and you just want to tap it in. Now you don't put it in all the way, it goes into about there, leave about 3 3 or 4 mil. And then the way that I do this, I don't use a frame rig or anything like that. Um, the frame rigs do work well though, so I'll probably build one of those this year. But all I do is just thread it through. And then you want to Wrap it around the protruding nail. Give it like 3 or 4 wraps. And just hit that down to seal it down. So essentially you can't pull that cable out anymore. It's secure. Then you want to take another gimp pin, find another area, nice strong area where you can get full depth in on the nail, and tap that into about the same distance. Leave about 3 or 4 mil, and then you want to pull that as tight as you can get it without slicing your fingers. And again, just 3 or 4 wraps. Now at that point, you want to cut both of them down till they're completely as short as you can get them, and you'll get left with something like that. The nail's still protruding, but it's been cut off, and you can hear that there's a reasonable amount of tension in there. But there's not enough tension. So then what you do is you take your needle-nose pliers and you grip the nail and you just twist the nail. And you can hear it getting tighter. Now you don't want to overtighten this. But it does need to be quite tight. So then once you've reached a nice level of kind of tightness, you take your hammer and you nail it in. And that's fully sealed now. And you can test it at the end. Should get a nice springy sound. You don't want it to sound like a snare. You don't want like a rattle. You want a nice note. And you can see if they're tight, do you know what I mean? That's, that's basically what it should finish like. Um, so then once you've done that, the next stage, and this is where the real time saver comes in on the next ones, is you want to embed your wire, um, wireless foundation onto this wired frame. And it's really, really easy, and I'll show you how to do it now. Right, so the first thing you want to do is get some foundation, and you want to use a thin unwired foundation. So you don't need to use the normal unwired, you can use the thin one for cut comb. That works absolutely fine on a wired system like this. The bees will just draw it out and they'll add extra wax if they need it. And then you want to cut it to the size where it just fits nicely onto that frame. So it fits nicely on like that, and you've got the wires underneath to support it. Make sure it's up in the groove and then place it on the table like that. And then you want to take a car battery. So really, really simple car battery. Got a 35 amp-hour one here from Halfords. And then you want some little mini jump leads like this. And all you do is you just take the positive terminal. Doesn't matter if you get these the wrong way around. The negative terminal. And then what you're doing with these, be careful you don't touch them together, is on opposing eyelets. So one on that side, one on that side. You can clip, clip onto that side, and then all you're looking to do here is just a tap. So if you were to connect it on the other side, the foundation would just fall through. All you're looking for is a quick tap, and you'll see there's a little spark, and all that does, runs a current through the cable, heats it up, melts the wax, and you just want to get it to sit on it. Nicely. And it's as simple as that. Like, it's such a quick, easy way to kind of get your foundation on here. It takes a few goes to get used to it. You don't think at first that it's actually worked, but because the wax melts so quickly, you can feel that it's worked. And that now is completely like, you know what I mean, I can shake it round, that's not going anywhere, that is completely embedded. And that's your frame ready to go, do you know what I mean? That can go straight into the box now and you can use it. And then once you get to the end of its life, all you do is you put that in your melter or you put that in your kind of your frame melter. Melt out all the wax, drain it off, and you're back to square one. And you just cut out a new piece of foundation and stick it on in the same manner. So really, really good, easy way to kind of minimize the time it takes to re-wax your frames, but it does take a little bit more time in the buildup. So that's it for the video. Short, really, really quick video just to show you how to wire frames so you've got a wired frame as opposed to wired foundation. And then how to embed wireless foundation onto your wired frames using a car battery. So I hope you've enjoyed the video. Please hit the subscribe button. Please hit the bell so you're notified of every video, and I'll see you next time. Bye.










