Hyde Hive Long Hive Insulation - How To Insulate A Long Beehive
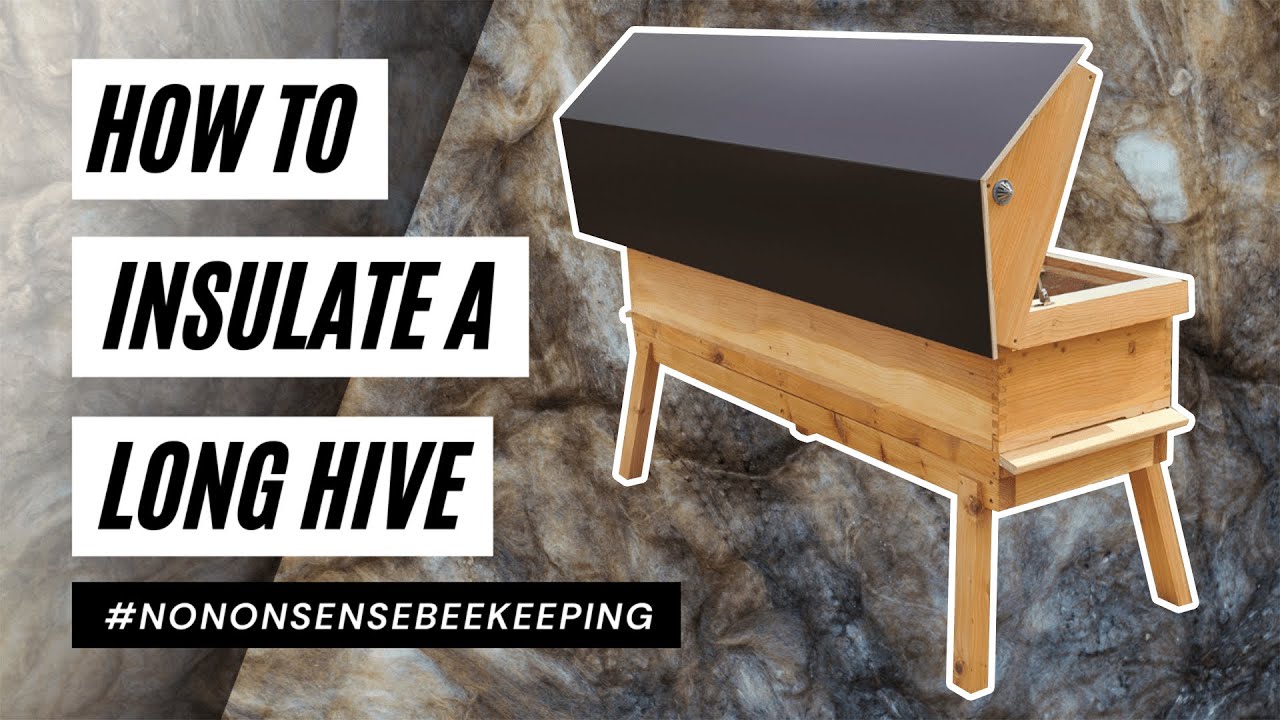
In this No‑Nonsense Beekeeping episode, Laurence Edwards of Black Mancin’ Honey demonstrates a quick, low‑cost method for insulating long‑style beehives to improve winter survival. He explains why long hives are especially vulnerable due to a Perspex crown board that creates a cold surface where condensation forms, potentially chilling the bee cluster. Edwards shows how to block the roof ventilation hole, then fill the roof void with a combination of rockwool and Celotex (or Kingspan) insulation, packing the material directly over the bee cluster to keep it warm and dry. He walks through the step‑by‑step process—removing the feeder, inserting an up‑turned lid to seal the vent, cutting and placing rockwool, adding a layer of Celotex board, and resealing the roof—while emphasizing that the exact dimensions are not critical, just that the insulation fills the space. He also notes that the insulation can stay in place year‑round and that the method works for any long hive. The video ends with a call to action for beekeepers to adopt this simple insulation technique to give their colonies the best chance of surviving winter.
Chapters
Today I'm going to show you how to insulate your long hives to give them the best chance of getting through winter. Hi, I'm Laurence Edwards from Black Mancin' Honey. Welcome to another episode of No Nonsense Beekeeping and the next in line in the Hyde Hives long hive series. So we've built these colonies up really, really strong going into winter. I've got my 8-frame nuc here. I've got a standard long hive back there. They're really strong. They've been trickle-fed. They've been treated for varroa. They've been given their final 2-to-1 feeds. They are up to weight and they're ready for winter, and it is now cold. What I'm going to show you in this video though is my method for insulating these hives, and I would say out of all of the colonies that I've got in my apiary, the insulation for these hives is going to be the most important for this colony. Now the reason I say that is I look around, I'm looking behind camera, pretty much every single beehive in this apiary is a full poly hive. The ones that aren't full poly hives, I've got wooden hives with a poly Ashforth feeder on the roof giving me insulation at the top where it's needed. My long hives, however, have a little bit of an issue and I need to do something with them in order to give them some good insulation on the top. It's a really quick fix. If you've got a long hive, I highly recommend you do this. You're going to give your bees the best possible chance of getting through the winter. Now the long hive, the 8-frame nuc that I've got on the long hive here, beautiful construction. We all know how nice these hives are, but what I'm really concerned about is the fact that I've got this Perspex crown board, a big void of air, and then I'm straight onto the roof here. So what you're essentially going to get is condensation potentially forming on that crown board It's not going to form on the wood. It's going to form on the coldest internal surface within the hive. I've already had a look in there and you can already see middle of October, a little bit of condensation forming. I don't want to run the risk come winter that there's any issue with condensation forming on top of that cluster. I've got nice big strong colonies in here. They're going to be warm. They're going to generate a lot of heat and moisture, and any cold surface is going to attract condensation. I want to make sure that that cold surface isn't directly above the cluster. So it's going to be the easiest video in the world. I know I say that every single video, don't I? But this really, really is. All I'm going to do is I'm going to get some Celotex, I'm going to get some rockwool insulation, and I'm going to make it a nice snug insulated home to help these bees conserve their stores going through winter, but to make sure that that top surface directly above the cluster isn't the coldest in the hive. So I can already see it starting to go a little bit. You can see in there a little bit of condensation, and maybe this is a little bit unfair because this isn't obviously where the cluster is. If the bees were underneath that, they would use that water and it wouldn't appear so apparent as it is. But you can see here the sidewalls, anything down there is going to be nice and warm and dry and the water can run off it. And then you've got this plastic or Perspex crown board sitting over the top. It's the coldest area in the hive, and that is where the moisture is going to accumulate as condensation. You can also see if you look at the top of this roof in here, and this is perfectly natural, this isn't anything wrong with the hive, this is just what happens when you get to winter. I can even see a little bit of it dripping over there now. So bees will produce heat, they will produce moisture, and that moisture will condense on the coldest surface. My job is to make sure that that surface isn't directly above the bees, anywhere else, and we don't have a problem. So this is how I've got my colonies set up at the moment. I've got my feeders on. They've done really well at taking all of that feed down. Very happy with how these feeders have worked, how well they fit in, and how well the bees have worked them. But what I need to do now is I need to take that feeder off. I'm going to get my blocked-in ventilation hole in there because I don't see any need for ventilation going up there at the moment. They blocked it off before, they'll block it off again. So I'm just going to pop that blocked one back in. And then once I've taken that feeder off, I'm going to show you. And I reckon we're going to see a little bit of condensation on that crown board already. Maybe not as much as we're seeing over here, but we're definitely going to see a little bit of condensation. There we go. So like I said, you can see the condensation already and this is perfectly normal. There's nothing wrong with this, but it just goes to show this is where the condensation is deciding to form. It's the coldest part of the hive because there's no insulation on it. The wood has got natural insulation. Perspex really doesn't have that much insulation at all, and that is why you're seeing this moisture accumulating here. You can see though, hey, how well has that colony grown? It really has come on. That is a nice 7-frame cluster of bees now. It definitely wasn't that big a few weeks ago, so they have grown really, really nicely. I'm not going to get in there and do anything to them though. I'm just going to get this insulation on, get them nice and snug for winter. So I've just sorted out my colony on the other side as well. These are the Danish Buckfast queens. They're really, really good. How about that? In there you've got a queen wasp knocking around in there. She is definitely going to get killed. So good luck hiding out in here over the winter, queen wasp. You don't stand a chance at all. But the colony is looking nice and big and strong. This one over here is over maybe 9 or 10 frames as well. So a little bit stronger as well. But you can see it again. Look, you can see condensation forming in these corners already. I want to minimize that as best as I possibly can and make sure that when it gets really cold, we don't start to see big condensation forming like that. Now, all I would say is this ventilation hole in the middle. I really don't like this ventilation hole, and I don't think the bees like this ventilation hole either because they blocked up the other one on the other side. All I'm going to do is I'm just going to pop something over the top of it because I just don't think there's a need for it, especially not over winter. So the first thing I'm going to do is I'm going to block off that ventilation hole before I put my insulation over the top of it. So all I've taken here is the upturned lid from the English feeder, and that fits perfectly in that slot. So I've blocked it off, probably added a little bit of insulation doing that as well, but I've meant that there's no ventilation, there's no throughput of air coming up into that roof void. That's my first step. And then I just want to jump back to this colony here, just with the roof off, because it goes to show that roof does offer you a little bit of insulation, even just by the manner of its construction. Because I've had the lid open for 5 minutes now, and look at that condensation forming already. You've got the drips over in that corner there, and then you look at it building up all the way around that colony. It just goes to show how much moisture they're letting off at this time of year. And it's not even really cold at the moment. Wait until you get into winter and it's -2, -3 degrees. That is going to be a huge amount of moisture. So I popped my feeder roof on there as well. That one's fully closed off now. Now I'm going to show you how to insulate this beehive. So in standard no-nonsense beekeeping style, I've gone and stolen some insulation from my roof. Don't tell my wife because the bathroom might be a little bit cold. I'm gonna have to go and replace this, but All I'm going to use in here, I'm going to use 2 different forms of insulation. I'm going to use rockwool insulation like this, and you can do it just with rockwool insulation if you want. That will work really, really well. I'm going to add some Celotex as well because I've got a big stash of Celotex over there, and the U-values, the thermal insulation values of Celotex is a little bit superior to this stuff as well. I'm going to use both because I've got both. I would say though, either or is fine. But what I really like about this one is that you can get it into all the nooks and crannies. So you're really going to get that insulation close to the cluster of the bees. And there's no contamination because we put those feeders over the top. There's no ventilation, no throughput of air. You're going to keep the bees so warm and cozy over winter by using this rockwool insulation in your roof. So all I'm doing, just tearing it up a little bit. You only need to put the insulation over where the bees are. Obviously, if you're just going to go out and buy a roll, just stick it all the way along. Get as much in there as you possibly can, but make sure that you're putting the majority of it directly over that cluster So there you go. I've got a big lump, probably 100mm of insulation over that side, and then an even bigger lump over on that side, directly over those clusters. Like I said, if you're going to go and buy a roll or you're going to steal it out of your kitchen roof or bathroom roof, take a little bit more than I have and just jam-pack that whole roof full of it. You can't really put too much in here because the bees aren't going to go up here. You just want to make it as nice and warm as it could possibly be. Then you want to take a couple of pieces of Celotex. Make sure you're using the right depth here. Preferably get it out of a skip. This one is old Celotex, but it's really good, works so well, and it doesn't matter. All you're doing is insulating some bees here. This is 50mm Celotex. Cut it roughly to size, and then we're just going to place it directly on that insulation. And then hopefully when I close the roof, it's going to hold it all down really close to that cluster, make it the warmest place in the world for the bees. So here's what it looks like now, rough and ready. This is no-nonsense beekeeping. You're not going to see me measuring this and getting it down to the right millimeter or something. Just chop it up, make sure that lid can close. You've got the layers there, you've got the rockwool underneath, and then you've got the Celotex or Kingspan, whatever insulation board you're going to use on top. That is going to give you such good insulation over the winter for the bees. So then all that's left to do is close the roof, and it's starting to rain, so what amazing timing that is. And that's it, they're done, they're insulated for winter. I'm going to leave the boards in over winter on these as well because I've left them in all the way throughout the year, and I find on a wooden hive it doesn't make anywhere near as much of a difference whether you put the boards in over winter on the floors or whether you keep them out. So I've kept them in all the way throughout the season, and I'm going to keep them in over winter. I think that's going to give these guys the best possible chance of getting through the winter. So I hope you enjoyed that video. If you've got a long hive, I seriously recommend get some rockwool, Go and do some skip diving, get some Celotex, insulate that roof void, give your bees the best possible chance of getting through winter. I hope you enjoyed that video. I hope you found it useful. As always, please hit the subscribe button, please hit the bell so you're notified of every video, and I'll see you next time.










