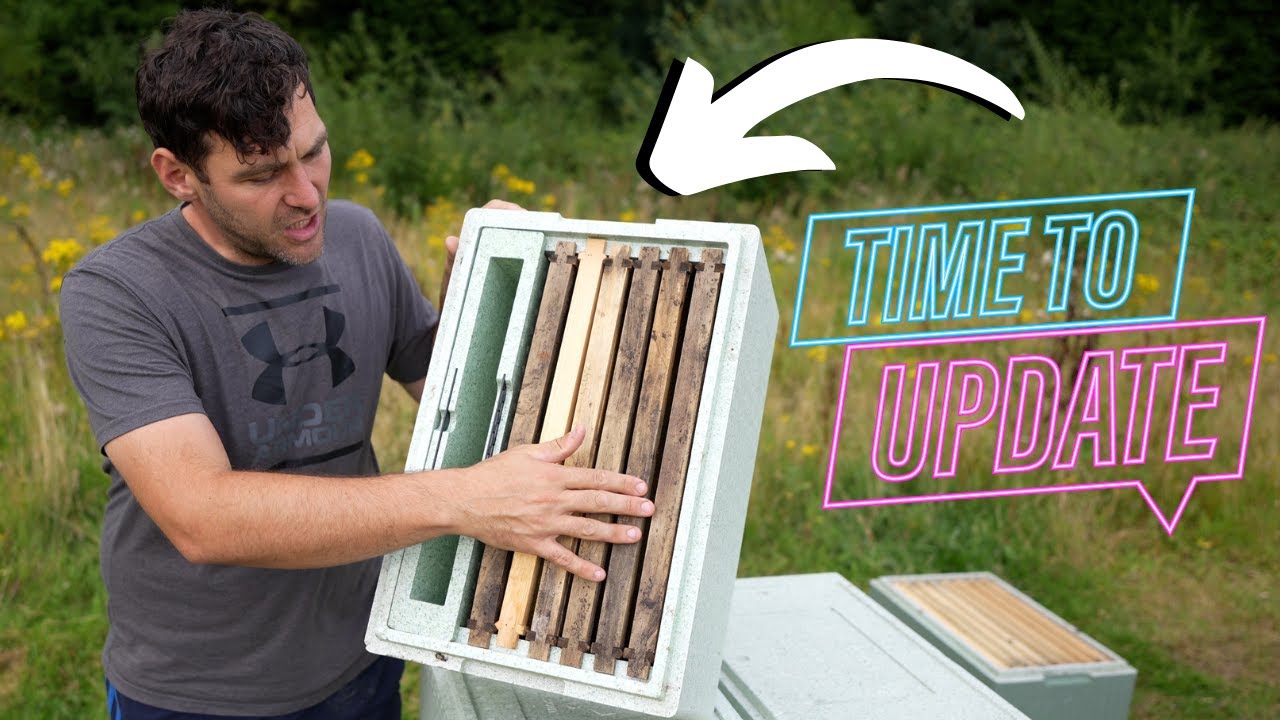
In this video Laurence Edwards reviews Payne's Langstroth nucleus (nuc) hive design, contrasting it with the company's National poly nuc. He highlights several design improvements that make the Langstroth version superior for his beekeeping operations. The key features he praises are the removable feeder, which prevents wasp intrusion, provides an insulated dummy board, and offers flexible frame configurations; a roof notch that serves as a secondary entrance, enabling easy vertical splits and better ventilation when extension boxes are added; an integrated mesh board that facilitates heat sharing between colonies and creates an ideal setup for queen rearing; and the increased frame capacity (up to 16 frames) that allows scalable colony growth. Edwards also notes a lingering issue with the wobbly crown board, which he feels needs redesign. Throughout, he emphasizes how these features improve overwintering, colony management, and queen rearing, and he urges Payne to incorporate these improvements into future National kits.
Chapters
In this video, I'm going to tell you why I absolutely love the Payne's Langstroth design for their Nucleus and why I want them to bring the features across to the National design. Now, there is nothing I love more than a beekeeping manufacturer taking heed of what people say and putting it into practice with their products. And that doesn't mean taking into account every single tiny little wish list that a beekeeper might have, but just building a really good functional product that is the basis of iterative design. That's what they've done with the Langstroth version here. So, you know, at Black Mountain Honey we sell lots of nucs. If you want to buy overwintered nucs, I'll stick the link at the bottom there. We always send the overwintered nucs out in a Paynes National Poly nuc. We do that because if the bees need feeding when they get there, you've got the integrated feeder. I love the design in terms of the mesh, and it's really easy to screw the roofs down. But I've started putting together some of the overwintered Langstroth nucs, and I chose the Paynes box order to do that. And I wasn't really aware of the differences in terms of the design compared to the Payne's National Box until it arrived. But I thought, wow, definitely got to do a video on this one because the differences between the National Box and the Langstroth are quite apparent. And I really do hope and pray that they bring over some of those changes the next time they update their mold. So where do I start? First off, the roof. You will notice that the roof has a very nifty little notch built into it like that. More on the notch later. Now we've still got the kind of wibbly wobbly crown board. Not a massive fan of the wibbly wobbly crown board, but there's not really any other thing that you can do there. I've had to think about it. How can you improve this crown board other than just getting rid of it totally? But you need something there to stop the roof getting all mucky, and you can't just pin it to the back of the roof because you need it in some instances as well. So the wibbly wobbly crown board is here to stay. Not a massive fan of that. However, what I am a massive fan of is a removable feeder. What a great idea to make the feeder removable. So this gives you so much more flexibility over the national version. It alleviates one of the major issues that you get with the national version as well. So in the national version, the feeder is completely fixed in, and what I've found is that when you put syrup in the feeder, you do sometimes get some wasps or some hornets burrowing in from the outside because they can sense the remnants of that syrup coming through. Now, by separating that, you seem to get this gap whereby the wasps give you no hassle whatsoever, and you don't get that seepage because you've kind of got an air gap in between. What I also really love about the removable feeder though is that it effectively doubles up as an insulated dummy board. So in this layout here, you've got like a 6-frame nuc, and then the bees will access the feeder through there. If you want to run that as a 3-frame system, You can just take out your 3 frames and then you can move the feeder along and you don't have to backfill over here. Like, the bees will respect all of the space in there. They just think they're in a much smaller space. And then when you need to, you can just move the feeder along and put another frame in. Really good way of building colonies up and a really good way of nursing smaller colonies through the year and through the winter. I love the fact that that's removable. It makes life So much easier for me. So on first glance, that's kind of really it. They've got a removable feeder. That's not really a massive difference to make, although it does make a big difference to my beekeeping. But that notch on the roof for me is a huge design improvement. And the reason that notch is so important is that it doubles up as a secondary entrance when you're adding extension boxes on. So the first thing that I love about the extension boxes, because you've not got an integrated feeder up in there, it's not a 6-frame additional box, it's an 8-frame additional box. It's an extra third in terms of frames, makes a huge amount of difference in terms of the amount of space the bees have in there. So you've effectively got a 14-frame box there with the feeder, and if you wanted to take that out, you've got a 16-frame Langstroth deep box in a really quite nice neat package. But let's just say, for example, you've got this colony here set up and there's 14 frames full of bees, full of brood, and you want to make a split. This is where this little notch in the roof becomes like the most valuable thing in the world. And you do need some extra roofs in order to do it. But all you would need to do is get another roof, lift up your extension box like that, put the additional roof on. I would turn it 180 degrees so it's different from this entrance, but obviously for the purpose of this video, I'll leave it the same way. And there we go, I've made my split. The easiest vertical split in the world. And I've got another entrance there. Like I said, if I'm doing the split, I would make sure that the front entrance and that entrance are 180 degrees apart, so it would be over the back There, and then all I need to do is either let them requeen naturally or add a mated queen in, and I've made myself a split. Now what I really like about this configuration here is that it's actually a really good configuration for overwintering as well. You're kind of sharing the heat, you're definitely sharing the footprint, and if you buy the mesh screen version as well, you get that kind of interplay between the 2 colonies, and you're definitely getting a little bit of heat sharing going. The final thing that I love, and if you go back through my videos, you'll see a video that I did with Richard, who does our nucs and does our queens, talking about queen rearing and simple queen rearing setup. This nucleus here with an integrated mesh board in the middle, which is just their standard mesh that we send out with the nuc, would make the perfect queen rearing setup. It's exactly right. You've got the feeders in place, you've got the mesh in the middle, you've got the second entrance. It's a beautifully neat system in order to raise a few queens in your back garden. I just love it. I'm kind of smitten with it. Okay, you've got the crown board. We still need to fix the crown board a little bit, but this is so, so much more versatile than the national equivalent. And I just hope in the future they make these changes and bring them along with the national kit.