I Ruined My Beeswax… Then This Happened
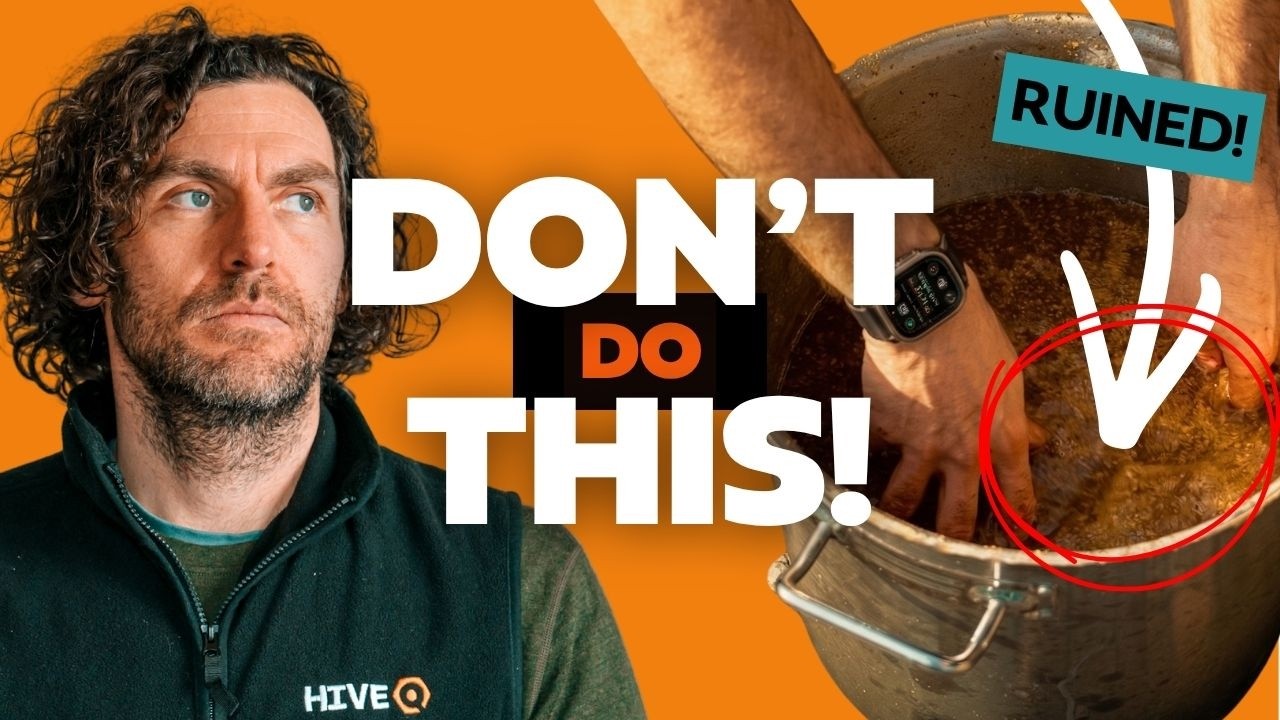
In this instructional video, the presenter from Black Mountain Honey demonstrates how to render old, failed brood and drone comb into usable beeswax, separating it into two grades: a clean, high‑quality wax and a dirty, lower‑quality wax. He outlines the philosophy of reclaiming all comb, the equipment used (large stainless‑steel pans, custom frame jig, polyester mesh sacks, Solo Stove), and the step‑by‑step process: sorting comb, filling mesh bags, adding warm water to reach ~65 °C, heating on a controlled stove with a lid, and draining the molten wax into buckets. Safety precautions are emphasized due to wax’s flammability. The video also shows a mishap where washing soda was inadvertently added, ruining a batch, and contrasts the ruined wax with a correctly rendered batch. Yield comparisons are presented, highlighting that dirty comb yields far less usable wax and that the effort may not always be worthwhile. The presenter concludes that the basic method works well for both grades and hints at a follow‑up video using an apple press to recover additional wax.
Chapters
In this video, I'm going to show you how to render all of this old manky comb into beautiful golden beeswax. So I've been going through all of my old frames, drone laying colonies, colonies that have failed, colonies where I need to render down the wax, and here we go. I've got a big pile in front of me. Some of these combs here are old failed drone layers, Some of the combs look in relatively good condition, but they might have been in a box where there was a drone layer. And my philosophy is everything gets rendered down if a colony fails for any reason. So in this video, I'm gonna render down 2 different grades of wax. I'm gonna pick out all of the nice golden stuff and we'll render that down with any offcuts of foundation and anything from my scrap bucket, any nice cappings wax, beautiful, good quality wax will go in one bucket. And then all of the old horrible droney stuff like this is gonna go in another one. You will be amazed how little beeswax you get from frames like this. I'm only doing it to prove it to you. Normally I would just chuck all of the old stuff in the bin and focus on the really nice golden stuff. So first thing you want to do is get yourself a good quality strong stainless steel pan like this. Do not use any pan that you're ever going to use for anything again because you will wreck it on the first time. I've got myself 3 of these, they're Catermaster stainless steel, and this one here is a 20-liter container. So I built myself this little jig here that holds Langstroth frames and National frames, and it also holds my little pots here like that. So I just place Mix that in and then I bought these polyester sacks from Amazon and I wasn't sure what size I was getting. They are the perfect size. So really nice, you chuck it in like that and then it's got a drawstring there and you just tighten it right up, not over the handle, and then if you look inside you've got a perfectly sealed container where you can chuck in all of the beeswax. So set myself up a couple of different buckets there. I'm going to have one which is a really nice clean grade bucket and one that is a dirty grade bucket. And then all I'm gonna do is go through and choose and say, okay, well, that's good wax there. Pick out all the nice bits. If you've got any bits of foundation, they're all gonna go in there. You can chuck the metal in as well, any bits in there, and we're gonna have a good clear up as well. And then any old manky frames you've got like this, break it up and these can go into this pot here. Now you can only get so much in to start it off, but as you get it onto the heat, you can chuck more in as it goes and all of that wax will compress down. So then into the good wax, I build up these offcuts all the way throughout the year. So any foundation that's broken, All of my good wax goes into that good wax bucket there. You'd be amazed how much good wax you can get in here. If you're wondering what this is here, these are the wax cappings that come out of the wax cappings press. Lots and lots of good wax in there. So that's my clean bucket full there. All of the wax, all of the metal, all of the bits are inside this sack here. The next step is I'm gonna pour on some warm water, and the idea is you wanna bring everything up to about 65°C, all of the water, all of the wax inside this mesh basket here, and just to melt that beeswax down. So next step, really simple. I've got some water here that's maybe 60, 70°C, something like that. We're gonna heat it up again, so it's not important, and we just pour it straight over all of the wax there. So you only need about a bucket of water, and as you can see, I've got tons more space now. All of that beeswax has melted, filled in all the gaps. I'm gonna fill it up again before I put it onto the heat. So we do exactly the same with all the old comb as well. Just get some water in there. Doesn't seem to melt down anywhere near as fast as the clean comb. So try and get the last few in, but as you get it onto the fire, it does melt it all down and you can get a lot more in as well. Looks like loads is going into this one. You'll be amazed how little beeswax comes out of this one. So this one here is ready to go and get heated up. Put the lid on. Really important to have a lid, and it definitely needs to be said at this point, wax is incredibly flammable. I'm gonna do this on the Solo Stove, but we're doing it on a hard standing and we're doing it with lots of safety precaution in place. I'm doing it on a stove that I know will only get this up to about 65, 70°C, and we're doing it with a lid on so there is no chance that the wax can catch on flame. But it's as simple as that. You can do this on your hob at home, you can do this in a Berco water boiler, you can do it on an outdoor boiler, but just be careful with that flame risk there. So keeping that lid on, it goes straight on like that, and then you just got to keep an eye on it, keep an eye on that temperature, make sure that none of it is going to set on fire. And the final thing that I like to do before I put that lid on is just get that drawstring, Close everything up like that, keep it inside so nothing can get inside, and get that lid on and leave it to come up to temperature. So I've got the second one that I'm just going to run through, the big galvanized one. So much wax in here, it's crazy. Tightening that up again, pushing it down. And as that temperature warms up, all of that wax is gonna melt and this will compress down into that bucket. So once you think the wax is up to temperature, don't open the lid on the fire, that would be stupid. So take it off away from the fire like this. So now we can start to look and see what is actually going on. So if we take that lid off, you'll see everything now is completely melted inside. So the test that I do at this point is I just hold it up And drag it all down and kind of make a judgment as to how much is left in the sack, knowing what type of wax is in there. For me, that is basically done. All of that wax is draining out. So next step, take your molten wax and water and place it underneath somewhere where you can hang that sack. So the next thing we need to do now is separate all of the gunk that is in the bag from all of the nice clean wax and water that's going to remain in the saucepan down below. So once you've got it to this position here, I like to just do a few up and downs like that. I find if there's any bigger bits in there, this will break them down. and then the warmth from the container will continue to melt all of that wax. But you can see if I pull it out, look what's coming out. It's beautiful yellow, pure beeswax. It's not dirty water. So then all you have to do is find somewhere to hang it, put it into position, maybe just make sure you're getting all the drips out of it, and you just leave that to drain. I'm gonna go over now, carry on working on the dirtier wax, and we can compare the two at the end. Older wax now, the darker stuff, that's going on as well. We're gonna leave that to warm up and we'll come and do exactly the same thing, and you see how much rubbish and gunk gunk is left inside this one. So I've got the old black combs off the stove. I spilled loads of it as I took it off, but let's take a look inside. It is nowhere near as easy and clean as the nice yellow wax, but look how well all of that has rendered down. But you get a lot of this scum over the side as well, and whilst a lot of that is still coming out as good wax, it is considerably heavier than the clean version because it is full of all of those old horrible cocoons. So I'm going to get this bucket all the way over here, pop it next to the clean one, and then I'm going to give it a little bit of a stir with it in just to try and get the majority of that wax out. But I know from previous experience that this takes a long, long time and many times over to get that all through. Just look at all the gunk and the scum that's coming off this one. But let's hang it up, let's do the same, let's see how much we can get. So both containers are now dripping out behind me. You can see the nice clean one with all the beautiful yellow beeswax, and then this one here that is covered in old black cocoons and scum. I'm going to let them drain out and then we'll explore both what's in the container and what's left in the sack. I'll be back in 1 week's time. So in a moment of craziness last week, I made a really big Error. I took some water I thought was boiling water and just stupidly didn't realize it had a little bit of soda in it, and I put the washing soda in with the beeswax and it's completely wrecked it. Now it's quite embarrassing doing that. I was obviously under a lot of stress that day, but as always at Black Mountain Honey, I will, I will show you what happens when it goes horribly wrong. But look at this here. This isn't beautiful golden beeswax. No, this is washing soda impacted beeswax sludge. But fear not, I've gone back, I've done the exact same process again properly with no washing soda in. Let's go and take a look and see how well that beeswax has come out now. So before I show you all of the correctly hanging sacks of beeswax over there, come and have a look at the one that I wrecked with washing soda here, 'cause it's quite clearly completely knackered, isn't it? You can see how it's frothed right up, and there's some bits of beeswax at the bottom there, and obviously all the cocoons are in the middle, but look at this. This is not what it should be looking like. Just very foamy, very flaky. And if you look at the one next door, that is what you should be seeing— beautiful golden beeswax coming out, stored downstairs in the buckets, and then all of the rubbish upstairs. I will always show you when I mess stuff up at Black Mountain Honey. That one there is very, very embarrassing. So this is what the video should have looked like first time round. We've got the sack over here that's got all of the old manky wax in, all of the cocoons, and you can see we filtered it well for very nice golden beeswax. So The mesh works perfectly. Look at that, it's only letting through the beeswax. Same over here, there's nowhere near as much cocoons left over. You can see the size difference, not that much here, lots and lots left here. And as I said before, there is a way to recover a lot, and I mean a lot more wax out of this, and I'm going to do that in the next video, which is warming these back up again, putting them through an apple press, and pressing out the remainder of this wax. But for me, as a first pass, this is more than good enough, and this is all I would really recommend for anyone at home. But the time has come to get inside these buckets and see what is actually left. It looks like they're going to be full of beeswax. All the beeswax has come out. You can see it here, beautiful golden wax. But the proof is in the pudding. Let's get inside now, take a look. So we're going to do the dirty one first. The mesh bag has done its job. It's kept in all the gunk. And then if you come and look and zoom in here, Xane, you'll see we've just got a bucket full of very dirty water. And then hidden away, we've got a lovely golden Puck of beeswax. Now I always get really excited when I see this and think it's going to be loads and loads of wax, but I know this is old brood frames, there's not going to be that much here. So I'll give it a little bit of a swirl and let's pick it up and see what we've got. So how nice is that? Always show the most impressive side first because the other side is pretty grim, but it's a simple one to clean up. I'll go and get a hive tool, I'll scrape that off now, and then I'll show you the yield from my old black brood frames. So all I'm doing here is just scraping off the majority of the gunk. I'm not taking off any beeswax, and I don't mind leaving a little bit of dirt on there because this will either go in for foundation trade or it'll be further refined. Don't need to go crazy. So that's about where I'm going to get that one to. I'm not even going to bother guessing the weight of that. It's not a huge amount of wax, but once you get all of these throughout the season and melt them down into a big bucket-shaped mold, it comes out as a fairly substantial size. But you look at the amount that's left over in there, you look at all of the cocoons that are in there, I'd probably get a little bit more wax out of there, but there really is a huge amount of work and frames that goes in to get even this small amount of wax. For me, the majority of the time, it's probably not worth it when you actually take into account the amount of wood and fuel and heat and energy that you have to put in to reclaim it. Sometimes it is just much simpler to buy it brand new. So we'll go on to the cleaner one now, and you can see hardly Anywhere near as much stuff in there, but I know if I warmed that up, put it through the apple press, we'd get a lot out again. But in terms of output, it's very, very similar. You might not get the gunk at the bottom of this one. Right, so there is a much, much bigger block of wax in this one here, and you can see we've still got all the gunk and stuff that comes through, but it separates out. So as long as you leave it to fully cool down, you end up with a super nice block of wax just like that. I'm just going to scrape off the majority of that stuff off the bottom. So I've cleaned it right up, still a few bits of grime on it there, but you can see getting it back to where the beeswax is. That there is a very nice block of beeswax. So there we go, this is the clean wax bucket, this is all the dirty wax bucket. Look at the difference in yield. It's not quite as straightforward as this, but it does prove the point. Focus your attention on the nice clean easy wax and then Don't worry too much about the old dirty manky stuff because it doesn't yield that much, but the technique that I showed you today works very well for both systems there and gives you tons more wax that you can use for further refining using pressure if you want. That is definitely going to be the next video in this series. Woo!










