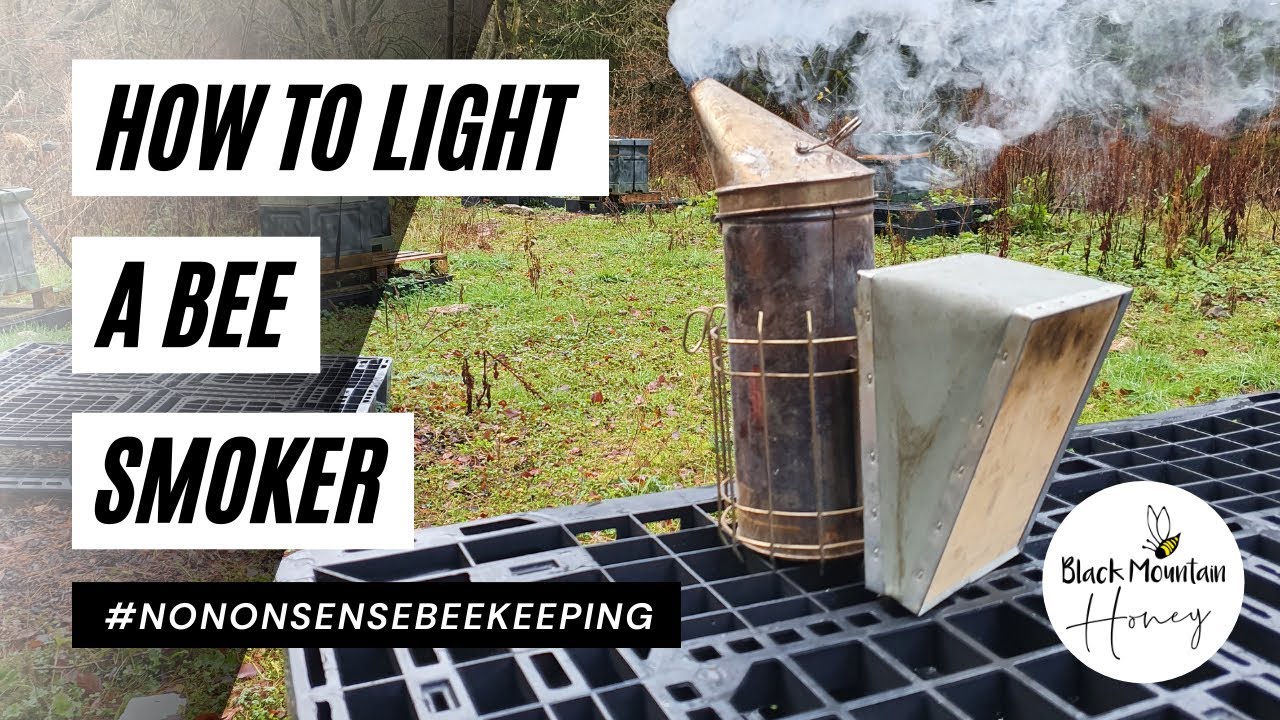
Laurence Edwards of Black Mountain Honey shows how to light and maintain a Dadant bee smoker using dense cardboard, pine cones, hardwood shavings, and a blowtorch. He explains fuel selection, loading technique, and how to keep it burning hot for up to an hour during hive inspections.
Chapters
Hi, I'm Laurence Edwards from Black Mountain Honey. Welcome to another episode of No Nonsense Beekeeping. Today I'm going to show you the fuel that I use within my smoker, how I light it, and how I keep it going for up to an hour at a time. So as you can see, my smoker is quite old, it's a little bit battered, and it's been run over by the truck Twice, um, and it still, still works quite well. So it was originally, uh, well, it still is a Dadant smoker. You can just about see the branding on the back of it there. Reason I went for a Dadant smoker is, is due to the size of it. So you'll notice, I mean, I've got, I've got relatively big hands, but it's probably about a foot long, which means that once you get it going, you can actually add a huge amount of fuel in there, and then that's how you keep it going for an hour at a time. I found when I had much smaller smokers, they worked just as well, but I was constantly topping up the fuel. And the problem is, is that if you run out of fuel, then to get it back up to a point where you can leave it kind of smouldering for a good amount of time, you have to put more work in to get it back up to that point again. So I find with the, with the bigger chamber like this, I'm a lot less likely to run out of fuel, which means I'm a lot more likely to be able to kind of keep it running for a lot longer. So there's probably 100 different ways of lighting a smoker, 100 different ways of getting the fuel in there, but for me it's all about speed and simplicity and kind of keeping it simple. So what I do is I use cardboard to get it going, and I use quite a heavy-duty blowtorch as well. Now another reason why I use the blowtorch is, is if you do run out of fuel and you need to kind of get it back up and running quickly, I don't want to be messing around with a lighter or a match or, or any other kind of way of lighting a smoker. I want something that I can use very, very quickly that gets the smoker back up to kind of optimum temperature as quickly as possible so it doesn't slow down my inspections. So today's video will be a very quick video. I'm going to show you how I light my smoker, the kind of fuel that I use in it, and then the performance once it's up and running. So as a commercial bee farmer, we get 3 a lot of cardboard. We buy a lot of stuff in boxes, so we have a lot of cardboard anyway. We like to shred up some of it and use in our hampers at Christmas time, but we actually end up burning quite a lot of it throughout the season, so it's quite a sustainable form of packaging. So the way that I use the cardboard in the smoker is I tend to just kind of crunch it up. If you've got time, you can roll them up into a cartridge like this. So you just kind of roll it round and then you get another piece and put it on. So you're just rolling it round like that, and what you're aiming for is you want to keep it as dense as you can possibly get it because there are kind of air vents within the cardboard already, and you want to build it up until it's the same diameter as your smoker. So it's just a bit of trial and error. So again, just keep on building it up. Probably got one more to go on that one. So that's the final one. Now when you put that in the smoker, it might expand a little bit, that's fine. You just kind of want to make sure that you fill it as best as you possibly can. The more material you get in your smoker, the longer it's going to last, but also the more difficult it is going to be to kind of light it and keep it alight. So it's just a bit of a balancing act. So that'll work, that'll work fine. Now a lot of the manufacturers sell these as smoker cartridges and they're really expensive, and all they are is just cardboard wrapped around like that, a lot neater than that, and then they put a bit of tape on to hold it in. So I wouldn't recommend buying smoker cartridges from any manufacturer because they're so easy to make, and you'll have cardboard on hand anyway, so just make your own. So then all I do is I take my smoker and I pop the cartridge in, and as you can see, it kind of expands a little bit like that. That's fine. And you want to get the length so it's the full length of your cartridge. You don't want it to kind of come up to there, you want it to be the full length of the cartridge. Then get the blowtorch. You want to give it a few gentle puffs. At the same time. Now, the time you put in at the beginning here getting this up to heat and getting good puffs into it, you save later on by it not going out. So now that's lit. Now you can put the blowtorch down, and you just want to keep that puffing now. And as you can see, as the oxygen kind of flows through it, you're heating that up. Now that's ready to use now. And a lot of people do use it like that. They just use cardboard. They'll probably prepare 10 or 20 of these, keep them in the back of the van or in your garden, and as one of them is going out, you pop another one in, give it a few puffs like that, get the fires going again, and you just keep it going. But you're probably only going to get maximum of 10 minutes out of a cardboard cartridge like that. So what I like to do is I like to add stuff on top of it. Now I'm really not very fussy in terms of what I add on top of it. There are a few things that I don't like to add, so anything that's not natural obviously, so you can't burn any plastic or rubbers or anything like that. That's not good for you, it's not good for the bees, so it has to be a natural product. It has to be very dry, you don't want moist products on there, that will make the temperature go down considerably and it'll give you a poor burn. But apart from that, I pretty much use anything. So one of my favourite things to use is pine cones. I use kind of wood chip, so I have wood chip on the floor here. I'll just pick up a handful of wood chip, preferably hardwood. Softwood works well, but it can be a bit resin-y and it will kind of coke up your smoker. But again, it works. I clean these out kind of every, every month or so. But my main rule is it just has to be lying around, so I don't, I don't really prepare anything. I'll prepare a couple of cartridges before I go out in the morning, And then I'll pick up some stuff as I'm out doing my inspections. There's plenty of trees around, loads of stuff on the floor that you can use. You can use kind of hay or dry grass or anything, but the best thing I find is wood shavings. So hardwood shavings that are dry is my kind of preferred smoker fuel. And then once you get those in, you can put some kind of bigger bits of wood in as well. So if you can find some really nice kind of dry rotting wood and break that up That's a really good fuel to use, and it burns for quite a long time as well. So the balancing act is, is that the bigger pieces that you put in, the longer it's going to last. The smaller pieces that you put in, the higher the temperature of the, the chamber and the, the less time it's going to last. But what you don't want to do is put big bits in that can't catch on fire, because then it goes out. So it's a real balancing act. So you just have a few goes at it and see how you get on. I'll go and find some fuel now and put this in. I'll show you what I mean. Right, so I've just kind of had a walk around the apiary and found some fuel. It's very damp here today, so this is going to be damp fuel, but I'll just do it for the purpose of showing you it. It will still work. So I've got some dry pine needles that I found on a tree, and then I've got the stems of some dead rosebay willowherb that's kind of gone nice and hollow and dry, and then I just pinched off some green sticks as well. So like that, all of that will work. I mean, these kind of sticks here, they're actually starting to bud, which is a bit early in the year for them, but all of that will work. So you've got a nice hot chamber down there, so I'll show you how it works. So you don't want to stick it all in at once. I'll just kind of maybe stick a few of the pine needles in first and then get that going. And you just kind of want to compress it down whilst leaving lots of nice kind of air for it to circulate. And you can see that now, like, that's really starting to catch and go well. And that's what you're looking for. You're looking for that flame on top to be sitting there so you know that there's enough fuel in there and there's enough air in there to keep that fire going. So that's really good. And then I'll get the longer stuff, I'll get some sticks, chuck the sticks in and the rosebay willowherb stems. Like, at this point I'd be putting in the wood shavings, I'll be putting in the pine cones, anything like that. And then you just want to kind of tap it. And this is the important bit— don't think that, okay, that's done. Keep on puffing it and keep on going until it's absolutely roaring hot, because the next step is that you're going to close the lid and you're going to severely limit the amount of air that's going through it. And if it's not absolutely roaring inside there, you potentially put it out. So you really kind of want to go over the top at this point. So big flames like that. Don't do it with your bee suit on because this will melt your mesh. You want to prepare this It will last for a good hour. Um, you can see in there now, that's wet wood and it's on fire just through a combination of the, the intense heat that's in there and the airflow. So this is what I mean by wood chip. We have loads of this on a lot of our apiary floors. So do you mean— So that is wet, half-frozen wood chip. So I'm just going to put a bit of that in there as well, and I'll be very limited on the amount that I put in there. So normally you would do it and it has to be dry, everything should be dry. It's just for demonstration purposes today. And you see how now that's not anywhere near as roaring as it was before? That's because there's a lot of moisture in there, so you just want to drive that off. And then after a few more puffs, you can see it's just kind of like on a nice gentle white smoke now, and that's where you want it to be. You want it to be smoking nicely like that, nice constant smoke coming off of it. You want the chamber to be as full as it possibly can be without being compressed down. You need to have those good air gaps in there. You want the pieces as big as you can possibly get them whilst maintaining a good ability to kind of And then that's it. And then all you do then is you close the lid and that's it. So like I say, that will see you, that will see you going for at least about an hour. I like to keep checking on it every, every 5 minutes or so. You need to give it a puff though, just keep it going, um, and then that will see you for a good kind of hour's worth of inspections. When you come to refuel it, it depends on how far you've let it run down. If you've let it run down so it's empty, I'm gonna have a smoke. You have to start the process again. If you let it run down so there's still some nice real kind of hot embers at the bottom, you can jump straight into kind of putting some pine cones in there, maybe some pine needles, something that's a little bit more flammable, and then go with your wood chippings on top of that and just get the air pumping through it, and you'll be able to build that up again really, really quickly. It's just about understanding kind of how long you've got left on the smoker and keeping on top of it. But the smoker is such, such an important kind of tool within beekeeping. You can see on mine It's very well used. A lot of my colonies, I don't use the smoke on them, but what I wouldn't want to do is go into a colony and not have the smoker ready to go like this. You don't want to open up a colony, realize that they're very angry for some reason, and then have to start and go through that whole process to smoke them, because you're going to be doing it with a lot of bees all over you trying to sting you. Smoke's a really kind of good deterrent to stop them getting into that angry mode. And even just a kind of few precautionary puffs at the beginning just can kind of keep them very calm. Some beekeepers do like to open up the lid, give it a couple of puffs, just as a precaution, and I think that's absolutely fine. And sometimes I'll do that as well, so it kind of depends how I feel and how much time I've got. Just a very quick one today to show you one of the most basic tools that is needed within beekeeping, that is how to light a bee smoker. If you're interested in getting one, I would Highly recommend getting a good quality one. I mean, the leather's good quality, the bellows is good quality, the steel's good, but the big thing for me is the actual size of the Dadant one. I really do like the fact that it's so big that I can get through so many hives without having to refuel it. So that's it for today's video. I hope you've enjoyed it. Just a very simple video to show you how to light your bee smoker. Please tune in next time, and I'll see you soon.










