Paradise Poly National Review
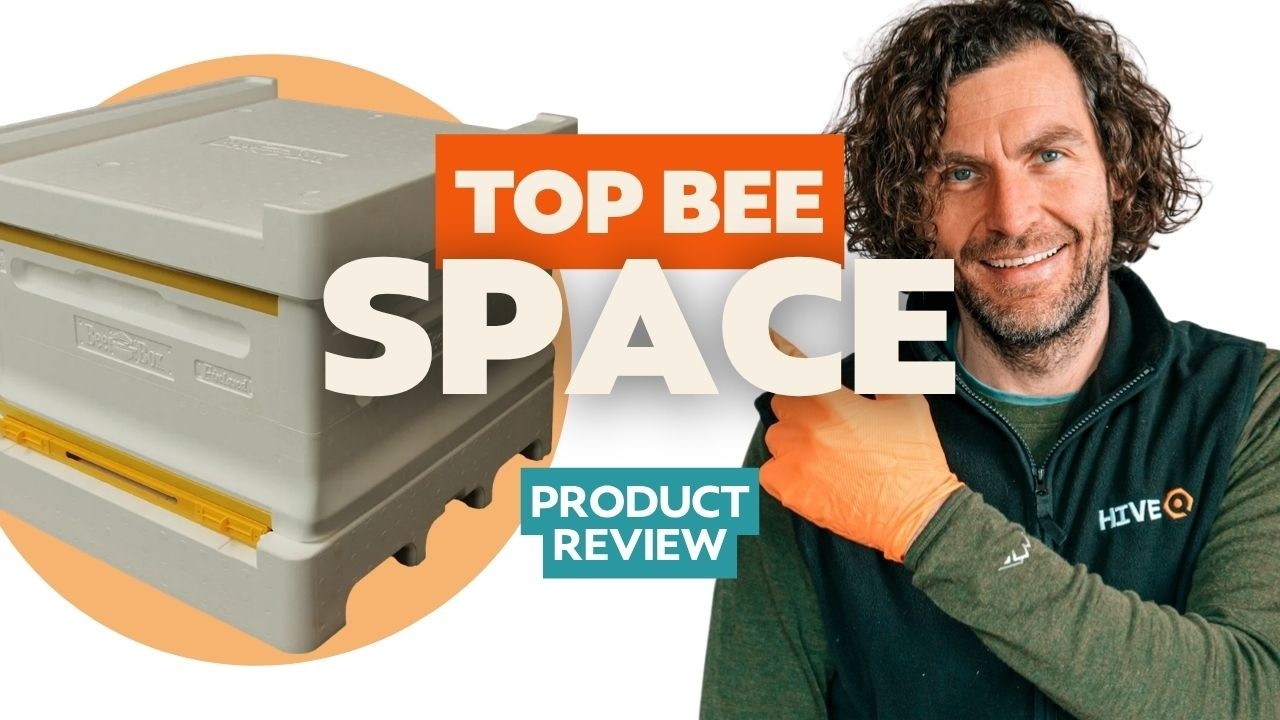
In this No Nonsense Beekeeping episode, Laurence Edwards provides a comprehensive, hands‑on review of the Paradise Polyhive from Modern Beekeeping. He explains that the hive was supplied free of charge and the review is unbiased. The video walks through each component – roof, optional polycarbonate crown board, Ashforth feeder, supers, brood box, queen excluder, floor, and entrance reducer – describing design features such as the top‑bee‑space layout, dense 100 g/L polystyrene construction, flat‑pack assembly with finger‑joint connections, and the inclusion of handholds on all four sides. Edwards discusses practical considerations like painting the poly parts, using a dummy board to prevent brace‑comb, and the importance of a good paint coating to avoid mold in feeders. He evaluates compatibility with the traditional wooden National system, noting dimensional fit but highlighting bee‑space mismatches that can lead to brace‑comb unless a wire queen excluder is used. The review also covers optional accessories, water‑ingress protection via lip designs, and the entrance reducer. Throughout, Edwards balances enthusiasm for the hive’s durability, low price, and ease of assembly with cautions about mixing wood and poly components. He concludes with a recommendation, noting the hive’s strengths, minor flaws, and advising viewers to purchase directly from Modern Beekeeping.
Chapters
Hi, I'm Laurence Edwards from Black Mountain Honey. Welcome to another episode of No Nonsense Beekeeping. Today we're going to review the Paradise Polyhive from Modern Beekeeping. So thanks to Paul down at Modern Beekeeping, he sent me this polyhive and a few other little bits and pieces very generously for me to give you my review of the product. I'm not paid for the review, but the product was provided free of charge. As always though, I'm going to give you my honest review Recommendation of the product. So as you know, on this channel we do like our polyhives. We've gone through all of the national polyhives on the UK market, and this is the final one that we're reviewing. But in this video though, same as all the rest of them, we'll go from top to bottom. We've got a feeder included in this one as well. I'm going to give you my honest review for the roof, the feeder, the supers, the brood box, the queen excluder, the floor. We're going to talk about the spacing, talk about the runners, talk about how many frames it fits in it, Talk about its compatibility with wooden kit. Right, as we say with all of the poly hives on the market, make sure you give them a nice good coat of paint. You can use a masonry paint, or my personal preference, get some spray paint on there or some exterior-grade gloss, and it bonds with the poly really well. Do a patch test first just so it's not going to melt it, but I find the Quick Color from Rust-Oleum is a really good paint to work with. This poly here is made in Finland, and it's 100 grams per liter density. And it's a flat pack design. Now the reason that a lot of these hives are flat packed is to save money on transport. So if you can imagine that if you have to bring a box like this in from Finland and you've got 50 of them on the back of a truck, it's going to take up a lot more space than if you flat pack it down. Probably reduces the space by about 70%, saves a lot of money. So that's the reason why manufacturers flat pack their polyhives, and personally I don't have an issue with it. It really doesn't take too long to put these together, But it's a really nice, quick, simple process. So we'll start with the top, and it's a pretty bog-standard roof. Really nice weight to it, nice solid roof. What it does is it has a lip. So all of these boxes here, they're connected together with a very small rebate. Now that rebate's just for a little bit of lateral stability, but like I say, with the roof here, you've just got a rebate all the way around the edge, and then you've got a, a recess in the middle here where you can fit feed fondant onto your bees if that's what you want to do. So like I said, pretty bog standard roof, nice solid heavy and quite dense material though. So there's no deflections or anything when I'm pushing it in, really nice roof. So then we move on to a couple of optional extras that Paul's kindly sent me with this. The first one is a flimsy polycarbonate board. And I normally say we chuck them away 'cause they're no good for bottom bee space, but these are actually really good for a top bee space hive. It's rigid enough that when you put it onto the box, it doesn't sag down. And the bees don't propolize it down. You can see when you put it on, it sits there nice and level, maintaining that single bee space underneath. So like I say, normally I've got no time for a flimsy cover board, but on a top bee space design, they actually work really well. And it's a nice, cheap, simple, effective crown board. Right, the next optional extra doesn't come with a kit that you get from anywhere that you buy these hives, is a 10.5-liter Ashforth feeder. So you've got your side slot on the side, piece of bent polycarbonate that goes in, and then you've got a really nice big space. Not quite as deep as the Suyenti, but not far off at all. You know me, I love a deep poly feeder like this on top of a poly hive. It's really, really good. Helps with additional insulation in terms of the polystyrene above the cluster. Also, you've got your rebate underneath so it can sit directly on the top bee space. So the rebate overlocks down the side, stops any water ingress, gives you your lateral stability, and then obviously you've got your bee space on top of the frames built into the super below. So whereas we normally talk about having a rim underneath a poly Miller feeder or poly Ashforth feeder to give the bees the movement over the frames, on a top bee space hive you don't need that, so it can work with a flush bottom. But really nice feeder, Definitely, if you're getting one of these boxes, one of these sets, Paradise Poly Hives, I would recommend go for the feeder. Like you see all of the hives that I've got here, I've got poly Ashworth feeders on all of them. I think they're a really good investment. As with all the poly feeders, give it a really, really good coat of paint on the inside. Masonry paint's fine, exterior gloss is fine. Give it a couple of coats though, just otherwise you'll get mold forming on the inside. Right, onto the boxes then, and obviously the supers are the same. It's a nice design. It's a top bee space design, and it's built with the exterior dimensions of the wooden National. So in terms of the actual exterior dimensions, the wooden National sits on here perfectly. Now there is a little bit of an issue with the spacing. So the wooden National is a bottom bee space hive, and this is a top bee space hive. So what you ultimately end up with is frames there, a single bee space on top, and then another bee space, and then your frames. So the These will fill that void with brace comb. But there's a simple way around it, and it does work. And the fact that you've got the exterior dimensions, it's not too much of a workaround to actually get compatibility with this kit. I'll talk a little bit about that later on in this video. So this is how all the boxes come. You have to put them together yourself. You get plastic inserts to go top and bottom. The bottom one gives you the rim, and the top one gives you your frame runner. And they just slot on like that. Really, really easy assembly. And then you've just got a finger joint connection, so there's no dovetail connection, it's just a finger joint. And I'd recommend gluing it together just for added strength. Definitely no need to screw though, you just push it together like that. Same on that side, and it just goes together really, really nice. So it's very much kind of clicked together and it works. So then what I really like about this hive is the combination of a nice dense polystyrene, so 100 grams per liter, and the Like, it's a really clever design because it means that you've got plastic runners on the inside where the frames sit, so you're not going to get any deterioration where the frames are properized down to the poly and then you're lifting it up and breaking it. You've got kind of protection and strength in all of the right areas. In terms of number of frames that you can get in here, this is identical to the Suienti, so you can get 10 DN4, SN4 frames, and then you've got enough room for a dummy board as well. And you need some sort of dummy board in there because otherwise you've got too much space and they will create brace comb. So it's the same, same as all the boxes you can see here. 10 frames plus a dummy board is the amount of frames that you can get in here. Like I said, it is top bee space though. It's not like some of the other boxes on the market where you have an integrated space between the top or the bottom. It's a top bee space hive. So you've got handhelds on all 4 sides. That's something I always look for in a design like this. It makes it so much easier if you've got handhelds on all 4 sides. It means you're not twisting around. Always like to see that. Nice dense polystyrene, really good thickness down all the edges here and here. It's a really nice box. What it does have is this lip that goes down here, and that is to kind of aid in the way that these lock together and also to push excess water off so you don't get any ingress of water. So then on the bottom of the Super, you can see this lip, and this is consistent with all of the boxes, the feeders, and the roof. You get this lip here, And then that overlaps the bottom box underneath. And that gives you protection from any water going in and gives you that lateral stability support as well. So as you can see, when you put that box on there, it kind of locks in really nicely. What this does have is the rebate on top of the frames below. And that's just 'cause of the way it's built. It's a top B space, so you don't get the boxes sticking together where you get the lugs of the frame sticking to the underside up here. So the queen excluder comes with it and it is just a standard 460 by 460 national queen excluder. And you just place that on the top like that. Now the queen excluder is really, really important in this hive because it gives you the ability to share the use with wooden national kit. And what I would say is if you're going to get this hive, see if you can upgrade to a flat wire queen excluder. I think a wire queen excluder will work a little bit better than a plastic one. Although the plastic one is fine if you're just using it for the Paradise system. Paradise. But if you want to integrate it with any wooden system, I would suggest going for a wire-framed queen excluder. Because like I say, then you have the top of the frames, a bee space with the queen excluder, and that wire one stops it kind of interfering in any of that bee space. Then you have another bee space above and then the bottom of the frames. So I think, and I've seen people do this, this system would work well with a nice wire queen excluder over the top to maintain that frame spacing, and then you can go up with wooden National kit. So as you can see, if you take a wooden super like this, place it on top, in terms of compatibility for interior and exterior dimensions, pretty much spot on. The only issue that you've really got is a difference in that frame spacing where you've got bottom bee space super with a top bee space brood box or another super. And like I said, if you put that queen excluder in between the middle, a solid wire framed one, you should get around most of the issues with the brace comb. Now, even if you don't get around the issues of the brace comb, it's still a usable product. It's not ideal. They will brace it up a little bit, but it's something that you probably can live with. But it all comes down to what's most important to you. If compatibility with wooden kit is the most important thing to you, then maybe this isn't the hive for you. If you're looking for a system that can be used with it, but also is a very good system kind of on its own, then it's a really good system to use. What I would say though is kind of work out which way you're going to be compatible with it. So what I wouldn't do is put a brood box, Paradise brood box like that, queen excluder, then a wooden box, and then go on top with another box. You really start to kind of mess up the system a little bit if you do that with the rebates that sit on there. Although they will go around it, it can be a little bit of an issue. I would limit it to the other way around, which is keep all of your poly interlocking on the bottom like that, work all your way up until you've exhausted all of your poly Paradise boxes, and then if you need to, go on top with wooden there. And then all you're dealing with is one seam of potential brace comb, as opposed to dealing with it at numerous parts throughout the hive. So then we move on to the brood box then. Same as the super, takes 10 frames with the additional space for a dummy frame, so you can get a DM1 in there or any kind of dummy frame. Handles on all 4 sides, plastic runners, top bee space. Really, really straightforward, nice solid brood box. I think the bees will do really, really well in here. This is designed in Finland for very cold winters. And I know, I know a few people that use this system, their bees do really well in it. So then moving on to the floor then, and obviously you've got the final piece of rebate for the floor here. So you've got this rim all the way around, kind of like a negative rim, and that's for the brood box to go and sit on and lock into. So I wouldn't recommend using this floor with any other system. I would build up all the way from the floor. So Paradise floor, Paradise brood box, queen excluder, all of your Paradise boxes, And then if you want to use something else after that, then you can use it there. But nice solid floor though. Got a correct insert underneath there so you can do your monitoring. Got a little bit of space, which is always something that I look for, so it's not going to take off all of that debris and detritus when you're coming to look at it. The mesh isn't stuck in, but that's no big issue for me. I can just screw or silicone that in. Nice tight fit though. And then you've got this entrance reducer at the front as well. I quite like this entrance reducer. Gives you the ability to open and close it up like that. And then you've got space for drones to come out on the sides as well. So a nice kind of simple solution to closing up your beehives. I always look for a nice simple solution, but if you didn't want to use that, you could just take it out, stick a bit of foam in there, and then it's easy to close it up as well. So that's it for the review. It's getting very dark here now, so I do apologize if it's gone a little bit grainy in this video. In summary though, I do like this system. As with all of the other polyhives on the market, they've got their flaws and they've got things that I like about them. But there's nothing really major that I don't like about this. The big things that I look for are access in the roof to feed some fondant, handhelds on all 4 sides, compatibility with wooden kit, which I appreciate in this instance isn't perfect, but then a lot of the other hives on the market aren't perfect in terms of their compatibility with the kit as well. Durability of the material is a big one for me, and I've seen people who have had these for 15, 20 years. I know the durability of this kit's very good. And one of the big things for me as well is the price. This really is one of the cheapest poly hives on the market and it's a good product. So I would recommend this product. I would say that there are caveats with it. Don't think that you can interchange wood and poly. So you have poly, wood, poly, wood. It's not going to be a perfect fit like that. But in the middle of the season when you're short on polystyrene boxes, if you want to put wooden boxes on here, it will work. The dimensions work, but the bee spacings are a little bit off, can cause a bit of brace comb. So once again, thanks to Paul at Modern Beekeeping for sending me this. Like I said before, not paid for the review, but I did get sent this one free of charge. If you want to buy this one, I would suggest you buy it directly from Paul at Modern Beekeeping. Give them a call, really good company, really good customer service, and a great company to work with. As always, please hit the subscribe button, please hit the bell so you're notified of every video, and I'll see you next time.










