🐝 Ross Round Sections - Episode 1 - Full Assembly Guide From Start To Finish
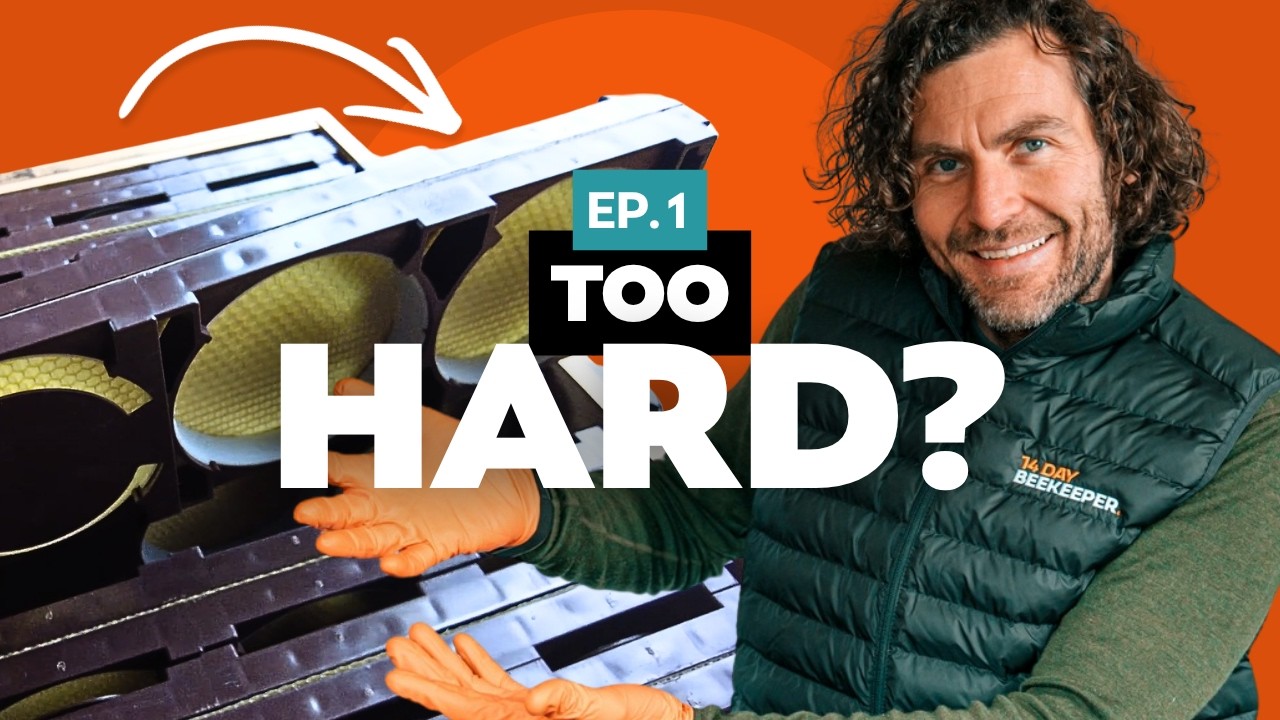
Laurence Edwards walks through assembling a Ross round section kit, a circular honeycomb system for beekeeping. The 30-35 minute build involves gluing and nailing cedar corners, installing lathe rails with spacers, and inserting pre-made frames with wax foundation. Upcoming episodes cover colony prep, harvesting, and selling honey with these sections.
Chapters
I've got another premium channel membership exclusive series for you. This time we're going to look at Ross round sections. We're going to talk about how to assemble the boxes, how to get the bees ready for it, harvesting, packaging. We're going to do from the very beginning to the very end on Ross round sections. So first off, a massive thank you to Thorn Beekeeping. You're going to be hearing their name a lot because they are sponsoring this series. They have provided me with one fully assembled Ross round section kit, and they've also provided me with an unassembled kit that I'm going to put together in this video. As I said, first video, I'm just going to show you how the kit comes. I'm going to assemble it and get it ready to go onto the bees, and then later on in the season, I'm going to show you all of the steps that you need to know in order to make sure that you're getting the best out of your Ross Round sections. We will cover everything in this series. So today we're doing assembly, then we'll talk about how to prepare the hive to get the Ross Round sections on. We'll talk about the management throughout the season, harvesting, packaging, labels, selling, absolutely everything. I hope this is something that you're interested in and something that you'll find useful. So let's jump straight into it then. So this is what a case of Ross round sections looks like. It's made of cedar, it's got handhelds, and it's a little bit shallower than a National Super. These were patented in America, and it is a little bit of a shame that they're not aligned into a wooden National Super, but it's kind of impossible that they would be. So that means you do need a completely separate box like this, and then the frames, they are patented. You can only get them from a couple of places, and they're manufactured out in America. I have to say though, I love the design of Ross round sections. It's so neat. It works so well, and the bees really do like this circular shape. In terms of an end product, I don't think you can get much better than a Ross Round Section. What I'm not keen on with them though is that there is a huge amount of plastic that's involved. I'm going to look at seeing if I can do some sort of recycling scheme with these. Not quite sure how I'm going to do it yet, but I'm definitely going to look into it because I do think there's scope for some sort of recycling scheme to eliminate or at least reduce the amount of plastic waste that you're getting. Each side of the Ross Rand though, this is how they come when they're pre-assembled. You've got your plastic inner ring there, you've got your thin comb foundation in the middle, and then on the other side you've got these 2 blanking plates. If you turn it over like that, you have the reverse on the other side. So foundation there, and then your blanking plates there. When you're putting these back in, you need to make sure these are the right way round. We'll cover this on a future video, but that there is the wrong way round. Needs to go in the correct way. And you can see all of the ones with the blanking plates on the front need to go in the same direction because on the other direction you can see there you've got the foundation. But we are jumping right ahead there. That's what it looks like fully assembled. In this video I'm going to show you how to fully assemble the kit that comes from Thorn because it's a lot cheaper and it's really simple and easy to put together. So this is how the section rack comes. Got my classic Thorn labels. It really is kind of iconic, that label, isn't it? They've got QR codes on there as well that links into their YouTube channel. And links into the assembly instructions. I really like that. I love whenever I get something from Thorn, they really thought about everything. The instructions are good, they've got QR codes linking to very good assembly videos, and also they give me stuff to try, which I absolutely love. Let's take all this apart though and see what it looks like. It's the little things that always make me smile whenever I open up a package from Thorn. They've got compostable paper tape. It's It's not plastic. They really do care about the environment there. Call that a shameless plug if you want, but you know what? I really do like it when I open up packages from Thorm. They've really thought carefully about trying to eliminate as much plastic waste as they possibly can, even down to the little details like a plastic bag of nails, biodegradable plastic. You can put it in with your kitchen waste. I love all of those little extra touches. So the kit has absolutely everything you need in order to make up the section rack. Only thing you need to add is some glue. So here's the instructions. Really nice and simple. As I said before, you've got a QR code for people who want to watch it as a video form. I find that really helpful, but the diagram's pretty good, and then you get good text instruction as well. So first thing you need to do is identify the 4 edges that are the same thickness and then fix them together, glue and nail it with handles on opposing sides. So I've just got some standard PVA glue, little brush, obviously exterior-grade glue. Identify your 2 sides where you've got your handles. You want your handles facing upwards like that, and then your next 2 sides there and there. And we're just going to glue all 4 corners, nail it, make sure it's square. So once you've got your box like that, you need to make sure it's square. You can do that by measuring from corner to corner, or what I've just done here is put it on the other one, which I know is square. Really important to get this square though, so measure from corner to corner, should be the same distance either side. So what you then do is you need to place it upside down so the handles are the opposite way up, and then on the thinner side— so this bit of wood over here is thicker than this piece here, that's the bit that's got the handles on— you need to place your first lathe across like that. All you're going to then do is pin them into position with the gimp pins. You then have 4 wide spacers like this and 4 narrow spacers like this. What you want to do with these, place a wide one on one end. It's going to fall down when you do that. And then a thin one on the other end like this. Once you've got it into this position here, you've got your long lathe there, a thin spacer, and a thick spacer. You go in and you place your next lathe flush like that. All you're going to do then is repeat the process, keep on going until you get all the way to the other end. So that's what the bottom should look like. That's where your handle is. This is the underside. You've got your thin strip at the top with the thin spacers, lathes going that way, and then you've got your thick spacers along this end here. So once you get it to this point here, it's really, really easy. All you need to do is put the frames in. They're pre-made, they come assembled, and all that is left to do is just to pop them open like this, ease them open, and you just need to trap the thin wax foundation in between. So here's the foundation, Thorne's Premier Thin Foundation. You place it on, it's the exact right size, and then you clamp the 2 faces together, making sure that the rings are still in situ. You should be able to feel it clamp together, goes together nice and tight, and then you can place your Ross round section frame into your section wrap like this. Keep on doing that until you've completely filled up the wrap. Make sure they're all the same orientation. Don't alternate the ways round. I'll show you what I mean now. So that's what they look like. They clip together nicely. Place them the right way up. They've got a little lip at the top there, if you can see that. That wants to face upwards. And then what's really important is making sure that when you line up the next one, you're lining them up the right way. So you see you've got 2 open here, 2 closed here. You need to put them on the same way as before, like that. So you can see them both in. That's how it should go. Don't put them in like that where they're alternating, because then you're not maintaining the correct B-space. So that's the correct way. So there we go, I've got all my frames in there completed with foundation. What you need to do now is push them all over to one end like this and you'll see that it leaves a little bit of a gap. This is where the final bit of wood comes in. In the Ross Round, it seems that if you just put that piece of wood in there, it pretty much fits. But you also get a little spring clip like this. If there is a bigger gap for some reason, you can put this spring clip in. Just goes into this gap here like that. You force it down and then that will keep the piece of wood nice and tight, compresses all the frames together, maintains your bee space for you, and that is the section complete. So there we go, that's the section rack complete and the Ross Rounds ready to go onto the beehive. I have to say, That was difficult. That took me a lot longer than I expected it to take. Probably took me in the region of non-stop about 30 to 35 minutes. If I was going ahead and buying these, which I will do, I'm going to buy some more of these. I am going to buy the assembled racks. Everything comes is completely made ready to go. All you need to do is put it onto your beehive. So what we're going to do in the next episode of this series is prepare the colony to accept one of these section racks. They fit perfectly on a national hive. They do Langstroth versions as well. There's a few other different versions if you're on a different format, but what we're going to focus on in this series is how to get the best out of these section racks and how to make sure that the bees really focus on the Ross rounds so you get them drawn out and completely full of honey. So that's the end of the video. Hope you enjoyed that one. I'll see you next time.










