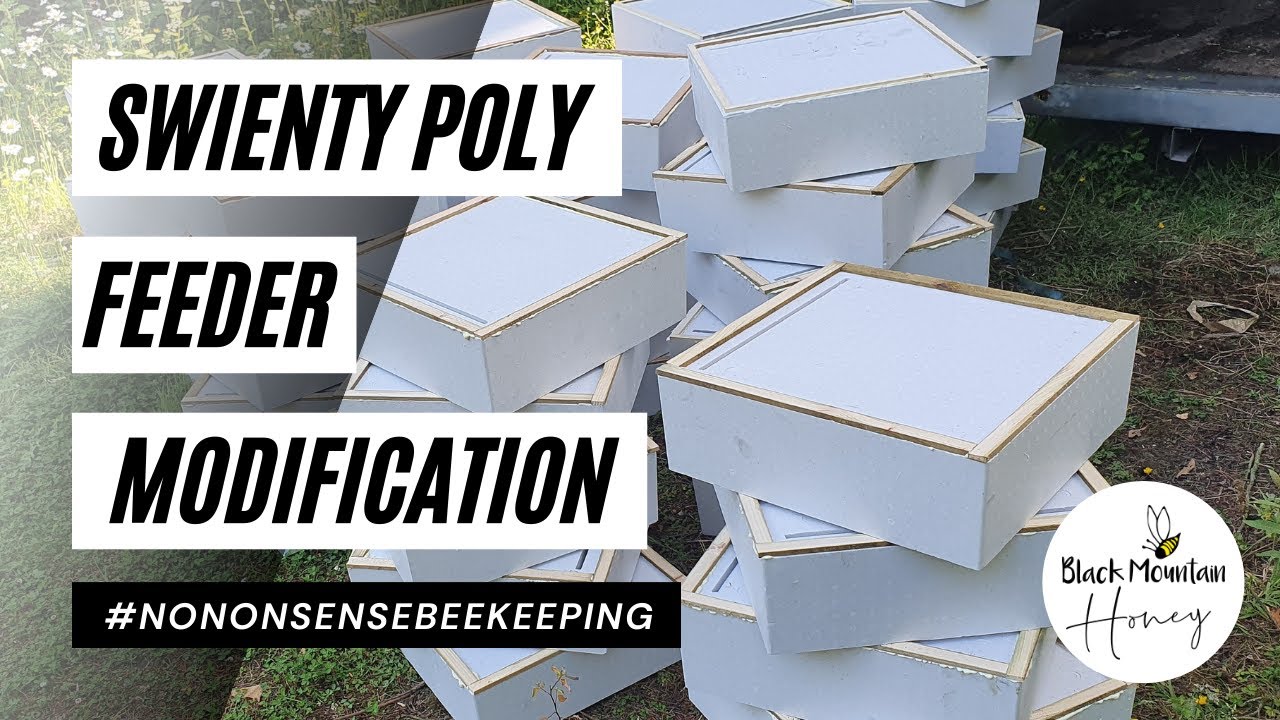
Laurence Edwards shows how to fix a Swienty poly feeder that crushes bees on bottom-bee-space boxes. Glue 8 mm timber strips to the feeder base with polyurethane, then pin them with a Makita nailer. This cheap modification eliminates the need for an expensive queen excluder and lets bees move freely over the feeder.
Chapters
Hi, I'm Laurence Edwards from Black Mountain Honey. Welcome to another episode of No Nonsense Beekeeping. Today I'm going to show you how to modify a Suyenti poly feeder so that you can use it without crushing bees. Now that's what the Suyenti poly feeder looks like. I always recommend a top-style feeder like this for your poly hives. Get one as big as you possibly can, So Suyenti do one, Abelo do one, really good one from Abelo. BS Honeybees are working on one. I know that they're going to bring one out in the future. Maysmore do one, Paynes do one, everyone does one, and they're all, they're all much of a muchness. The reason I use the Suyenti is, you guessed it, they're the cheapest, and they're the cheapest by quite a long way when you buy them in bulk. They're also a really, really good design in terms of the ability for the bees to get up and feed. But at the same time, they're an absolutely shocking design in that there's no rebate on the bottom. So if you were to use this on a standard Suyenti bottom brood space box— so if you were to take a standard Suyenti bottom bee space brood box, a bit of a tongue twister, um, and put the feeder on it like that, what you're left with is a huge amount of crushed bees. Like, it just doesn't work. So I don't know how Suyenti think that's an acceptable feeder to make with their boxes, because you're just going to get lots of dead bees. And then once you've got dead bees, they're just going to propolise that down. It's going to start pulling the poly away from the bottom. It's terrible design, absolutely terrible. So what you need to do is you need to come up with a solution, and the solutions are quite an easy fix. So what you do is You either take a queen excluder, a wire-framed queen excluder like that, put that on the box. It's a bit of a juggling act. And then you put your feeder on top of it like that. So that's what I've been doing for the last 3 years. That works really well, but I'm moving away from wire-framed, so wooden-framed queen excluders. Because A, they're expensive, and B, they break a lot. So I'm not a massive fan of them anymore. I used to really like them. So I don't want to have to kind of keep on buying wooden-framed queen excluders to get this to work. So I've come up with another solution, and that's what I'm going to show you today. So it's a really simple solution. All I've done is I've taken some tanalised treated timber, taken it on the, on the table saw, Cut it to the right dimensions. So all I'm going to do is I'm just going to glue that in place now. So I use a polyurethane glue and I use a nail gun to hold it in place. So these strips of wood, I cut them at 8mm. Doesn't matter really so much the width, it's the depth that's important. Need to be a single bee space, so we're using 8mm gap, and I use a tanalised treated wood. There's no risk of that kind of getting into any of your hive or anything, just means that that's going to last a lot longer kind of in wet winter conditions. So all you do is you take a 5-minute polyurethane glue. Now this will work with a wood glue as well, just a standard exterior-grade PVA. I really like the polyurethane though. It's not that much more expensive, but it's gap-filling, so it means that it'll kind of fill all the gaps. If you've left a little bit, you can just blodge it in and it expands a little bit like a foam. and sets rock solid, um, and bonds the poly to the wood very, very well indeed. So that's the choice of glue that I would always go for. So you just want to put like little beads. You really don't need much glue, just a bead. I then take one of my favorite beekeeping tools, which is the Makita pin nailer, and I use a 30mm pin. And then I just go around and just kind of secure it in place. And that's it. Doesn't need to get it perfectly square, you just need to make sure that it's sealed on each of the corners. You can already start to see that glue using the filling effect, so it really, really bonds well to that. And now you don't need your wire-framed queen excluder anymore. That will sit directly on top like that. Creating a good seal all the way around, and then it gives the bees freedom to move over those frames whilst accessing the feeder. So a really quick, simple, easy mod to get the Suyenti poly feeders to work with a bottom bee space brood box. So definitely worth pointing out at this point, if you can't be asked to do that— sorry, can't be bothered to do that— buy the Abello one. It's probably about a tenner more than the Suyenti one, but it's got that job already done. It's got the plastic inserts, everything's a little bit upgraded on the Abello one. So without a shadow of a doubt, the Abello one is the superior poly feeder. It's just a bit more expensive, but you kind of, you get what you pay for in beekeeping. So I mean, read into that what you will, but the Abello is definitely better than the Suyenti. For me, when I'm buying a lot of these, kind of 100 at a time, The savings make quite a big amount of difference, and then I don't mind just pinning some some little runners on it like that just to get it to work with the system. So that's it for today's video. Short and quick one showing you how to use the Swienti poly feeder on bottom bee space brood boxes without crushing bees by gluing a little eight millimeter an eight millimeter rim around the bottom face in order to stop you crushing those bees. So I hope you've enjoyed the video. Please hit the subscribe button. Please hit the bell so you're notified of every video, and I'll see you next time. Bye.