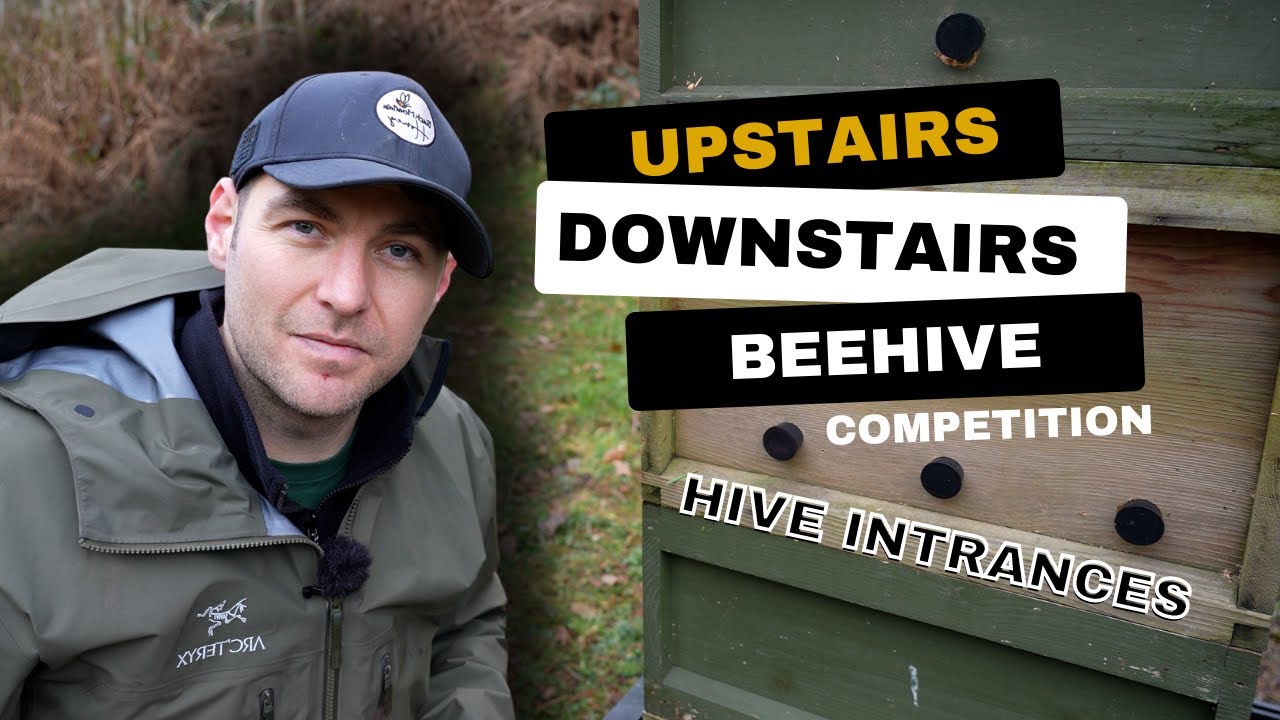
In this hands‑on video, Laurence Edwards tests a new BeeWatch product – the Upstairs‑Downstairs hive entrance – by unboxing the kit, assembling the components, and installing them on a three‑box hive setup. He explains the design concept (a small, defensible bee‑space slot that can be solid or ventilated), walks through drilling three precisely placed holes in the brood box, fits the curved plastic inserts, and secures the plugs. Edwards outlines his hive layout: a basement box beneath the main brood box, the brood box itself with three entrances, and a super above with a fourth entrance, all on a solid floor to eliminate traditional floor entrances. He discusses the intended benefits of reduced vermin and wasp entry, improved bee access, and the flexibility of plug options. Throughout, he emphasizes his enthusiasm for trying new beekeeping gadgets, invites viewers to comment for a chance to win a pack of entrances, and directs them to BeeWatch for further information.
Chapters
We're going to say goodbye to the traditional beehive entrance on one hive for one year, and we're going to have a go at using the upstairs downstairs hive entrance. Stay tuned to the end of the video because I'm also giving away a pack of these entrances to one lucky subscriber. So you know me, I love to try something new. If there's a new gadget, a new gizmo, a way of doing something differently, I love it on this channel, and I'm always open to trying new things. If you watch the channel, you'll also know that I'm a massive fan of underfloor entrances. Anything you can do to help the bees out, make it easier for the bees, reduce vermin entry, reduce wasp entry— surely everything and anything we can do to make that beehive easier for the bees to manage should be considered. That brings me on to this book here, The Upstairs Downstairs Beehive Using Hive Entrances. And that might sound like I'm saying entrance wrong, but it's not. It's called a hive entrance. So these entrances were sent to me by Beewatch. They were sent to me free of charge, not paid for the review. I can say what I want. In this video, I'm just going to show you how I put these into my hive, talk to you a little bit about how they work, show you the assembly, show you the installation, and I'll give away one pack to one lucky subscriber at the end of the video. So that little pack there, that was a little add-on pack. This is how it comes. It comes in a brown cardboard box, loads of little bits in there. I love it. So we're going to go through this now and I'll show you what's included in the box. So this is how it comes. You get a lovely little book with it as well. I'll show you some pictures in there. Gives you all the instructions. And then you get a box with all the bits in. Let's open that up. Right, first thing you get is some mounting instructions and assembly. Always handy. You get a little screwdriver and some screws. I love it when you get kits and they include all of the little bits and I don't have to go and find my drill. Always handy. You even get a drill bit ready-made for the exact size of hole that you need. I love that. Just makes it so easy for the installation. Then you get these black bits of plastic, and this is essentially what it is. You've got 2 black bits of plastic. This is model 2, so you've got the curved edges, and then you drill the holes, and then you've got a selection of either solid or ventilated plugs. That's probably not gonna make a huge amount of sense. Let's get a beehive, let's assemble it, and let's show you how all of that fits together on the hive. So the instructions are really nice, even gives you a template for cutting it there, so we'll follow that template. You need to identify this side of whatever wooden hive you're going to use. I assume this side here is used so you get the protection over the entrances. You kind of get like a little mini landing board as well. And then all we're going to do is we're just going to drill 3 holes as detailed on the instruction booklet into this side of the beehive. So the way that the hive is set up is a little bit strange. You wouldn't normally expect for this to be the way. So this box here, I've got a 14 by 12, that's going to be my brood box. And in your main brood box, you put 3 of these entrances. I'll line them up, show you that in a sec. And then on the super above that, you have 1 entrance up in the super. Queen excluder between the 2 means that in total so far, you've got 4 entrances throughout the hive. You have a solid bottom floor, but then the really strange thing that they do, and I do understand why they're doing it, they put another super underneath the brood box and they use that as a basement level. There's loads of information on their website. You can check it out if you just Google BeeWatch or upstairs downstairs hive or hive entrances. Loads of information. I won't regurgitate it on here, but now I'm gonna show you how to put this together. Right, first things first, I'm just gonna drill my central hole. I've roughly marked it out, but come on, this is no-nonsense beekeeping. These aren't gonna be perfectly level. Just gonna get the drill in, go straight through with that drill. I don't know about you, but I love the smell of shaved cedar like this. It smells like Love Hearts, which if you don't know what that is, that's a kind of sweet. But I do, I really love the smell of shaved cedar. Right, so we've got our 3 holes drilled now. Like I say, they're not level, but you're clearly gonna take more time than me doing this. Let's get the entrances on the back and I'll show you how they work. Right, so that's the setup on the bottom of the brood box. This is where they say to do it. Your brood box there, 3 holes drilled towards the bottom. You've got the markup on the assembly instructions. Next thing you're gonna take is this black piece of plastic. And if you can see down there, that's the access that the bees are going to get. So it's not an underfloor entrance, but it's using a very similar kind of entrance in that it's reducing it down to a small amount of size and a very easily defendable gap. So that gap there is a single bee space. And then the second design of this with the curve going around the edge like that makes it more difficult for any wasps that are getting caught up in that entrance. I'll show you how to fix these up now. So again, I love the fact that you get the screwdriver and the screws. This is the inside of that body, and all I'm going to do, get that out of the way, and I'm just going to place that over it there like that. And that's it, that's pretty much it complete. So we'll get that into position, we'll screw it down, get the plugs in as well, and then we'll talk a little bit about how we're going to set up that hive. And there we go, all 3 of them are in. They've been really careful to make sure they're maintaining the bee space there, so the entire unit is a single bee space, and then the entrance is there. Entrances, I should call them. That is a single bee space. And as you can see, the bees will come through the other side and then they'll come through this slot here. It's a very easily defendable slot for the bees, and I'm really interested to see how the bees are going to manage these entrances. So you can see there, I've got my 3 entrances on this side. Turn it around this side and you can see you've got your 3 open plugs there. And then in the kit, you get a ventilated plug option and you get a solid plug option as well, like that. So if you want to block it up, you've got solid options to block it up and take it somewhere. If you want to ventilate it and you want to leave the bees in situ while the farmer's spraying his field or for whatever reason, you've got the option here to do that. So good amount of flexibility. And then you're just going to stick that directly onto a solid floor. And these are going to be your 3 main entrances into the brood nest. I'm going to take over there now. I'm going to set this up as I'm going to run it in the season, and I'll talk you through it a little bit more. As you can see, we've got this bottom box on here. That's going to be my basement box. I've got my middle box, which is a 14 by 12, and then I've got my top box, which is acting as a super. Probably worth pointing out that I'm trying to move away from moving shallow boxes as supers, so I'm generally using now a mixture of 14 by 12 and National Deeps. Sometimes I just use National Deeps all the way through, but in the material they sent over, you can imagine that this box here is a shallow, and then this box up here is a shallow as well. So this is the main brood box. And then the other 2 boxes are shallows. This is a basement box. The idea is that the colonies don't like the entrances to be at the bottom, and then the queen will move down and work this bottom box as well. Not 100% sure on if I like that or not, or how exactly that's going to work, but I'm going to run these throughout the season. I'll do a few videos on them showing you how the bees are getting on, and hopefully they'll work really well at protecting against vermin, protecting against wasp attacks as well. You can't see it, it's just out of shot. I've got this on a solid floor. There's no entrance on the floor at all. The only way to get into this hive is through one of these 3 slots here or the one at the top, and you've got all of the good protection that the entrances give you. So I'm really excited to see how these get on. Don't forget, if you want to be in with a chance of winning a pack of these, I'll send them out to anywhere in the world. Make sure you like the video, stick a comment telling me where you live, and make sure you're a subscriber to the channel as well. But take a look on BeeWatch, they've got loads of information on here, lots of people using these entrances. Apparently they do really, really well. If you want to see any more of our videos, check out this video here showing one of the swarm management techniques we use throughout the season.