What Is A Follower Board - How to Make a Follower Board - Follower Board Vs Dummy Board
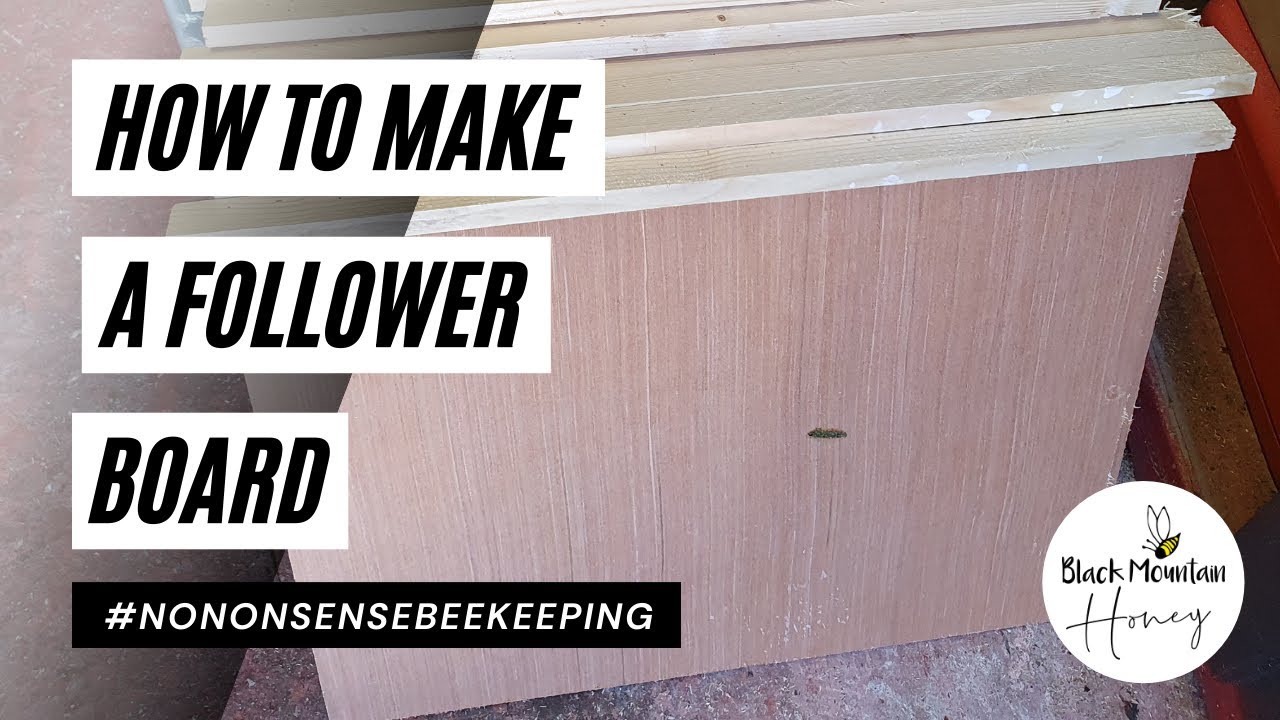
In this No Nonsense Beekeeping episode, Laurence Edwards explains the distinction between dummy boards and follower boards, why the subtle difference in bee space matters, and how each tool can be used to manage brood volume and colony expansion across various hive types (Suyenti, National brood box, 14 × 12, poly, wooden). He demonstrates a low‑cost DIY method for building a follower board from 12 mm hardwood plywood and a matching plywood batten, detailing measurements, glue application, pinning, optional screws, and sealing with Vaseline to prevent moisture ingress. Edwards compares the economics of homemade boards (≈£0.60 each) with commercial equivalents (£5‑£6 each) and offers practical tips for fitting the board, handling it with gloves, and positioning it for optimal insulation (against walls in poly hives, centered in wooden hives). The video concludes with a brief call‑to‑action for viewers to subscribe.
Chapters
Hi, I'm Laurence Edwards from Black Mountain Honey. Welcome to another episode of No Nonsense Beekeeping. Today I'm going to show you how I make my follower boards. So some people call them follower boards, some people call them dummy boards. There's not a huge amount of difference between the two, although there is a slight difference. So the main difference is a dummy board give you a full bee space all the way around the perimeter, and this allows the bees to kind of come through the sides and go through underneath, whereas a follower board will completely restrict that down to about 1 millimeter. You don't want to make that the exact same size as your hive, otherwise it's really, really difficult to get it in. So I find 1 millimeter all the way around the edge, and then it slots in perfectly. And then what that gives you is the ability to restrict the kind of volume of your hive to your exact requirements. So on a Suyenti box like this, um, I really don't like the internal frame spacing on a Suyenti, but they're cheap boxes, that's why I use them. But you get 10 frames, so 1, 2, 3, 4, 5, 6, 7, 8, 9, 10, and then you get this really awkward shaped gap there So you can't fit the 11th DN4 frame in, but you can fit a DN1 frame in there. So what I've done previously is I've made up DN1 frames with a Corex insert and used that as a dummy board. That worked really, really well. When I moved over to 14x12 though, you can't get a 14x12 in a DN1 variant, so I've had to make something up myself. So this is what I made previously. This is just a DN1 frame, so as you can see, it's got none of the spacing either side there. And then in the middle, I've just used a Correx insert. And as you can see, that fits really, really nicely in the Suyenti. So if you're doing this on a national brood box, not a 14 by 12, I just recommend doing this. This is a much, much easier solution. So then you've got your 10 DN4 frames and then you've got 1 DN1 frame. And then all I've used there in the middle is the Correx sheeting. So I get that from a local kind of builders merchants. It's 2mm thick, it's very, very cheap, very flimsy, and if it exposes to UV, it does degrade quite quickly. But in a hive, absolutely fine. So like I say, if you've got a National Brood Box, that is what I would use. Really, really simple. You can pick up the frames really cheap. They cost me about kind of 50p each to make, something like that, and obviously, I mean, you want to buy them online, they're about £6 each, so much, much cheaper. Really, really easy solution to fill that gap in the nursery empty. So why do we use a dummy board or a follower board? So if you were to come to your hive like this, you need kind of some way of moving the frames around. So what I like to do is to come down Pick out the first dummy board, and then the way that I do it is I put the dummy board there, and then I will inspect that frame, move it to there, I'll inspect that frame, and I move them along, and then I replace the dummy board at the other end. So that's what I've been doing with my normal brood boxes. Now one of the issues that I have with using this as a DN1 frame is I find it quite difficult to pick this out, so I have to use my nails to do it here, but with gloves it's really difficult. So with the follower board, I've made it so the lugs are not quite as big, so they don't come all the way to the edge. So all I do now is I get my fingers in and it works so much better like that. Another thing I've done with the follower board is I've made it so it's not taking up this full space here, so I've got a little bit of play on it. And then what I do is I keep that side of it flush and I keep that side of it there with the same lip that you'd get from a DN4, and I put them in that way. And all I do is I just give it a little bit of space and just do that by eye. You can do it the other way around as well, and that works Just as well. I find it tilts a little bit that way, so I like to keep the flush end on it. And I do the same, so come to the hive, take my follower board out, just move them along, and then I put my follower board back in. Now, when I was using my dummy boards, If you can see that, you've got a bee space here and a bee space there. And then on a national hive, you have a bee space underneath as well. Now with the follower boards, there is no space. So you can see I've probably got 1.5mm over both sides. I've got 1mm on this side, 1mm on this side. That's really, really important with the follower board. The same with the bottom as well. In a bottom bee space hive, you want the board to go all the way to the floor, and then what that does is it completely restricts the brood. So what it gives you the ability to do is, say you've got, say, 3 frames of brood, little mini nuc, something like that, put it right up to the wall, put your board in, and then you've just got a little colony there. And they think they're in a really, really small box, like a little mini nuc. And then as they expand, you can just move that board along, put a new one in. This is the best way to get your bees to expand, as opposed to having a full colony and having empty frames of foundation either side. You just keep them confined to the correct space and then give them an extra frame just as they need it. That's the best way of getting your colonies drawn out. In poly, I always keep them right up against the wall because this is so insulated. If you're in a wooden hive, I would put them in the middle like that, so you have a follower board on either side and then you've got a void of air on either side like that. And what that does is that keeps them really, really well insulated, keeps them away from the cold wall. And you've got this nice pocket of air that kind of provides additional insulation for them. So that's how I use dummy boards, and that's kind of like the difference between a follower board and a dummy board. Right, so now you understand the difference between a dummy board and a follower board, and you understand how to use each of them within your hives. Now I'll show you how to make a follower board. So this is all I'm using now going forward is follower boards. And like I said, the only difference between the two is the lack of bee space all the way around the perimeter. So this is what they look like. No-nonsense beekeeping, we keep it really, really simple. There's nothing fancy here at all. So all this is is one piece of ply and one piece of ply baton, and all I've done is I've just glued along there, pinned it in with the nail gun. Left it to dry. It doesn't get much more simple than that. So you can get someone to cut these pieces of ply for you, but if you want to keep it cheap, cut them yourself. Makes it so much easier. I buy full sheets of ply and cut them down to size. The measurements of this are going to be completely dependent upon the box that you're using. So if you're doing it in a National Brood, or you're doing it in a 14 by 12, or you're doing it in a Langstroth or a commercial, you need to work out the dimensions of your box. You've got to remember though, the idea with a follower board is that the bees cannot get from where they are to the other side, so don't leave them a gap anywhere near. So just measure the inside of your box, make sure you don't leave the gap anywhere. So like I say, all I've done with these— I'll show you a couple of pictures— bought sheets of ply, cut them to the correct size. I use a 12mm hardwood ply. If you can get it secondhand and it's not delaminating, go for that. Really, really cheap way of doing it. And then these ply batons, all I do with these is I get some 4x1 wood and then I rip it down on the table saw so that it's the same depth as the top bar lug. Yeah, needs to be exactly the same depth as the top bar lug. You see that? Exactly the same. And then the width doesn't really matter, but you need to work out how it's going to fit in your box. So we'll come back to this Suyenti again. I've got my 10 frames DN4, and then I've got my DN1. When I had it under this setup, the DN1 was a little bit too wide, so all I've done is I've just taken that down a little bit, taken it down from like 24mm down to about 18 or 19mm. So that's the dimensions I've got here. That's the same depth as a top bar lug, and then it's 18mm across. So now take the plywood and I apply a liberal amount of exterior wood glue. So make sure you've got a really, really good amount of wood glue all the way along. You want that mating face to kind of join up perfectly with the, with the batten. So then you get the batten, place it on. You want the lugs to be roughly equidistant. And then you want to pin it with the nailer. And I keep it flush along there, and then I keep a lip on that side as well. That means you can use it 2 ways. And then you want to go along there, stick loads of pins in, keep it really, really nice and tight. You want to make a good contact between the batten and the ply. So don't worry if you haven't got a nail gun for that bit. You can just use kind of hammer and gimp pins. That'll be fine. All you're doing there is you're just kind of giving it a temporary hold. You could also do it with clamps just to kind of get that wood, the 2 faces to meet completely so that glue can give you all the strength it needs to. And that's it. That's the follower board complete. Like, it really, really is that simple. Like I say, it's no-nonsense beekeeping. We don't come up with any kind of stupid fancy designs. It's essentially a piece of ply with a batten on top, and they're glued together. Exterior-grade wood glue is really, really strong, so that's going to give you all the strength you need. If you wanted to, and you wanted to go kind of like with a deeper lug— sorry, a wider lug— you could drill and screw that as well to give you additional strength. I found when they're so thin like Like this, even the smaller kind of 3mm screws, it was splitting it. So I just, I don't think it needs to be screwed. I think kind of as long as you get a really, really good amount of glue on there, that will keep it strong enough for you. And then that can go straight in. So then what I do before I put them in the hives, I put Vaseline all around the exposed plywood edges there. You could kind of put another glue or a sealer on there as well, but I find Vaseline works just, just as good. And then that's going to stop the ingress of water in the kind of moist, moist environment of the hive. stop that plywood delaminating. But these will last for absolutely years. They're really, really solid. I think they probably last a bit better than these as well. Although these are good and cheap, I prefer to kind of go with these. So I made 100 of these, cost me about £60 in materials, um, so it's about 60p each. The other ones cost me similar, about 60p each. You're going to buy those online, they're probably kind of between £5 and £6 each. So where I've made 100, it's a difference between kind of £60 or £600. So So you can see why these are such a good thing to use. You don't necessarily need these in your hive. It completely depends on how you manage your bees and the boxes that you use. But I do find kind of using a dummy board or a follower board does make kind of hive manipulations a lot easier, and that's why I use them. So that's it for today's video. Really hope you've enjoyed it. Please hit the subscribe button. Please hit the bell so you're notified of every video. I'll see you next time.










