Simple makeup in this goddamn heat
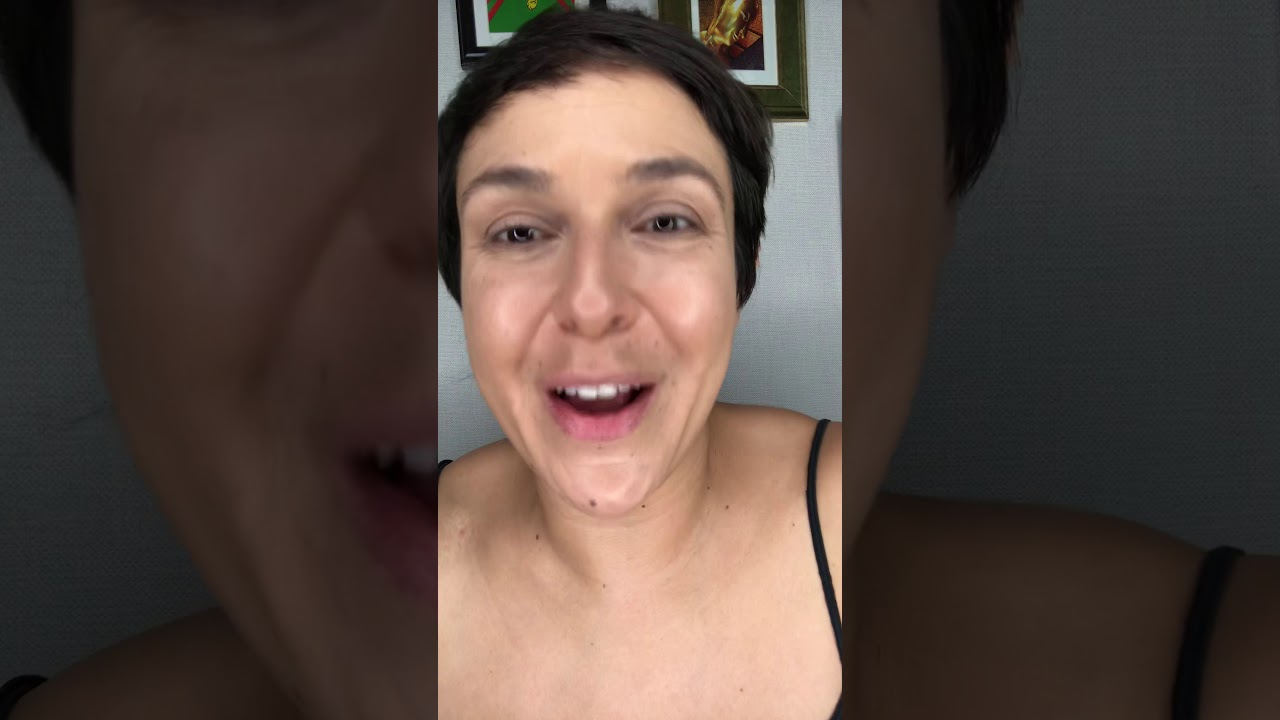
Megan Vigil walks through a makeup routine built for Bangkok heat. She skips mascara, uses lightweight SPF-20 foundation with a pop technique, and applies cream shadows with a fluff brush. Brows get the Anastasia Golden Ratio method, and blush goes in a Raggedy Ann placement to lift the face.
Chapters
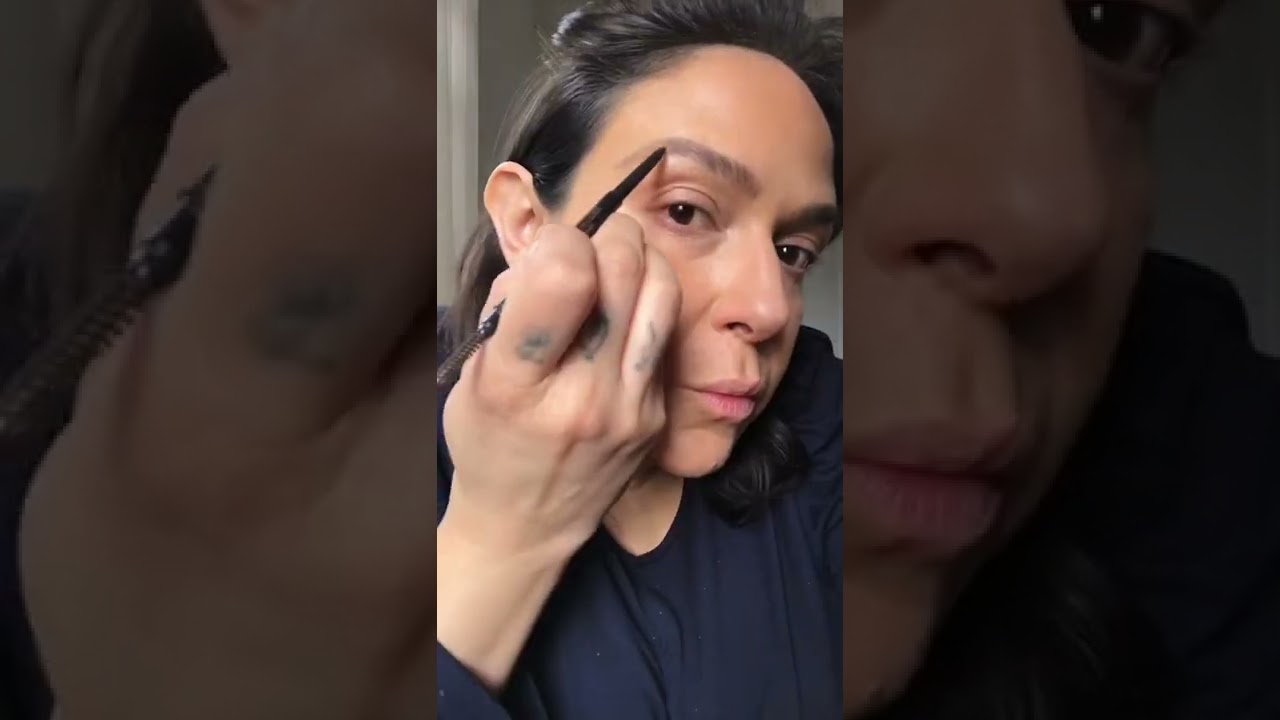
About a month ago, I posted a look on my very light and fresh, glowy makeup in Bali, which is very hot, especially July. Now I'm in Bangkok and it's even hotter. It's August now. It's August 1st. So the heat is rising. It's humid, but it's also rainy. So all of the wet factors that you could imagine To dissolve your makeup and make it come off, and just make it look like a big old hot mess are in play right now here in Bangkok. When you're doing a natural look, a reason why I like to do a more natural look in heat like this is because if you are wearing a lot of eye makeup and it's so hot and wet and sweaty, you're just gonna—it's just gonna become a shit show. So. I like to keep it just as light as possible, but still making me look as radiant and youthful as I can. I start with what my priorities are. What are the things about you that you just— they're your must? You absolutely have to have them or else you're not going to feel complete in the day. I'm only talking about complete, not spiritually, but you know. You know, for your face. For me, my number one priorities are my skin, my brows, and my lips and blush. Like, if I have those things, then I feel like I have a complete look on. I feel like I'm showing effort. Uh, you're also gonna see that even natural makeup still takes some time. So we're at a minute 42 now, and hopefully we can keep this under 20 minutes. I always start with curling my lashes. I'm not a big fan of mascara. I just, I don't enjoy it. If I'm not using waterproof, it gets all over the place. And it's just like, I'm gonna be honest, I'm lazy. I'm a lazy makeup artist. I have all the skills and none of the interest to do it myself. So I give myself a couple little pumps of that, and now I can move on. My skin is already skin cared. I use A serum, a vitamin C, a serum, and a moisturizer in the day. But before I put on my concealer is when I like to put on my eye cream or an under-eye repair oil. So you'll see me do that when I do that. You could start with a primer if you are oily just in regular weather or you wanna have an extra oomph of protection. I would recommend Becca's Poreless Primer. it's not going to do you shit in this weather. It's just not. You're going to melt, and that's how it— and that's just how it's going to be. So use it if you feel like you really need that extra oomph, but I— it's just what it is, you know? It's just what it is. My favorite makeup for daily wear is Jane Iredale's Glow Time. I like it because it's an SPF 20, it's broad spectrum. It's— I wouldn't call it a natural makeup. It's like One of the cleaner brands, but it's not sold at the detox market. So if it's not sold at the detox market, then it's not the cleanest thing ever. But I don't know what else is behind why they're not sold there. So I like to put my stuff on with a brush because it's fast, and I don't like a heavy coverage. I can go in and give myself my heavy coverage later. And you notice I'm I'm like popping it. I don't like to wipe so much. If you have dry skin or you haven't exfoliated in a while, when you start doing this, you're just like moving all of that dead skin and then it can accumulate. So I like to just kind of pop it real quick so that the makeup is expanding. And you're gonna see me do that with everything. Just really quick. I'm not even going all the way to the jaw. And I'm a little darker because I'm in these very sunny climates. I'm just gonna use it. A little goes a long way with Glow Time. I remember the first time I used it, I was just like, oh, it's like a tinted moisturizer. It's just gonna be a little something something. Pow! I was like, oh my God. Then I like to do a little press along my entire face to ensure that there's no lines or streaks or, you know, all that fun stuff. Then I'm gonna go into my concealer. Like I was saying, I like to use my eye cream before I go in. So I'm using the Eye Repair Oil by Glyceline. It's expensive, but it's so bomb. And if you're using— I like to use extreme concealers like the ones by Kat Von D, or there's this brand called Clove Hollow, which is a clean brand. And their concealers are pretty hardcore as far as self-setting. But for someone who's going into 40, when they get in there, that shit looks cracky. Not like I'm on crack, but you know what I'm talking about. So just a little oil helps, and this is an absorbable oil. It's not like a mineral oil, which is gonna sit on top and create a big old mess. It's going to soften my fine lines and wrinkles. Preparing for the concealer. Actually, should I use the Clove Hallow since it's right here? Nah, I'm gonna use my Kat Von D. So this is my personal Kat Von D, so I'm just gonna use it straight on, and I'm gonna be pretty liberal with it. I don't have a lot of under-eye pigmentation, but I do like to brighten up this area. I'm gonna take a smaller brush and I'm just gonna pat. I'm just gonna pat, I'm just gonna pat. And for some, you can avoid the under-eye area, like directly under the eye, if you feel super uncomfortable about your wrinkles. So I'm just patting it in, patting it in. And you can just see I'm like making— I'm not being super strategic about this right now. I just need to get it on there and get it blended. And then I can go in with another brush And this is the same brush that I used to blend out my foundation, and it's gonna expand it even further. So the smaller the brush, the more compact the diffusement, the diffusing of the color is going to be. And then the more wide, the more expansive the diffusion will be of color. So I feel like my face is covered. I've got my foundation on. I don't like to get too into my Lid space because I don't want to wear— the more products you wear and layer in heat like this, the more potential is going to melt off, the more makeup is going to melt off. Even if you're going to wear your eye primers, unless they're hardcore waterproof lock-it type of products, I just would skip them. They're not really my favorite. So So, what I like to use is cream eyeshadows, which I guess could be considered the same thing. I, again, like to use the Jane Iredale, what is it called? Smooth Affair for Eyes Eyeshadow Primer is what it's called, but they're eyeshadow/primer. So, I guess I'm a hypocrite right now. But these really do lock in. Make Up For Ever's got some good ones. Maybelline's Tattoo, something Tattoo. Tattoo. Is a good one. And I don't like to put too much, like a veil, just a light veil. And I like to go under the eye too. For people who are older, and if you don't have severe under-eye pigmentation, then you can afford to bring your eyeshadow down a little bit lower, and that helps to cover, like, what I like to call my ball sacks. If you've seen my videos, I just call them that. Then what I like to do is take the Naked palette. It's a great— Naked 3. It's a great neutral, light, soft palette that can take you from day to night easily. It's a versatile palette. I like to just take a giant fluff brush, really, because I just want to get it over with. I'm going to take— for me, I just want to mimic the the colors that are naturally present in my, in the coloration around my eye area. And you can see it's like a browny taupe, and I immediately just pack it into the orbital bone. If you have hooded eyes and you don't have an orbital bone, put your head back and press it into the depression that you see when the skin sinks into the eye socket. So I'm just applying the color. I'm not trying to create the shape yet. I'm just packing it on, and I want to get it into those crevices, into the wrinkles. And now I can take my fingers even and just wipe out the edges. And this, this would be just a fine eye look for the day. It's just simple. If you want to get a little more intense, you can add like a waterproof eyeliner, but I'm over it already. For me, again, it's the brows, it's the face, it's blush, and it's the lip. The lip is the ultimate. If you have like a natural, more of a nude look, and then you want to really just drive it home and look more polished, then a bold lip would be whoo of you. Okay, moving on to my brows. I don't want to get too into my brow situation. If you don't have a lot of brow, and you need to make brow, then, and brows are your priority, then you're gonna have to spend a little bit more time. For me, I want to not be doing my makeup. So on one side, I'll show you just a quick brow look. This is the Brow Wiz, but there's, NYX has one, Senna has one. See where I'm starting? This is the Anastasia Golden Ratio method. the middle of the nostril, through the iris, from the center of the nose, and up to the back of the eye. There. I just need a little bit more going on up in the front. I could probably— not probably, just use a little bit more definition up here at the top. So I'm gonna take my pencil and I'm just going to lightly throw in some hair strokes. I'm not being Very intense about this. I wanna be light and soft. I want the color to emerge in front of me. I don't wanna see the lines as much as I just wanna see the effects of the color or the brow emerging. So, I got myself some brow at the front. Now, I'm gonna go ahead and do my tail action. And I wanna thicken this tail to meet— I want it to wrap around the orbital bone, not stop and then just be a full Flat line. Here I can be more intense because it's the back, and as it curves around the face, you can lose the brow. So to have it be a little more intense so it comes forward is all right. And I'm going in the direction of the hair growth, and I'm just being simple. Not a lot of pressure and not a lot of makeup. The less makeup and heat like this, the better. I'm just gonna go ahead and go in the direction of the hair growth again, build out this tail. And I could spend so much more time on this, bringing this back a little bit more. But anybody got time for that? So I'm gonna go ahead and use the Dip Brow Pomade on the other side for people who need brow. Like if your brow is super off balanced, then I would recommend using something that's waterproof in order to do this. And this brow compared to its Very well-behaved sister is just, it's a little all over the place. So I'm gonna go ahead and start within my, within the arch area because that's where it's just, I got a lot of hair going on here and then it just goes, eh. And I keep all of this hair in here to kinda give me a marker. And the same methodology behind that, it's like I don't even wanna touch my skin with the brush. I just want the color to be like, Mm-hmm. Mm. Like just throwing something out the window at my skin just quickly. And then I'm gonna go ahead and do the arch. So, see, I need a little more love on this back end here. And I'm just kind of throwing in the hair strokes so softly. I want it to match the intensity on this side. Even though I'm using 2 different methods to show you how to do either one, I still wanna walk around looking like, you know, they're balanced. It's good to wait until the Dipbrow has dried a little bit because it will move and diffuse further than you would want it to. You wanna keep it a little more controlled. So I'm just going in very soft and sporadically. And this isn't the best way to do your makeup. Like, I can't see it as much as I could if I was up in a mirror. So I'm being even more gentle, which is probably going to benefit me more. And then again at the front. And the same, just flicking on these hair strokes. To match the other side. See, I need a little more love up in here. Now I'm starting to press a little harder because I have less product on my brush and it's starting to dry. When I blend, it's like I'm just trying to touch the color and not the skin. Mama got a little psoriasis up in here. See, I can blend, but I'm not trying to brush it through. I'm just trying to move it so it's like I'm blending it right in its spot. Again, I'm still not going back into my product. I've only used just a little bit, and I can get more product if I want, but I don't need it. I really have just enough. Just to get the color on. So the brows are looking pretty even. I mean, I'm sure I could sit and obsess and make them absolutely flawless, but I just— that's just not the game I'm trying to play right now. And nor would it be if I was at home. I just want to like— for me, a messier, more feathered brow is more my style than a brow that is really polished and really clean. I'm just not into that look. So brows done, whatever, calling it a day. Next, you can move on to your bronzer, or you could just do straight up blush, which I'm just gonna do— yeah, I'm gonna do bronzer and blush. 'Cause there's a difference. You can use bronzers as blush, you can use bronzers as contour. It depends on the coloring. would be an okay color to use for a contour. It's not my favorite because it's still a little warm, but if I was going to use my— use it as contour, I would go in here under this bone. But I really just want to kind of warm the face at the same time as push back this area and not so much contour that bone under there, not with this color. So I'm popping it on Raggedy Ann style, after the iris, above the nose, after the iris, above the nose, and it's going to help Like if this is a shelf, the skin is now dropping down because I have such chiseled, just like an amazing bone structure. I haven't gone back into my product. I'm still using what I have. It's like I create a palette on the face and pull from that color so that there's an even veil of bronzer all over the face. Simple. This is a matte bronzer. What I love about mixing my mattes and my shimmers is that I'm not going to get too full glow unless I want to. But if I'm using all glow products all the time, it's really easy to go from glowy to greasy as opposed to just having a nice glow. So there, I'm bronzed. Now I'm going to put on some blush. What the blush does is, for me, I want my blush to lift and round the area. I don't want it to swell up. So if you're using your blush up this way, you might reconsider it because it's just not a cute look. Or if you're using it down here like a contour, you're bringing the focus of attention down into this area like you have the mumps or it's swollen or here you got hit or something. But if it's going in the Raggedy Ann doll placement, That's what I call it, like a doll, just right there after the iris and above the nose. It's going to lift up this area and accentuate this bone so that all the dark color of the contour and the bronzer is still doing its job, and this is continuing to lift. It's like a cherry on the cake. So if you've done all your sculpting and your highlighting with your concealer and your contour, this would be like the ultimate. Mm. And you can do a cream blush. You can do a stain. I always recommend stains in weather like this because it stains your skin. And just a little bit more blush. I can do blush all day long. I'm done. Then I can take some highlighting powder and set. on the outer areas. I don't like to go all the way down in here. Again, that's drawing my face down. I need my face to be going upward because I've got a longer face, so I need to take this section and kind of like lift it as opposed to putting it down and then accentuating my pores. Nah, ain't into that. For my lip, in this heat, I don't like to really use an intense mattifying lip gloss or anything like that. I just like to use a sheer lip gloss or a lacquer, but really the sheer, the more sheer the better for me because I don't wanna sit and have to reapply it. When you're sweaty, mm-mm. So I'm gonna go ahead and put a layer of this on. And just kind of move it around. Even if it was more sheer, I would be all right with that, because something you can just quickly schlep on and reapply. You can even use a little bit of that up in here. Now you can put your mascara on, and you're done. It's just a simple, glowy look. Bump up this light a little bit. Here we go.