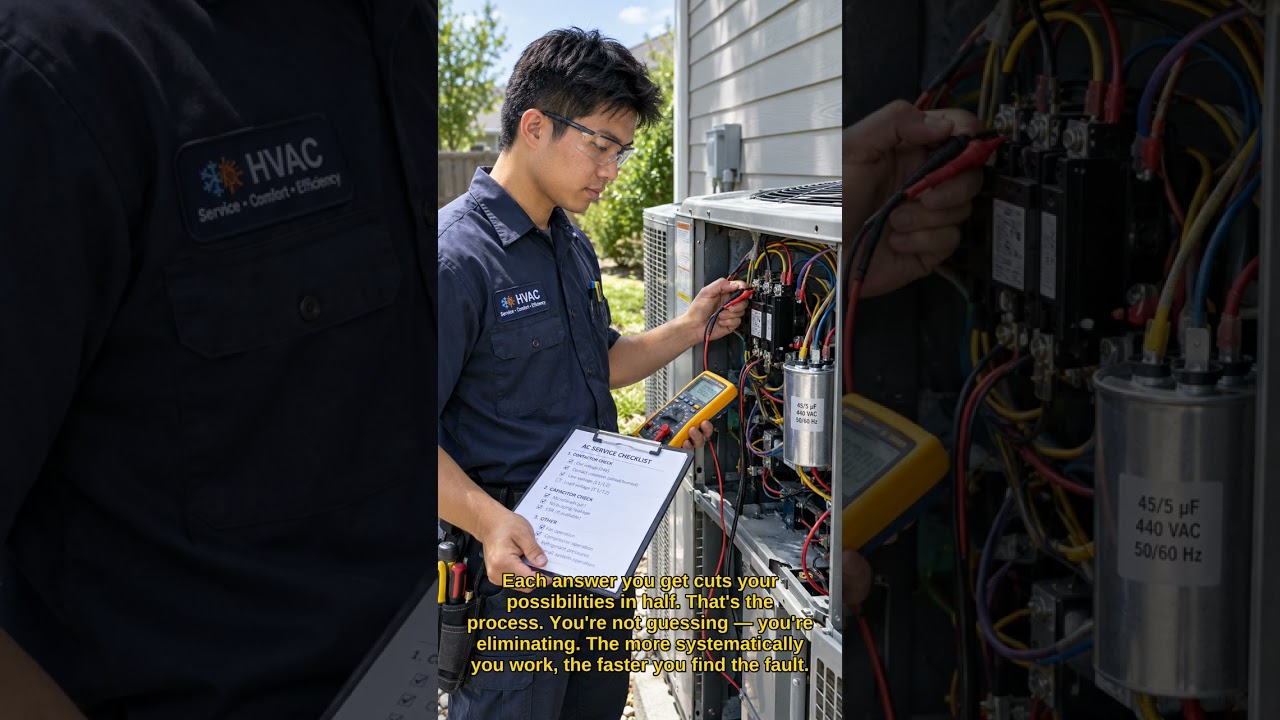
In this OnRamp technical review, commercial refrigeration technician Mike walks viewers through a real service call on a small walk‑in cooler in central Illinois that suffered low suction pressure, intermittent compressor lockouts, and elevated box temperature. The video details the step‑by‑step diagnostics: measuring suction pressure, confirming power to the liquid‑line solenoid, testing the filter dryer, and observing rapid pressure drops. Multiple root causes are uncovered – a partially failed liquid‑line solenoid/TXV valve, a thermostatic expansion valve (TXV) sensing bulb left in its factory zip‑tied position, heavily dust‑clogged evaporator fins restricting airflow, and refrigerant loss from leaking service valve cores. Mike replaces the solenoid valve, correctly mounts and insulates the TXV bulb, cleans the evaporator, and adds a total of 9.5 lb of R449A refrigerant (7.5 lb initially, then 2 lb after leak repair). After these corrections the suction pressure stabilizes, the compressor runs continuously, and the box temperature returns to normal. Throughout, Mike emphasizes a systems‑thinking approach: verify each stage of refrigerant flow, don’t rely solely on electrical signals, and ensure proper installation of control components. The case study serves as a teaching tool for technicians, apprentices, and helpers, illustrating how multiple small issues can combine to cause major system instability and how thorough, methodical troubleshooting restores proper operation.
Chapters
Welcome to this OnRamp technical review. This is for the technicians, the apprentices, the helpers, the ones who are still trying to figure out if they belong in this trade. This is where we talk about real service calls, real diagnostics, and real lessons learned in the field. Because the trade isn't just about fixing machines. It's about learning how to think, learning how to see, and learning how to trust yourself. My name is Mike, and this is the OnRamp. What's up everybody, and welcome back to another episode of the OnRamp. Welcome to the On-Ramp. Today's case study is titled The Walk-In That Went Crazy. This is a real service call that I ran, um, here in central Illinois as a commercial kitchen and refrigeration technician. Uh, so it was a real, uh, it was a real interesting one for me, and I look forward to telling you all about it. So strap in and let's get to work. All right, so the reported issue was an elevated box temperature and inconsistent operation throughout the day, especially during peak hours. The temperature would rise and the walk-in itself did not seem to be running normally. At the time that I arrived, the box temperature was measured at 52 degrees Fahrenheit and the refrigeration system was not operating. In fact, the evaporator fans were the only thing running. Control power was present. But the condensing unit was locked out on low pressure. No other alarms or error codes were present on the digital controller, and my initial observations after cycling the condensing unit, um, it did initiate the call for cooling. The compressor started, and the gauges were connected to verify system operation. The system was confirmed to be operating on R449A refrigerant. Suction pressure rose to approximately 4— excuse me, 45 PSI. And after a few minutes, suction pressure would fall sharply to approximately 8 PSI, and then the compressor would shut off. After a delay, the compressor would restart. The cycle would repeat until it had its 3 programmed attempts that the controller will allow before it Went back into lockout. Um, after the compressor would start out, I especially want to note that it was a very rapid, uh, decrease in suction pressure. Um, this is a walk-in cooler, so pump down is common, but the— but as you'll hear later on, um, the coil was still energized, and yet the machine seemed to be pumping down. So the safety control was actually working as it designed, so it wasn't a problem with the safety. It was actually responding to a system condition, which was low suction pressure. So on initial inspection, I found that there was a restriction on the liquid side somewhere causing a forced pump down mid-cycle. Tested a temperature across the filter dryer, no difference, which confirmed that there was no restriction at the dryer. Attention was then directed to the inside, which was the evaporator coil, especially the liquid line solenoid and the TXV. Liquid line solenoid, of course, controls the refrigerant flow into the evaporator, and I did measure 120 volts to the coil, which confirmed that it was receiving the signal to open and allow refrigeration— refrigerant to flow. And the test magnet was applied to the stem of the valve, Which should have allowed the valve to open up by manually lifting to the open position. Despite this, suction pressure continued to fall into low pressure condition during operation. This indicated the possibility of incomplete refrigerant flow through the valve. In other words, it really wasn't opening all the way. The liquid line solenoid and valve were replaced, and the system was restarted. Suction pressure did improve with the new valve, but it remained below normal operating range. Further inspection was performed at the evaporator. When I inspected the evaporator, the XV bulb was not attached to the suction line. In fact, it was still in its original factory position, zip-tied to the U-bends with the little bag of hardware and instructions still all packaged together. This evaporator was never fully installed properly. The evaporator coil fins were also found to have an accumulation of dust which was restricting airflow. So of course, that's going to reduce heat transfer of the refrigerant. Both of these conditions contribute to low suction pressure. Airflow and mechanical corrections were made, and then suction— and found that suction pressure improved, but it still wasn't completely restored. We were still dropping out. I replaced a total of 7.5 pounds of R449 refrigerant. Following refrigerant addition, suction pressure again stabilized within normal operating range. But the compressor continued operating without interruption. Box temperature began decreasing and we seemed to be in normal operating range. Follow-up visit was conducted about a week later. We wanted to come in and do a leak search anyway. So after injecting leak dye, we found that the compressor was still short cycling, not nearly as often, but from time to time there was still A cutout on low pressure. It was no longer completely locking out, but it would still drop suction pressure. The only leakage identified was the service valve cores, which were then replaced, and an additional 2 pounds of R449A was added to restore full system charge. The system was restarted and monitored, and operating pressures remained stable. No additional leakage was observed in any other parts of either coil, U-bends, joints, or anything within the system. The liquid line solenoid valve and coils then— or, and coil were replaced because they were not opening. The thermostatic expansion valve sensing bulb was properly attached and secured. Service valve cores were replaced. And then at this point now, a total of 9.5 pounds. of R449A refrigerant were added to the system. Following these corrections, suction pressure did stabilize, the compressor operated normally, and the box temperature returned to its normal operating range. Some reflection points here and things that strengthened me as a technician, and I think would be helpful for you, is that we have got to verify each stage of refrigerant flow during system operation. Not just looking at what the presenting problem is, or if there's an obvious problem, but really looking at the machine as a whole. Electrical confirmation in and of itself does not guarantee proper mechanical operation. So just because you're getting power does not necessarily mean that the valve is working properly. A valve can be energized and still fail to allow proper refrigerant flow. This service call also reinforces the importance of verifying proper installation and placement of control components. The TXV sensing bulb was not where it was supposed to be. After I mounted it properly and then insulated it, it helped the machine help regulate refrigerant flow, thus doing its job. So without proper feedback, obviously the system could not operate properly. Bear in mind, this is a somewhat small walk-in cooler. It's probably 5 feet deep by maybe 8 feet wide. So even an inefficient system could potentially be allowing the cooler to get down to, to set temperature, although it's not operating properly. So this case really demonstrated to me, and I think it will to you as well, how refrigerant loss can combine with mechanical and airflow deficiencies to create system instability. Each condition contributed to the overall failure. It wasn't just one problem, it was multiple problems stacked together, and finally the system just couldn't take anymore. Identifying and correcting each condition then restored the system to proper operation. So if you're new to the trade, don't just fix the one problem that you find. Keep asking why until you find out The full resolution. This was the lesson that that machine had to teach that day, and I look forward to sharing further lessons in further episodes. Thank you very much. Thank you for listening to this OnRamp Technical Review. Remember, every service call is a lesson, every machine is a teacher, and every technician was once the one who didn't know. Keep showing up, keep asking questions, and keep learning the sequence. We'll see you on the next one. Thanks, Carl.