Build a basic Kindle Fire app in Eclipse from scratch. Create a new Android project, customize the text to "Hello Kindle Fire", add a rating widget and clock from the palette, then run it on the tablet emulator to see it work.
Chapters
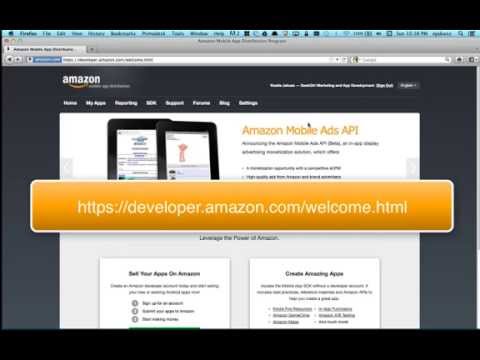
Hello and welcome to another very quick training video on how to develop applications for the Amazon Kindle Fire. So here you'll see we are on the developer website, developer.amazon.com/welcome.html. This will give you the ability to sign in. I'm already signed in, so you'll want to do that. It'll give you the ability to create an account if you haven't already done that. As well as see the Kindle Fire development resources that are available. What I'd like to do in this video is very quickly walk you through how you can build your first Kindle Fire application and test it in the emulator. So let's go ahead and do that now. So the first thing we need to do is start up Eclipse. I got the Eclipse from the Android Developer Tools, and I'm gonna select my default workspace. Once I'm in, I'm going to want to go in and create a new project. So let's go ahead and drop that down. Oh, I don't want that. I want to go ahead and choose New Android Project. I'm going to just name it something pretty simple. We'll name it Hello Kindle Fire Apps. You'll notice the project name and package name gets— get adjusted automatically. We do want to create a default activity because that's how we get things done in our Android application. And if we want to make some changes to the art and attributes of the application, we can do so here. I'm not going to do that this time. I'm going to create a blank activity so that I can pretty much dictate what I want to happen, which in this case is going to be something very similar are very simple. On the first page, I just want to say hello. That's it. Very simple. So rather than calling it MainActivity, I'm going to call it Hello Kindle Fire Activity. And I'm gonna— there is multiple navigation types that you can support, but I'm not really going to worry about that right now. Um, alright. That looks good. I'm gonna go ahead and say Finish. Now it's gonna create these resources, and I always like to very quickly go through and look at the navigation window, um, just so you can kinda see where things are. I like to know where my source is, so under Source you can find your Java files. I'm gonna go ahead and open that up just so we can take a look, and it lets you know what the standard callback methods are. You also have an opportunity to override them or add content to them. We also then will see the ability, as you may have just saw over here, the ability to see kind of a WYSIWYG environment for doing your development. This is exactly, right now if you do nothing else, exactly how this will be presented on the Kindle Fire. One of the things that you might notice is that one of the tendencies we have as developers is to go right into a WYSIWYG environment and start making changes without really understanding understanding how that is going to work. So what we can do here is you'll notice by selecting it, I can see in the Properties window a string. It says "Hello World." So, and it says the resolved value is "Hello World." How do I change that? And where are these located? So in this environment, I'm going to cancel this out, you'll notice there's actually a little directory called Values, and in it there's an XML file called string.xml. In here you will find that "Hello World" string. So now I can go in and say something else like, "Hello Kindle Fire," and it'll give you the opportunity— I'm going to go ahead and save that with Ctrl+S. Now what I can do is go back to this, close it, and where was that? Open that back up. And now you'll notice those changes have taken effect. So now we have very simply gone in, created a new application, changed the text by going into the strings.xml file and modifying it so that we could customize what gets presented on the screen. Let's just take it a tiny bit further and add something from the palette onto our freeform surface in order to create a more visually appealing application. So one of the things I like is this rating system. So I'm going to go ahead and add that in. There's also images and media if I wanted to do that. Maybe I would go in and say here— whoa, that's a little bit too big. Let's not use that one. Oh, I know what I wanted to do. Let me go ahead and add in a clock. Let's go ahead and run the application and see what happens. So I'm going to select my app, go up to the Run icon, and choose Run as Android Application. When I do that, the Android tablet will launch. This is the emulator that is provided as part of the Android Toolkit. What I will get now is the ability for me to see how this application would look like on a tablet. Now you'll notice that the emulator has brought up the home screen, so we need to unlock it by choosing the lock symbol. It will then unlock it and load up our application as the first activity. So you'll see here, it loads the activity. It's got our custom, um, text field that we added in. It's got the stars. They're fully functional. We also then have a clock which shows a consistent time, as you'll see here, related to the tablet's time. So hopefully you've enjoyed it. At this point, what we've done is gone through and created our first Eclipse project, right? So in Eclipse, we created our first Kindle Fire Android application project. We then customized a text field by utilizing strings.xml, which is an example of part of what we can use to internationalize our application in the future. And then we even used part of the palettes components to be able to add additional functionality and some UI components very quickly and easily without any development effort. In the next set of videos, we're gonna actually start the development of a full-blown application that I will be submitting to the store. So I hope you will stay tuned, and I hope you enjoyed this video.