The New Linear Clear Explained In 8 Minutes
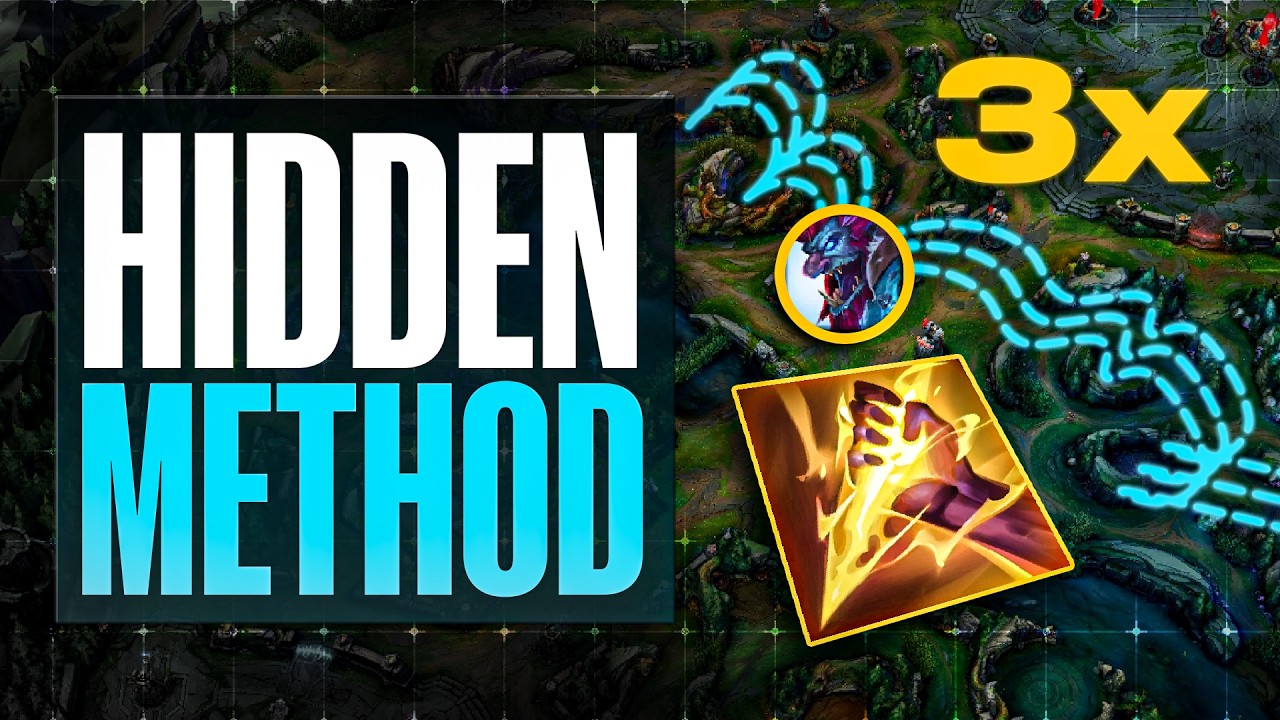
Perry Norman explains the linear clear, a jungle path that chains Krugs, Raptors, Wolves, and Gromp while skipping buffs to farm faster and gank more. It only works when your lanes are healthy and you have a gold lead around 6:30, and double-smite later makes buffs optional again.
Chapters
Hey guys, it's Perry. I want to talk about the linear clear that Tarzan has been calling, kind of skipping what your buffs are. So I'm going to explain what the linear clear is. I'm going to show you guys a game of me actually doing it. And I just want to tell you guys that this clear is not something you can do every single game. When it is applicable to your gameplay, it can be useful. It just really depends on timing. Okay, so without further ado, I'll give you my perspective on this clear. I'll show you guys how I actually used it and how it actually helped my gameplay in this one particular game and just in general why you don't want to be doing it every single game. You cannot force this type of path. So first off, the linear full clear is one rotation down, full clear. Okay, you do the crab, you recall. Your second rotation down, you go Krugs, Raptors, Wolves, Gromp, and let's say you recall. Okay, so now your third clear, your red buff is about to respawn. Okay, so your red buff Respawns and so does your Krugs. And so they're about respawning at the exact same time. And so red buff and Krugs are respawning. And now because we're clearing our Krugs and Raptors together at the same time, and then our Wolves and then the Gromp together at the same time, there's a very fluid sequence here. And if you clear the red buff first, you are now going to be minus about 15 seconds on the Krug into Raptor clear speed. And so what that means is the 8-minute timer on the Grubs feels a little bit— Weird. Ultimately, what happens is you're slowing your gameplay down because you— or you're slowing your clear down because you're playing for the big buffs. Now the buffs respawn every 5 minutes. And so desynchronizing your camps in general feels like shit. And so the emphasis here is clear your camps in a straight line together without caring about the big— Buffs. buffs. And at some point in the game, if there is opportunity and you have extra luxury and you have all the time in the world to do those buffs, then do it. But usually at around the 7-minute mark, like 6:30, 7-minute mark, you kind of have to play around this camp, this camp, this camp, everything's respawning. And now you're probably on your Wolves, Gromps are coming up and it's like, well, what do I do? Or like you're on your Wolves, you're on your Gromp and it's like, fuck, I'm in the bot side now because I spent time doing the red buff. And so the idea is to skip your camps, Specifically the buffs to speed up your clear. First, I gotta explain to you guys that this is not replicable every single game. Let's say, for example, I have a 0/5 top laner and I have a 0/2 mid laner. I don't give a rat's ass about the Grubs. I can't do shit about the Grubs. There's nothing I can do. And so skipping the Red Buff makes little to no sense, right? If you are sacrificing your extra bonus resources here, it actually worsens your game. So you have to have a condition where your bot lane, mid lane, and top lane are all playable towards. What I mean by that is when you play for this, you're playing for tempo. And what that means is when you recall, you're coming out of base with a gold advantage. And with that gold advantage, you want to fight somewhere. You want to fight the Grubs, you want to fight the Dragon, you want to fight in a lane, and you want to use that gold advantage, HP advantage, and level advantage to fight somebody and then return to your camps. If there are no good fights for you to take, Just hit your camps and farm your camps. Additionally, if the early game gets all fucked up, you clear your red buff, Krugs, Raptors, you're on your wolves, and the enemy jungler invades you now, and now the game is all, all messy. There is no way to guarantee this path. So just keep that in mind. It's not something you want to do 100% of the time. But if you have lanes you can play towards, if you're— if you are down to make a fight at around level 7, then go for it. Okay, so in this game, let me show you guys how I apply this here. So I'll speedrun the game real quick. I go ahead and I full clear down naturally, nice and easily. So this is full clear number 1, all the way down. And then I look to go for the crab. I go straight to here. I can do full clear number 2. And I end on my Grump. And then I'm going to look for a recall. And then we're going for full clear number 3. So this is the 3rd full clear, right? And so here, what I see right now on the map is I have my Malphite who has ultimate. And so I'm going to look for a very quick play into the bot lane. So here, right, the enemy Teemo is walking forward. My Malphite has ultimate. I'm— I have a good position here. I can go in and look for this nice little kill. This Teemo is pretty much screwed here. Little to no chance for this guy to survive, especially because I have my pillar. We get this kill. Great. Now this Lee Sin goes and kills himself too. I kill this guy, and you can already see here I'm down tempo. I'm down tempo on my camps because I spent time going for a top gank. What it means to be on good tempo is clearing this camp the moment it spawns. So this camp spawns at 3 seconds. I should be on that camp the moment it spawns. In 30 seconds, I should be on this camp the moment it spawns. That's what it means to have really good tempo. Okay, so we go to our Krugs, and here we skip the red buff. We go to our Raptors, we skip the Raptors, we skip red, we go to Wolves, and we go to Gromp. And this is what the linear clear looks like, right? We recall, we walk out of base, and then we're going towards the Grubs with our Nami. And this is where the game gets really like kind of easy for us. So we kill the Lee Sin, I go for the Garen, I end up getting jebaited. Whatever. I go back, I play for the crab, I play for the grubs. And here we have another scenario where we go 1 for 1. Okay, I'm back to my camps and it's the same kind of picture. We skip the red buff, we go to our Raptors, we go to our Wolves. And I want to show you guys my CS here. I'm actually farming a bit faster and I'm, I'm level freaking almost 10 in this game and I'm getting all the objectives. And so this game specifically, because I had so many good plays to be made, I was able to go ahead and do this clear. And now because I have extra time before this respawns, 45 seconds, I can go to my Raptor or go to my like top crab, top gank. And then here again, um, we have an interesting situation because I have double Smite. And so when you have double Smite, you can pull camps together and Smite them together like this. And so the linear clear stops being a thing once you complete your smite. And the reason why I— this is why this remains true for 95% junglers, is because you pull this camp, you pull this camp, you smite them both here, and you kill both. So there's no reason to skip your blue or your red buff because you do your blue buff, you do your Gromp at the same time here. Pull this, pull this, and then smite together. Boom. So the linear clear kind of stops at around Um, at around, you know, 12, 13, 14 minutes when you complete your pet. But you can see how I'm 140 CS, the enemy jungler is a Challenger jungler, and I'm taking over this game like it's nothing. And we fight, we fight. I'm level— I'm level 11. I'm getting stronger and stronger. We are diving them, okay? And the game is just like— it's just completely in my favor here. We go back to our camps. We're on our camps on respawn. This is what good tempo looks like. And now we're level 12. This guy's barely level 11. And we're accelerating extremely, extremely far here into this game. And we get more kills. And then the game kind of repeats itself, right? We play for objective. We play for camp. At this point, it's the mid-game. But I hope this— guys, I hope this makes a lot of sense on what the linear clear sort of looks like. So it's not something you want to be doing every single game. It's not something that's like 100% the best play in every given situation. It depends on the the map state. It depends on how much activity and what you can play for on the map. Sometimes it is completely fine to just drop your red buff and do this path. But sometimes you actually just need to clear your red buff to make sure the enemies can't invade it, to make sure that you have more resources, to make sure you have your item completion. So many reasons why you would actually want to clear your buff. And so I hope this clears up and makes sense on my take of what the linear clear Tarzan's coaching and everything, everything that Tarzan's been talking about. And anyway, Guys, if you enjoyed, leave a like, comment, subscribe. I'll see you guys in the next one. Peace, peace.