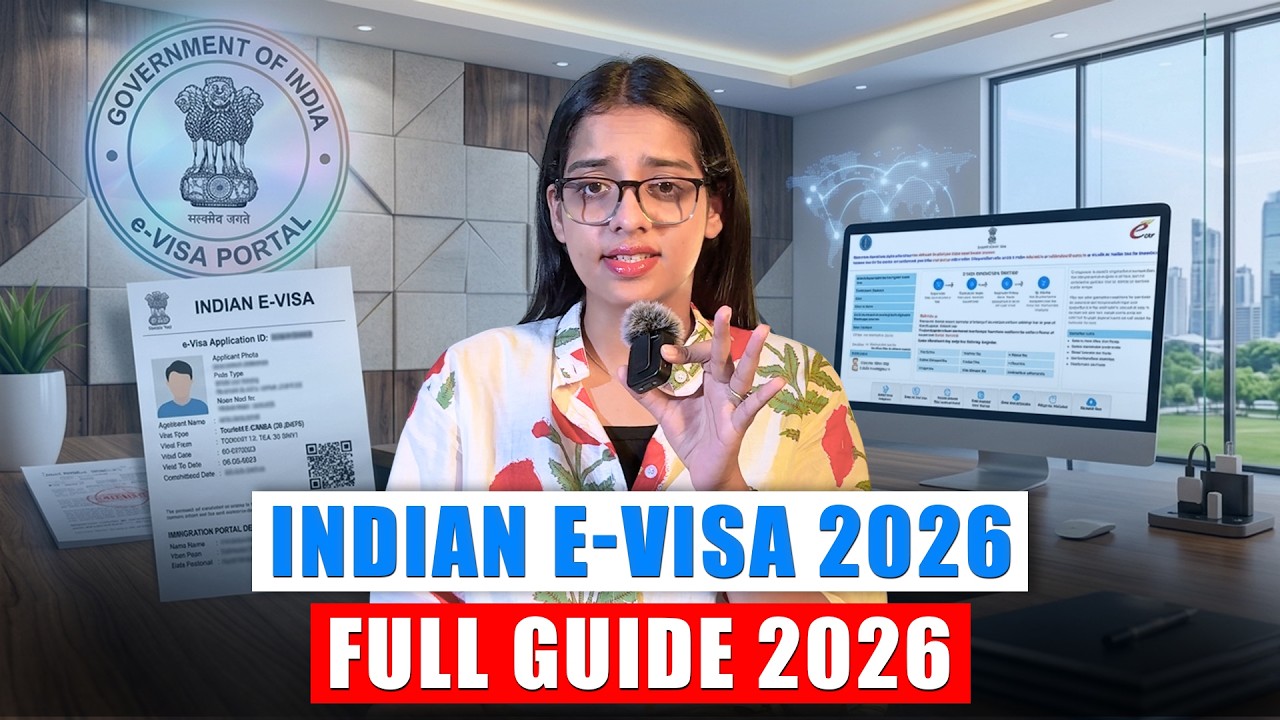
Pratibha Sharma walks through the Indian e-visa application for 2026, covering where to apply, what documents you need, and how to avoid rejections. Match your passport details exactly, use a valid email, and follow the photo specs: JPEG, white background, 350×350 to 1000×1000 pixels.
Chapters
If you are an NRI bringing your foreign passport spouse to India or a tourist planning your first trip, do not make these e-visa mistakes that everyone keeps on making. Your visa could get rejected and your trip will be ruined. In the next 3 minutes, we will walk you through the Indian e-visa application step by step. And at the 2-minute mark, we will show you the exact photo specifications that get 60% of applications rejected. So stay with us. Keeping this short, let us start with the application. For step one, start your application. Go to the official India e-visa website, which is indiavisaonline.gov.in. Select your nationality, your passport type, and port of arrival. Enter your date of birth and email ID very carefully and double-check it once you enter it. Now, here's a tip: always use a valid email ID because your visa PDF is going to be sent there. For step two, you have your visa type and details. Choose your visa type. For tourism, select eTourist Visa, which is usually for 1 year. Enter your expected arrival date, fill the CAPTCHA, and click continue. Now, in the next 20 seconds, we will show you one field where most of the NRIs and the tourists get their application rejected, so don't skip ahead. Now, for step 3, your application details. Enter your personal details exactly as per your passport— your name, your gender, your date of birth, nationality, and identification mark. This is your rejection field. Even one small spelling mismatch with your passport and your application gets rejected. Type slowly and then recheck everything letter by letter. Now, if you are an NRI, hit the subscribe button right now because we cover every Indian visa, OCI, and travel rule within 24 hours of government announcing it. All right, coming back to the form. For step 4, let's talk about the passport details. Enter your passport number, your issue date, your expiry date for the passport, and The country of issue. Now, here's a tip: your passport must be valid for at least six months from your arrival date and should have two blank pages. For step five, now comes the address details. Fill in your current and your permanent address correctly, including the mobile number and your email. All right, now stick with us because we are going to reveal the file format mistake that gets application rejected at the upload stage. Which leads us to our step six, which is family details. Enter your father's. and your mother's details and marital status mindfully. If married, you must also add your spouse's details, even if your spouse is traveling individually. For step 7, you need to enter your occupation details. Select your current occupation and provide the employer details if required. Students can pick the student and add your school or college name. For step 8, we have your travel and visa details. Enter places you plan to visit in India, hotel details if booked, and your previous travel history to India. Now, here's a tip. Be honest while entering your details. Incorrect information can lead to immediate rejection and 5-year ban from reapplication. Now, let's talk about the most important part of this video. The upload step where 60% of e-visa applications fail. Step 9, we have your documents. Upload your passport bio page scan in the PDF format and your recent photograph in JPEG format. Exact specifications must be followed, which is the photo has to be on the white background, square, 350 by 350 pixels to 1000 by 1000 pixels, in the JPEG format, which should be around 10 KB to 1 MB. Passport must be in your PDF only. The size should be 10 KB to 300 KB. Make sure that the scan is clear and all the 4 corners are visible. For step 10, let's talk about verification and confirmation. Review every single field because one typo here and you're ₹2,000 fees has gone into waste. There are no refunds. Let's talk about the last step where we will tell you about the payment method that gets your visa approved the fastest. For step 11, we have the payment. Pay the visa fee online either through your credit card, debit card, or PayPal. Tip here is that use a credit card from the same country as your passport. It processes it faster. After the payment, your e-visa lands into your email within the next 72 hours. That's it. That was your Indian e-visa application being done smoothly. See, if your application gets rejected through, please do not panic because VisaMent is here to handle your entire application process for you. Comment visa below and hit the link in the description box, and we shall see you in the next one. Bye.