This content was created by Pratibha Sharma. This content was uploaded by Pratibha Sharma. This is a YouTube tutorial video titled "Indian Passport Surrender Process Latest 2026 Step by Step | How to Surrender Indian Passport Online" (published 2026-05-01). A single presenter from the VisaMate channel walks viewers—primarily NRIs, OCI applicants, or new foreign citizens—through a step-by-step online process to surrender an Indian passport via the Passport Saver portal. The video details each form section (passport details, personal and family details, address, emergency contact, verification, declaration), required entries (e.g., reason for surrender, new nationality, foreign passport details), receipt of the ARN, and booking an appointment at embassy/consulate or passport seva kendra. It is an instructional/how-to piece with practical tips and a call-to-action to like, share, subscribe, and ask questions in the comments.
Chapters
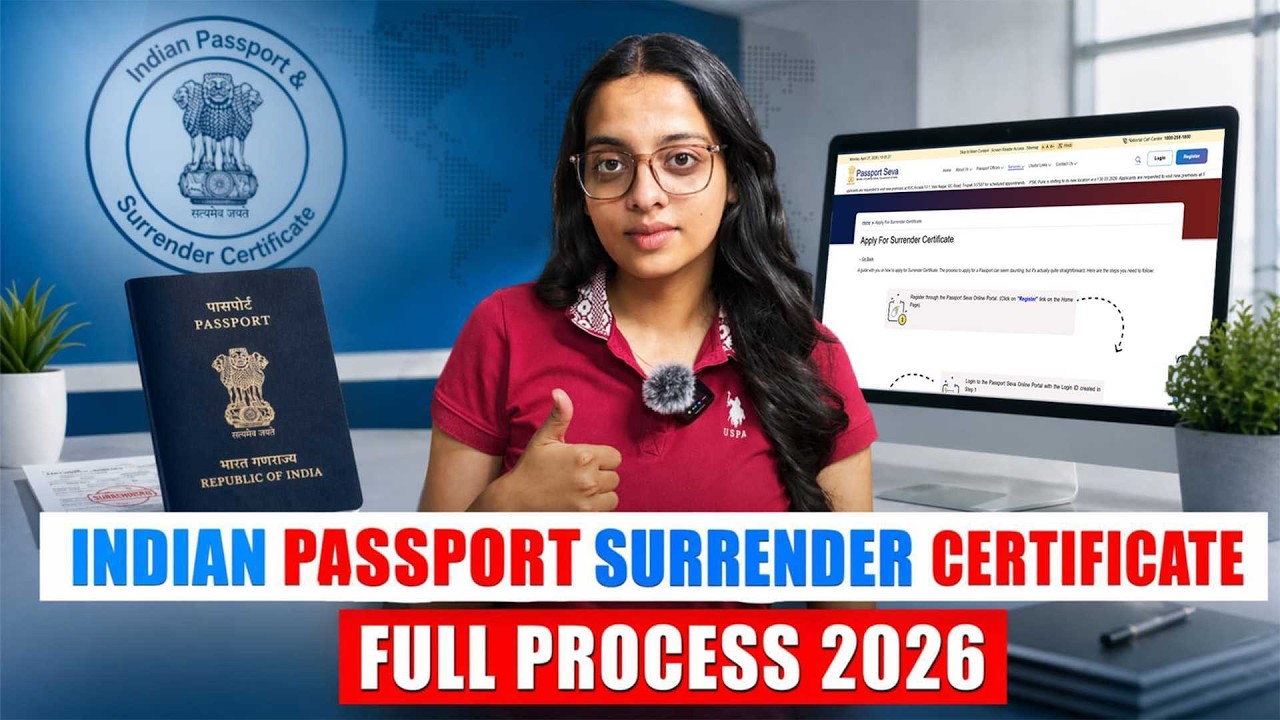
If you have recently acquired foreign citizenship, whether it's from the USA, UK, Canada, Australia, or any other country for that matter, then according to the Indian law, you are required to surrender your Indian passport. See, this is not optional. Failing to do so can lead to heavy penalties and future visa complications when you travel back to India. But here's the good news. The entire process can now be done online through the Passport Saver portal right from the comfort of your home. You don't have to wait in long queues, no confusions, and no agents needed for this. Namaste and welcome back to VisaMate, where we simplify Indian visas, OCI cards, passports, PAN cards, passport surrender, and important documents for Indians living abroad. In today's video, we will walk you through the complete step-by-step process of surrendering your Indian passport online. We will show you exactly what to fill out, where to click, and which documents you will need so you can complete your application. Application in just few minutes without making any mistakes. So if you are an NRI, OCI applicant, or someone who has recently became a foreign citizen, stick with us till the end because we will also share some important tips at the end of this video. Let's get started. Step 1, start application. Go to the Passport Saver portal, log in, and select surrender certificate. Enter your passport number, your date of birth, and then click on send OTP and proceed. For step 2, your passport details Now fill in your passport information very carefully. Passport number must be exact as it is printed. Place of issue, example Delhi, Mumbai, Pune for that matter. Date of issue should be entered very correctly. Date of issue followed by the date of expiry of the passport. In reasons for surrender, select acquiring foreign nationality slash renunciation of Indian citizenship. Then enter new nationality, for example UK, US, or wherever you have acquired your foreign nationality from, date you got your foreign citizenship, foreign passport number. Enter it very carefully. Click on Save and then Next. For step 3, your application details are required. Fill in your personal details. Give in your name, your surname, your gender, your date of birth, your place of birth, and then select is your place of birth outside India, yes or no. Marital status, educational qualification, visible distinguished mark is optional. You can leave it blank. For step 4, now come your family details. Fill at least one parent detail, your father's name or your mother's name. These are the optional fields, that is your spouse details and your legal guardian. At least one parent name is mandatory, so fill in accordingly. For step 5, you need to present your residential address. Select is your address outside India, yes if you live abroad, and then fill your country, region, your address line in 1, 2, 3, your mobile number, your email ID. Click save and move ahead. For step 6, you need to fill your emergency contact. Fill their name, their address, their mobile number, and their optional telephone number. For step 7, you will land on the verification page wherein you will see all your entered details, which is your name, your passport number, your surrendered visa. Carefully check everything, very carefully. If everything is correct, click on save and move ahead. The step 8 is the final declaration. Review the complete application summary, which will include each and every detail that you have filled in the process. Tick the declaration checkbox and submit the form in God's name. And that's it! You have finally and successfully submitted your Indian passport surrender application. Once it's submitted, you will receive an application reference number, also known as ARN. Save it because you will be needing it in the future to track your application status and to book your appointment at the nearest Indian embassy, consulate, or passport सेवा केंद्र। If you found this video helpful, don't forget to like, share, and subscribe for more such simple step-by-step guidance on OCI card application, passport surrender, ban updates, and managing your life across countries. If you have any questions, drop them in the comments. Our experts will definitely reply to each one of you, and we shall see you in the next video.