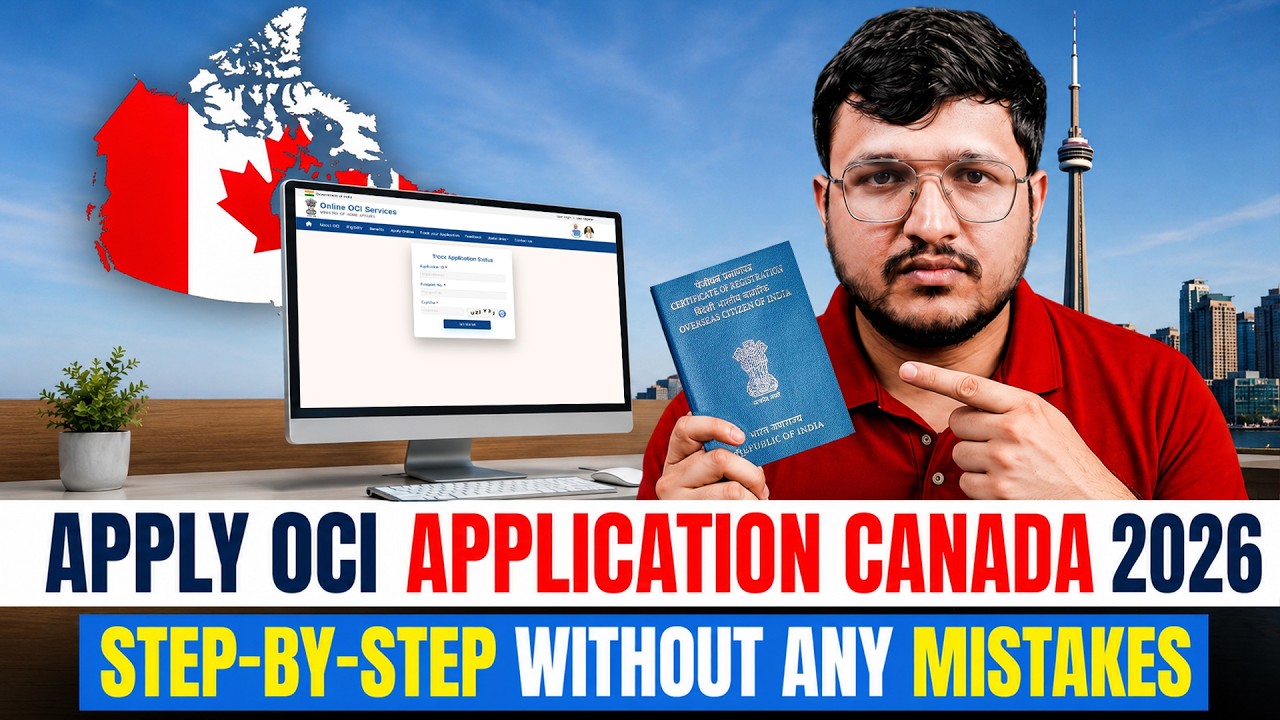
Step-by-step guide for Canadian residents applying for an Overseas Citizen of India card. Starting April 5, 2026, all OCI applications in Canada require in-person submission for mandatory biometrics. The process covers online registration, BLS appointment booking, and what documents to bring.
Chapters
Applying for your OCI card from Canada and confused about the OCI portal, the BLS appointment, biometrics, and which documents you actually need? One small mistake here can delay your application by weeks. So in this video, I'm going to walk you through the entire process step by step, from filing the online OCI form to booking your BLS appointment in Canada, so you can get it right the first time. Stick around just the end because there is an important update about in-person biometrics that you don't want to miss. Welcome back to Visa Mag. Your guide to visas, OCI, and consular services made simple. If you are an Indian-origin citizen living in Canada and you want lifelong visa-free access to India, the OCI card is exactly what you need. But the process has 2 main parts. First, the online OCI application on the official OCI portal, and second, booking and attending your BLS appointment in Canada. In this video, I will cover both clearly and completely so you don't have to jump between 10 different websites to figure it out. Before we start, make sure you have your current passport, your old passport or surrender certificate, and a recent photo and signature ready. Let's get into it. Let's start with part 1st, the online OCI application on the official OCI portal. Step 1, register on the OCI portal. Go to the official OCI portal and create your account using your email ID, current nationality, mobile number, and other basic details. Step 2, log in and start a new OCI application. After registration, log in and select online registration plus OCI registration. Choose self or other family member, then select Canada as your place of submission and your applicable Indian mission. Step 3, fill registration form. Page 1, enter your personal details exactly as they appear on your current passport, including your name, date of birth, place of birth, nationality, marital status, and passport details. Then fill in your parents' details and if applicable, your spouse details and your relationship with the root Indian. Step 4, fill registration Page 2, enter your occupation and employer details, followed by your current Canadian address, postal code, phone number, and mobile number. Save the form and continue. Step 5, upload photo and signature. Upload your recent photograph and signature as specified on the OCI portal. Make sure both files meet the required format, size, and dimensions. Step 6, complete registration form Part B. Answer the background and security-related questions, including questions about previous OCI applications, nationality, citizenship, criminal proceedings, and other relevant details. Then provide details of any relatives staying in India if applicable, And enter your present nationality acquisition details. Step seven: Upload the documents requested by the portal, such as your current passport, citizenship naturalization certificate, proof of address, driving license or utility bill, surrender or cancel Indian passport, and surrender certificate as applicable. The exact documents depend on your OCA eligibility category. Step eight: Verify your information. Go through the complete application carefully. Check your name, date of birth, passport number, nationality, address, family details, and uploaded documents before proceeding. Once everything is correct, check final submit. After submission, keep your application or reference number and submit application documents safely for the next stage. Step 10, submission instructions. After online submission, follow the instruction of the concerned Indian mission or authority in Canada regarding fees, original document verification, and physical document submission where applicable. The OCI portal specifically advises applicants to check applicable fee and office instructions before submitting the application. And that's a complete Online process for applying for your OCI application from Canada through the official OCI portal. Now that your online OCI application is submitted, the next stage is booking your appointment with BIS International in Canada because this is where your original documents and biometrics are handled. Let's go through the BIS Canada appointment booking step by step. Step one: Go to the BIS website. Open the official BIS International website for Indian visa and consular service in Canada. Select Canada as the country you are applying from and India as your designation. Then click Go to Website. Step 2, choose the BLS jurisdiction according on your Canadian address— Toronto, Ottawa, or Vancouver. Make sure you select the correct jurisdiction before continuing. Step 3, go to the Book Your Appointment option. This will take you to the BLS Indian appointment system in Canada. Step 4, if you are a new user, click Sign Up and enter your details including your nationality, email address, first name, country, mobile number, and current nationality passport number. Enter the captcha and click register. Step five: After registration, check your registered email for the appointment booking link. If you don't see it in your inbox, check your spam or junk folder. Step six: Click the booking link received in your email. This will take you back to the BLS appointment system. Step seven: Enter your title, first name, last name, mobile number, and email address. Enter the captcha, agree to the terms of service, and click continue. Step eight: Follow the appointment system to select the applicable service, BLS center, date, and available appointment slot. For OCA application, make sure you select the correct category. Step 9, carefully check your applicant details and appointment information before confirming. Your appointment confirmation and current passport details need to match. This is very important. Step 10, once the booking is completed, the system confirms that the appointment booking link has been generated successfully and sends the information to your registered email. Step 11, check your email, open the appointment confirmation, and save and print it. BLS requires applicants attending by appointment to carry the printed appointment confirmation along with the current original passport. Step 12: On the appointment day, visit the BLS center for your jurisdiction with your required documents. Arrive according to the appointment instructions and carry your printed confirmation. For OCI application in Canada, BLS currently states that applications submitted from April 5th, 2026 onward must be submitted in person because biometrics are required. So just to quickly recap, first complete and finally submit your OCI application on the official OCI Then create your BLS account, book your appointment for the correct jurisdiction and category, and attend in person with your printed confirmation and original passport. And remember, for OCA application in Canada, BLS currently states that the application submitted from April 5th, 2026 onward must be submitted in person because biometrics are now required. And that's the complete OCA application process from Canada, the online portal, and the BLS appointment all in one video. If this helped you, do me a Quick favor: hit that like button and subscribe to VisaMent so you never miss our step-by-step visa and OCI guide. If you have any questions about your specific case, your eligibility category, your documents, or your BLS rejection, drop a comment below and we will try to help. And if you would like VisaMent to handle your OCI or visa application for you from start to finish, check the link in the description to get the start. Thanks for watching, and we will see you in the next one.