Create a Kajabi Course: 2024 Step-by-Step Guide
James Allen walks through building an online course on Kajabi from start to finish. You'll set pricing, upload video and audio lessons, configure automations to email students when they complete modules, and customize the course design with templates and color schemes.
Chapters
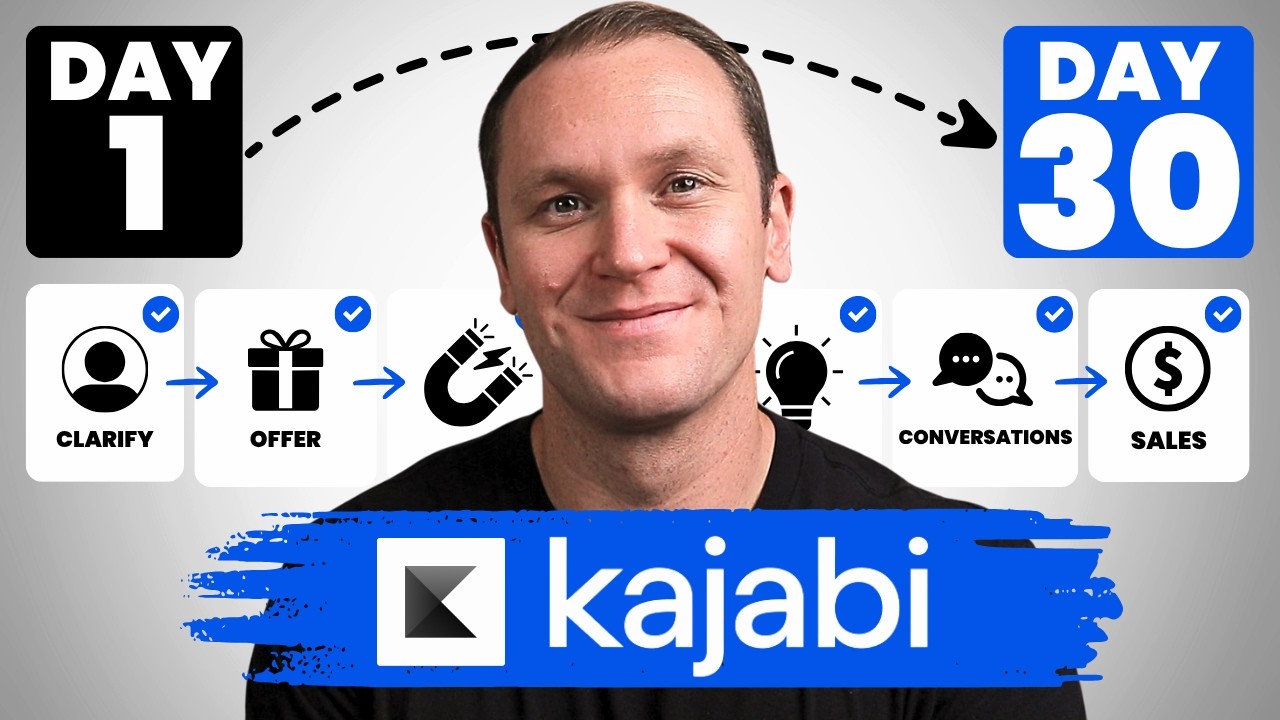
In this video, I'm gonna show you just how easy it is to build your online course inside of Kajabi. So if you're already a member of Kajabi, all you're gonna have to do is go over to the products tab and click get started to create your product. From here, you'll have a handful of different options that you can choose from on different types of products that Kajabi offers. So there's a course, obviously, a podcast, which is cool 'cause you can have paid podcasts or free podcasts and host it all inside of Kajabi and see the analytics, all the data, et cetera. You can also do a community if you want a paid community like a membership site or something like that, and you can decide how expensive or affordable you want it to be. It could even be a free community as well. And then you can always do a coaching program too. Obviously, for the purpose of today, we're gonna stick with an online course. And as you can see over here, it says, turn your knowledge into a world-class learning experience. Build a course that helps you connect with your audience and grow your business. The available features that come with building a course in Kajabi are video content. You can You can do audio content, text lessons, quizzes and surveys. You can have a membership area and exclusive downloads. Now if you're new to Kajabi and you're thinking about giving it a shot to try it out, you can always get a 14-day free trial through Kajabi's website, or you could use my affiliate link and get a 30-day free trial. I'll put the link down in the description. Now on top of you using my link, I'm also gonna give you a one-to-one coaching call with me where I'll sit down with you for 45 minutes and I'll be your coach. I'm gonna help you come up with a game plan as to what you're gonna do really grow your business inside of Kajabi and how you can best use Kajabi to grow your business. On top of that, you're also going to get a course I made called Kajabi Kickstart that is going to give you my 30-day blueprint. If I were starting fresh on the platform, knowing what I know now, this is exactly what I would do to start making money within that first 30 days. So couple that with the one-on-one coaching call and you will be set for success with a clear plan. All you need to do is execute. Again, there's a link in the description if you want to pick up that 30-day trial plus some extra bonuses. So now that we've decided on building a course, let's hit get started. From here you can decide on a title and write a brief description of your course. So we will just call this Public Speaking 101. And then right here we have this option where you can use this information that you put in to generate content and additional resources, which is pretty interesting. Usually I click this off and say no because I like to build my courses from scratch, but for the purposes of today I'm gonna leave it so I can show you what it looks like. We're gonna hit next. From here you can choose different color options that you have. As you can see, the button color is changing, so maybe we'll leave that white and then we'll make this like purple. I like that. Cool. Or we can even make it red, you know, whatever you want to do. Add your thumbnail, whatever you want that to be. So I'll just pick a thumbnail, go with this one. Next, we're gonna price your course and create an offer. So of course you could do a free course if you wanted, but I'm gonna keep it paid. You can decide if you want a one-time payment, a multi-pay, and then a subscription where it's weekly or monthly, whatever you wanna do. I'm just gonna leave one-time payment and we'll just call this $147. There is this option where you can let customers pay what they want. Maybe if you're just getting your business off the ground and you wanna do that, you can. I'm not gonna do it though. And then you can choose if you wanna do Stripe or Kajabi Payments or some other way. I like to just use Stripe. Then we'll hit next. Right here we have our little outline, so you can expand all of the, uh, modules over here if you want. And I mean, it gave us a pretty decent little outline, and this is helpful for coming up with brainstorming. That's really what I think of AI as a really helpful tool with, uh, maybe it says some stuff and you're like, I didn't even think about that, like overcoming fear of public speaking. Maybe that wasn't on your radar when you were making this course or kind of coming up with your own curriculum. So it could be really helpful to use the auto-generated outline just to get some extra ideas that you may or may not have thought of. Now there's a couple important things I want you to think about when you're building a course inside of Kajabi. First off, these are our modules, and it has a folder next to it because that is what a module actually is. Many people, when they offer a course, they say it comes with 37 modules or whatever, and that's the lessons that they're talking about. But the lesson is a lesson, it's not a module. Module is a collection or a folder of lessons. And if you wanted to add a module, you can always go up here to add content and add a module, or you can add a sub-module as well, which would have extra lessons underneath. Sub-modules are great if you want to do like a tech tutorial. I love doing that in my courses too because I do talk about the tech side of things. So in this example, with creating engaging presentations, you can talk about structuring your presentation, some other stuff. And if you wanted to do specific tools on like building slides inside of Google Slides or in Keynote or PowerPoint, you could have tech subfolders underneath this main folder or module. Just helps organize your content a bit more. Now another important thing when you're building courses in Kajabi is if you notice over here to the right, all of these say draft. So if you click on this, you can click publish, drip, or lock. Lock means that nobody can access that. Drip, basically what this does is let's say that you're selling your course and you want to publish the first module, publish these different lessons. When people pay for the course, they sign up, they're only gonna have access to understanding public speaking here. And then what we can do is we can drip this one out 7 days later. After 7 days of them going through this one module, that can give them plenty of time to really consume and implement all the information in this section. And then after 7 days, automatically your course is going to let them know that they have access to the next module, Developing Your Public Speaking Skills. From here, we can hit publish. On these ones. So the way this is set up now is they're gonna get this, after 7 days they're gonna unlock the next one. And then for here, we can add drip again. We don't want to say 7 days again. If we left it at 7, both of these modules are going to be released at the same time. So we want to say drip and go 14 days. Okay, you'll have to do that with however many modules you have if you decide to do a drip style course. Now when we want to upload a lesson, we're just gonna click here on the lesson. If you want to as well, you can always add an extra one or a quiz to at the end of each module, it's totally up to you. But we'll click on Introduction to Public Speaking. Now, based on that information that we had given our course, you know, with the AI, it already wrote out a whole section for us based on just kind of generic information, which is really helpful for giving you a head start. I would still recommend to read through this, of course, and take the information that does apply, scrap what doesn't, and maybe you just need to scrap the whole thing. And you can write out your description. Personally, I like to keep key points underneath each lesson with bullet points inside of my courses. I usually sell video courses, so I'm gonna click video, and then from here we can select a file, upload a file, and you can choose from your device, Dropbox, Google Drive, drop a link if it's like a Loom video, or you can even just record with your camera directly inside of your course, which is pretty cool. You can also do audio lessons if you just want it to be audio, and then you can have written instructions underneath. If you want to add downloads like PDFs, templates, resources, that sort of stuff, right here on the download section, just click add files and you can add whatever downloads you want. Underneath as well, we have this really cool feature called automations. So if you click on automation, it'll say when this lesson is completed, Introduction to Public Speaking, then I want to do any one of these things. So what's really cool is you can set this up where you send your customers an email after they've accomplished a certain part of your course, or if they've made it through the first module, like the last lesson in that module, you can set an automation where you send them an email. And in that email, it'll say, congratulations, you finished the first module. You could do that with every single lesson. I think that's a little too much, but at the end of each module, it could be cool just to kind of encourage people. And what's nice is that it's automated. So as soon as they finish that last lesson, they're going to get that email and they'll be getting encouragement along the way while you are hanging out in the background. But you can do a lot of things when it comes to automations, which is a really cool feature they add inside. You also have comment sections where you can keep them visible so they're always available. You have hidden or locked. I usually just keep mine visible. I like the community aspect. Of my courses and people being able to ask questions inside the course, Kajabi just lets me know when somebody commented on my course. So when you're done with all this, we're just gonna hit save. We're gonna go back to our course and up here we have a couple of different options. We have customize. This is where you actually change up the look and feel of your Kajabi product. So we always have the premier product, but you can always install different templates. And right here you have a multitude of different templates. You can always upload templates that you purchased. As well. My personal favorite is the Momentum template, so I'll click on here. We'll say install template. And what's important too, when you install a new template, it's still gonna have that Premier product, which is the generic product that Kajabi always has as their default. But down here, I'll say installed templates, and right now I have the Momentum. So I'm gonna click activate right here. Now the Momentum theme is activated, and down here we're gonna have the Premier product. Okay, so now I know that people are going to have access to this theme. So we'll hit Customize and I'll show you a little bit about how this works. This is what I really like about the Momentum product is that over on the side you can see the different lessons that I have available. On top of that, you have an intro page that's really nice. People can choose between going to the dashboard, the categories. If you have announcements like, hey, we just made a big update to this whole entire course, or we have a new module that we've just added. You can have announcements inside of your course, which is really cool. They can always search for something too up in the top right, and then you can add some cards. It could be like, book a call with me, and it can go to a Calendly link where you can have paid one-off sessions. The possibilities truly are endless. Over here on the side, you can choose a handful of different ways that you can customize, like your welcome screen, the dashboard body, the different tabs that you have. If you want to change up the color up here, we can go to settings and we can go over to color scheme. So right here we have primary. We can make that red, which is going to change up the background, your accent colors. So actually make this gray. I think that would look pretty cool. Let's save. And now Underlined is gray and then it is red at the top with the white button. It just looks cooler. You know, if you're doing like YouTube training, this would be really fitting. Also, if you want to change the font on your course, you can just go over here to typography. And we can do a handful of fonts. Like, I personally love Poppins, so I like to just use Poppins across the board. And then we'll hit save and you can see the text change right before your eyes. So now the whole course is a bit more custom, which is really cool. So next up we have offers. And inside of here, we already created our offer as we were building out the course in the first little section where it was asking you for the price, all that kind of stuff. So we decided on $147. USD. Over here you can add a new offer if you want to bundle it with something else. But right now we're not going to do that. We'll hit exit. Customers, just how many customers and who is enrolled inside of this course, which is nice. You can send them emails, you can tag them. Only people who have this course, you want to send them an email if you made some sort of big update to your course, anything like that. Certificates is really cool. You can actually add different certificates for people and customize the look and feel. Provide certificates for this course. So when people finish it, they get a certificate. I made a whole different video about that on my channel. And then lastly, we have settings. This is where if you want to update the title and the description of your course, or if you want to change up the thumbnail, you can do that in here. And another really cool thing is down at the bottom, you can do live rooms for your courses. Basically, if you want to provide live video sessions for your course, you can get up to 200 participants and give them a live Q&A once a month if you want to do that, or every other week. It's totally up to you how you want to approach that. Obviously, you don't have to do this, but it is a really cool feature. And even if you went once every 6 months, like, or just once in a blue moon, if you just wanted to say, hey guys, everyone who's in this course, I want to do a live Q&A and answer any and all questions you have. It works just like Zoom, which is pretty incredible. You can share your screen. There's a chat option. You can see how many people are in there. It's a really awesome platform and it's all built inside of Kajabi. You can also build a community specific for this course if you wanted to down the road as you get more and more students in your course. And then you have some comment settings. I like to just enable the comments. That's my personal choice. So that's how simple and easy it is to build your online course inside of Kajabi. Now I know it can feel a little overwhelming, especially if you're new to this, which is why I like to offer the 30-day free trial on top of that, giving you a 1-to-1 coaching session with me and my 30-day business building blueprint inside of Kajabi Kickstart. And if you do sign up, I just get a small commission for referring you. But in return, that's why I'm giving you my course and a one-on-one call. It's because I really want you to succeed using Kajabi. Again, click on the link in the description or go to profityourknowledge.com/kajabi to start your 30-day free trial. Now, if you're still not quite sure you want to try out Kajabi, you can always check out my Master Kajabi in 60 Days playlist. Right over here to get a good head start and a good look and feel at what Kajabi does offer. Take what you learned here, get out there, make something happen. I'll see you in the next one.