Kajabi: How to Set Up Your Blog
James Allen shows how to create and manage blog posts in Kajabi, covering media uploads, publishing controls, and header images. He recommends embedding YouTube videos to keep viewers on your channel rather than uploading directly to the platform.
Chapters
Hey friend, this is James with ProfitYourKnowledge.com. Today I'm gonna walk you through Kajabi and how to build your blog in the platform. One thing I love about Kajabi is that it is so much more than just hosting courses or programs or doing email marketing even.
Yes, it does all of those things, but you can also host your blog inside of the software. And today I'm gonna walk you through how I like to post blog content inside of Kajabi.
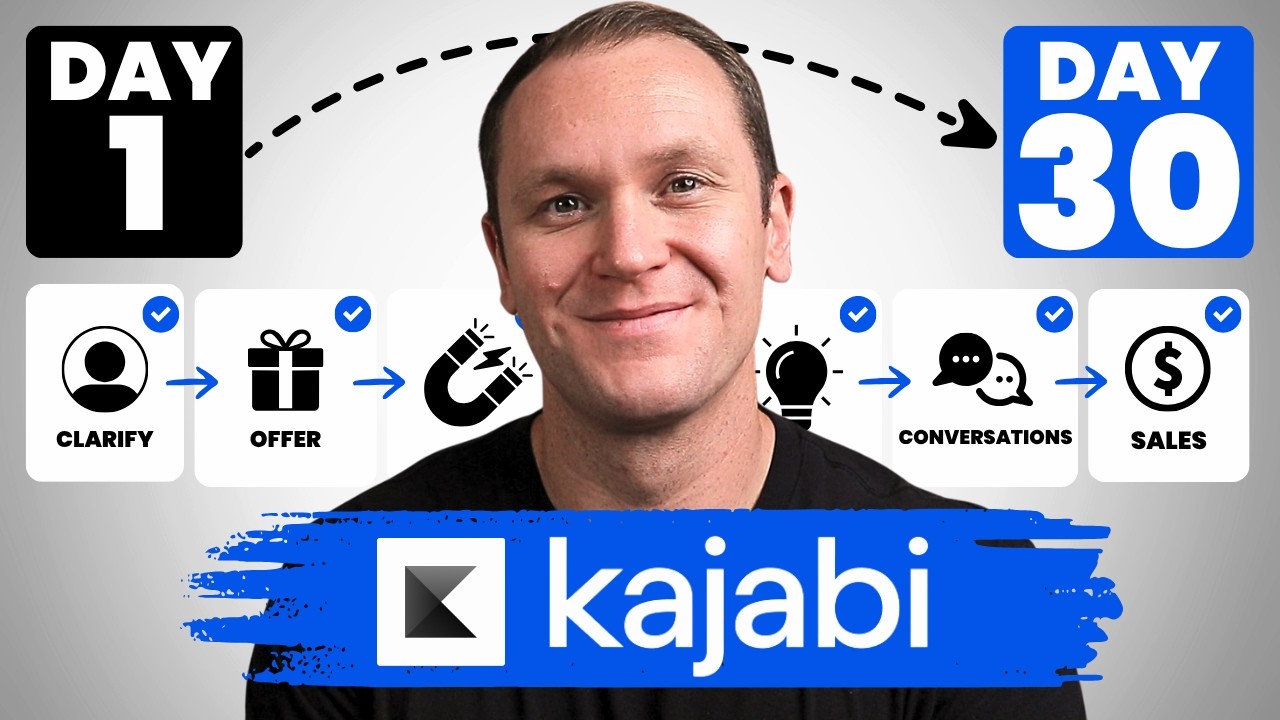
By the way, if you want to take advantage of a free 30-day trial of Kajabi to play with the platform yourself, you can use my link profityourknowledge.com/kajabi. This is an affiliate link, so I get a small percentage of your investment in Kajabi, but there's no extra cost to you compared to if you went through Kajabi's website yourself. All this does is simply support me and this channel for referring someone to Kajabi. But when you sign up with my link, I'm going to give you instant access to a course I created called Kajabi Kickstart, which is going to help you set up and launch your online business with Kajabi in that first 30 days. On top of that, when you're inside of Kajabi Kickstart, you will have access to a free 45-minute coaching session with me where you and I both get to deep dive into your Kajabi account, and I will be there to answer any questions you have about Kajabi marketing or even making your first sale with the platform. All this is free and you can You can get instant access by going to profityourknowledge.com/kajabi or clicking the link down in the description. Without further ado, let's dive into Kajabi. So to get to your blog in Kajabi, we wanna go to the website tab and then down to blog.
We'll click right there. This is what it's gonna look like when you're brand new to Kajabi. Looks like you haven't created any new blog posts yet. You'll just go to new blog post Now this is going to be your dashboard when you're creating any kind of blog post. You'll have your media, you can pick to upload a video and audio if you have a podcast, for example, maybe YouTube video. I don't like to upload YouTube videos right here because I like to get watch time on my YouTube videos. If you upload a video in this section, it's going to be uploaded to Wistia, which is what Kajabi is partnered with for courses and anything like that. I like to get watch time and views and clicks from my blog and my website for my YouTube channel, and I'll show you how I like to do that in this video.
You want visibility.
You can choose if your blog post is going to be unpublished or published. You can select a specific publishing date, time, date, whatever you want. You can go as far into the future as you want. And then down here we have the actual post details, and you also have your blog image. This image is going to stick at the top of your blog post.
So you have to do—
you do have to kind of be conscious. If you posted a blog post image and then you posted a video, the image would be underneath. So just pay attention to that. I don't even use the image section. I just put my YouTube video up. I'm not an SEO specialist. I'm not trying to optimize for insane SEO or anything like that, at least at the time of this recording. I do upload things to my blog posts but I primarily focus on YouTube and other avenues to grow my audience and not blogging. Okay, I just like to have it there so there is another way to consume my content. Inside the blog post right here, you can name whatever your blog post is going to be called, and then you can add all your content down here. So you used to be like, hey, in this article I'll cover whatever it is, okay? This is where you're gonna actually write your blog content. You have all these different icons that are gonna help you customize the best look and feel for your blog post. I like to click full screen when I am doing work in here. You can add an image, clear formatting, okay? You can do a lot of different things in here. Formats, you can add different headings. So if you wanna do Heading 3, Heading 1, inline, bold, italicize, all that stuff. Blocks and then alignment. How you want to center your text, all that stuff is done up here, this undo and then source code. So what I like to do when I'm uploading a piece of content, usually it's the same piece of content as my YouTube video, and again, I prioritize YouTube more than blog posts. So what I like to do is put my YouTube videos into my blog. The way that I do that is I go to my channel, and let's say I do this one on how to sell your online course for free in 3 steps. When you get to your YouTube video, you'll go down to share and then embed. And from here, you will have this bit of coding that you don't really need to do any coding, kind of, it's just copy and paste, it's really easy. And we're gonna put that into our Kajabi account. So we go to start, I like to start at zero, so anytime someone lands on my website or my blog and sees this post, they are going to start from zero as soon as they click on the video. So what we wanna do is copy this code and put that into Kajabi. We'll go to, you don't have to highlight it, you can just click copy and it'll automatically do it. We'll go back over to Kajabi, click source code, and you'll have bits of code right here. Don't worry, what I like to do is just go to the very top and then I hit paste, and we'll go okay. And that's it, okay? So you can go back, you can adjust the look and feel that you like to have, but what's nice is that now I have my YouTube video embedded into my blog post and now I can get watch time simultaneously. If people didn't know I had a YouTube channel, now they can start watching watching my YouTube videos straight from my blog and it still gets me views and watch time on my YouTube channel, which is really cool. So let's say that this was how to, um, sell your online course for free, we'll say. That's not the official title, but I'm gonna roll with that. You could put that down here too. This section is your SEO and sharing. So it's good to create shareable links for your blog posts. Normally what you'll see right here is your website, so mine would be profityourknowledge.com/blog and then the custom URL. I'm on my partners program because I want to show you what this looks like if you're a fresh user so you can see how to do all this stuff. But it's good to create this if you're going to share the post with someone or just getting discovered online. So you want to keep it related to your page title that you have. So I would say you know, sell course for free. Okay, ideally we want to keep it as short as possible. Again, I'm not an SEO expert, but I just like to have this so if I want to share this with my email list or different people, I can just click here, copy it, and then share the link as I please. Right here, this is something cool that Kajabi does. They basically give you bumpers to make sure that you stay inside of the bumpers. To help you with SEO and make it very simple. As far as I know, Kajabi doesn't have any big plugins like WordPress where you can add them to your Kajabi account. I don't really know because I'm not an SEO expert. If you happen to know ways that you can add SEO plugins to Kajabi, let me know down in the comment below because I'd be curious anyway. But right here, the little bumpers that they give you are to give the page a clear and accurate title in 60 characters or less, and then they show you the characters that you have right over here. So you want to keep your title 60 characters or less and make sure that it's catchy and that kind of stuff. Obviously, I just threw this one together. And then down here you could say, in this article, we will— same thing, describe the page's content in 160 characters or less, and it shows you the amount of characters. 300 is the top. So when you look up a blog post in a search engine, it will show you the title, it'll show you an image, which is the social image right here that you can pick a recent or upload a new one, and then it will show the description. That's what this section is all about, so that your blog post can show up in SEO searches or just on Google. Okay, and then right here, this is another cool feature. We have organization. You can add different tags. So let's say that, uh, you were teaching weight loss, you could have weight loss as a tag. But let's say you had another area of content you talk about, which was nutrition. You could have nutrition as another tag. So when people look at your blog post, they'll see these different tags that are connected to one blog post, and it's, let's say, weight loss. So they click on the tag, and any post that you've made about weight loss is going to show up, and it will organize all of those different tags. So it's pretty cool in terms of keeping your blog very user-friendly. And then right here, if you do the blog image You can do an image alternate text. So let's say it was weight loss. This would be the image at the very top of your blog. You could say weight loss right here. Weight loss is a very commonly searched thing, but you can add some keyword that relates to whatever the image is. And if you do your own keyword research, this is where you could add that, assuming that you do that. Again, I don't use the blog image because this works at the top as an image, but it's also a video. That's just what I like to do. I'll click save and let's say, oh, this is published, then we will save and then we can go over to preview and then this is what our blog post looks like so far. How to sell your online course for free, free online course, cool, they can watch my YouTube video, which is pretty rad, and now I'm getting watch time, I'm getting clicks and views on my YouTube channel right here from my blog, which is pretty cool. This is the official blog post that I created for that video. I said, how to create and sell an online course for free, a step-by-step guide. But over here you can see that I have this little opt-in section where people click on that, it takes them over to this page where they can put in their email, download the action plan. Also at the bottom I have my full blog post written out. If they enjoyed my content in the blog or in the video and they scroll down to the bottom, they'll see an opt-in form because I want people to opt into my email list. That's what I prioritize in the business model that I've learned and that I teach. Prioritize email capture so you can build your email list and build a relationship from there. Right here, after they've scrolled down, they're like, wow, that was a really helpful blog post. Then they can decide if they want to join my email list and pick up a free action plan along the way or free guide, which is your lead magnet. So let me show you how to build these two different pieces so you can start capturing emails with your blog. This is what we have right now. See, it's it's not quite what we want it to be. So in order to do that, we're going to go to the website tab again, go to pages, and then we want to go to blog post. Right here you're going to see how to sell your online course for free, and then we have a little bit of a section over here. This is that sidebar that we have right up here. So if you want to do that, we can click Image, or just scroll down and we'll see Sidebar. And I've already added these, uh, they didn't have them there, but you just click here to add different things. So you can add another image if you wanted. Theoretically, your sidebar could be as big as you want. I'm going to delete this block though. So what we have are categories. I don't think I have, I don't have categories, so I'll delete that one. And then I have my search sidebar, which is right up here. The image and then a call to action. So very simple, very straightforward. And then right here I have social icons or social links as well. And you can customize those. You can put in the different links that you have. They give you a bunch of different options, Spotify, podcast, Medium, TikTok, whatever. All right. So that's how you set up this, uh, this image I just created inside of Canva for free. And then I put inside of here. So very simple. I do have the paid version of Canva. But you can build the same image totally free inside of Canva. So check that out. And then at the bottom, we have this section. Okay, so notice how I can't actually update, uh, the actual text of my blog, or I can't even watch the video right here. This is just for building the actual look and feel of the blog in that pages section. So if we click here, all this stuff is on the side. We'll scroll down to blog post opt-in. Right here, and you can click to show opt-in or not. Obviously we want to have that opt-in because we want to capture an email address. And then right here you can click on the different form or forms that you have. So if you had a weight loss, uh, lead magnet or free guide that you gave people, but you also had a muscle gaining lead magnet, you'd want to make sure that you have the right lead magnet down here for whatever you're talking about. If you're talking about building muscle it would make sense to have more of the muscle building lead magnet at the bottom. So you can create multiple different forms inside of Kajabi. You can build unlimited forms, and I show you how to do that on my channel, but I'm not gonna go through it right now. Okay, and you can point to a thank you page you want them to go to, or checkout page, whatever it is. You can add all of that inside of Kajabi right here in the bottom. Okay, again, click save. You always wanna save inside of Kajabi. Click save, we're gonna go back. And then we'll go back again. To update the look and feel, again, the opt-in and the sidebar, that kind of stuff, you want to go to pages. But to update the actual blog post itself, you want to go to blog under the website tab. And when you're ready to upload a new blog, you can click new blog post and it'll take you right back to this section. That's really all there is for building out a blog. Again, if you want to try out Kajabi yourself, the best way is to dive into the platform yourself. You can watch tutorials all day. I have a free 30-day trial down in the description below, or you can go to profityourknowledge.com/kajabi. It is an affiliate link like I've mentioned, but you're gonna get access to the Kajabi Kickstart course, which is gonna show you how to set up and launch your business in that first 30 days. And inside the course, the first video, there's a link where you can book a one-to-one coaching session with me, and I will sit down and guide you through how to set up your business So you can really get the most out of that free 30-day trial and decide if Kajabi is a good fit for you. Okay, the best way again is just to do it. Clarity comes from action. That is a motto that I live by. So just try it out yourself. If you don't like it, you can always unsubscribe or cancel your trial, anything like that, okay? But give it a shot, that's the best way to do it. Let me know down in the comment too if you like the format that they have here in Kajabi, if you've used Kajabi. What do you like about the blog post feature? What do you maybe dislike about it? Let me know down in the comment. I'd love to hear your thoughts. Keep the conversation going. In my opinion, I love Kajabi. I love the user interface. It's very simple, but I don't prioritize blogging as much as I do YouTube and other traffic generating sources. Okay, but anyway, check out the link down in the description to give yourself a free trial and let me know what you think about Kajabi. Until next time, I will see you in the next tutorial.