Kajabi Tutorial: Building Your Blog
James Allen walks through building a blog in Kajabi, from creating posts and embedding videos to optimizing SEO, adding sidebar widgets, and scheduling publication. He covers slug naming, meta descriptions, social thumbnails, and call-to-action placement.
Chapters
I've heard people say that blogging is dead and that it's irrelevant in today's day and age, and that could not be further from the truth. Think about this: if you want to learn or understand something better, what do you do?
You Google it.
And when you search something inside of Google, you get a long list of blog posts that are there to answer your questions. So no, blogging is not dead. In fact, since the pandemic, it's become even more relevant because people are working from home, they're trying to find how to work from home, or they just want to develop skills in things that they want to do to keep themselves occupied so they don't go insane. And in order to find and learn those things, they look up blog posts or YouTube videos. And if you're wondering how to create a blog and get started with this to share your knowledge online, Kajabi has you covered with built-in SEO prompts and a streamlined process for setting up your blog and publishing your content. It's easier than ever to have a professional-looking and successful blog in 2022. So today I'm going to show you just how simple building your blog inside of Kajabi really is. Along with a couple ninja tricks that I've learned to help you get the most out of your blog.
Let's dive in.
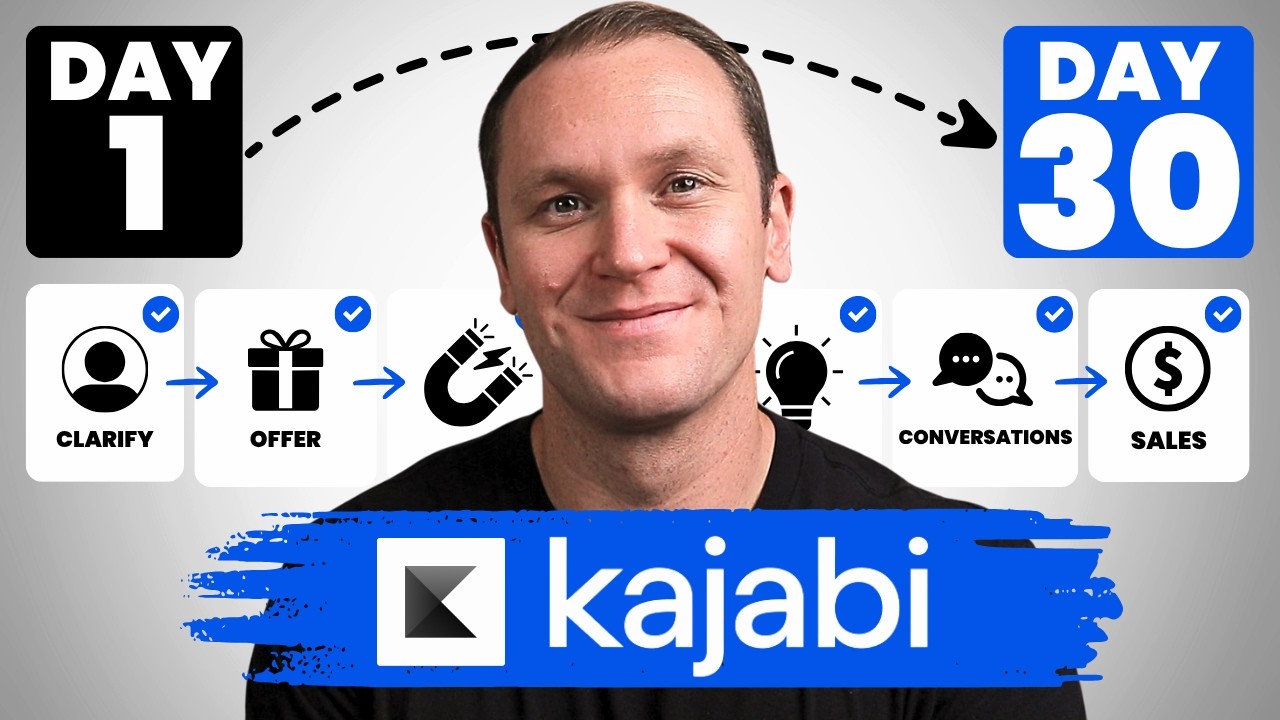
Now, if you just want to jump right into Kajabi, you can always go to their website and pick up a 14-day free trial, or you can use my link and get a 30-day free trial of Kajabi. So you get double the amount of time to play with the platform. And when you use my affiliate link, I'm going to give you instant access to my Kajabi Kickstart course. Kajabi Kickstart is going to shorten your learning curve when using Kajabi. It's going to really just show you the most important things that you need to get your website and business fully set up and running. And I'll even show you how to build a lead magnet, set up your opt-in so you can build your email list, and create a mini course for yourself. Or it could even be a full-fledged course. So in that first 30 days, you can get your business fully up and running and ready to go to start working with people and actually start making money inside of Kajabi. Then if you decide to officially sign up and start paying for Kajabi, all you have to do is just send me a picture of your receipt so I know that you actually used my link. And then I will send you over a calendar link and I'll get you set up so you and I get to do a one-on-one coaching call. On this call, you get to ask an online business coach any questions you have about Kajabi or your online business or goals that you have in general. And I'm just going to be there just to support you. We'll review everything that you did from Kajabi Kickstart, and I'll just quickly look over your brand and everything, give you a couple pointers. That way I know and you know that you are on the best path towards success. Now this is an affiliate link. You're not gonna be charged anything extra for using my link compared to if you went through Kajabi's website. Me giving you Kajabi Kickstart and my time for a one-on-one call to sit down with you for an hour is just my way of saying thank you for using my link because if you do sign up through my link, I get a portion of your monthly or yearly investment and it just comes back to support me and this channel. To get your 30-day trial, a free course, and one-on-one coaching with an online business coach, just go to profityourknowledge.com/kajabi, or I've dropped a link in the description as well.
Create your blog. This is what you're gonna see, especially when you're new, you're getting started. So let's click Get Started. The first thing that we're gonna want to do is create some SEO settings. So from here, we'll call it like Profit Your Knowledge Blog, and we'll just say this blog is awesome because it is. Go down to save. Looks like you haven't created any blog posts yet. We go down to new blog post. So this is what it's going to look like every time you build out a blog post. Now you can add a video or audio file as well. Let's say maybe you have a podcast you want to add in there. I never actually touch these when I build my blog post. Let's go down here and let's say that I want to create this video into a blog post. So I've already made this entire YouTube video. Let's just copy— I literally will just copy it and then paste it in here. If you go back over here, we're gonna have to actually watch the video. Okay, so when we get in here, you get to, let's say, your YouTube video. What I will do is go down to this button, share, and And then you have an option to copy this. Like when I send out my emails, I just go here to copy, and that's the link that's going to send people to watch this video. And you can set it to a specific start, start time if you want it as well, or you can share it across social platforms. But what we want to do for the blog post is go to embed, and what it's going to do is show us this. We can play it, we can kind of set it to a specific time that we want the blog to start, or the video to start at. We want to start at 0 every time somebody watches this video. So this is a little piece of copy right here that we, we don't need to do copywriting or anything, but you just want to go over here, click copy, and go back to our blog post. We're going to click right there, go to source code, and then you can hit paste and go to OK. And what that's going to do is embed the entire video right there, which is super cool. And then we want to do is add a little bit of text to it so we got some, like, an actual blog basically. And we will go back to this section, and what you can do is just copy all that text down to 'Let's dive in.' Let's say you just wanted to do just that intro thing. You don't have to do some massive blog post. But you will have to go through and just kind of touch it up to make it look a little more presentable. Okay, click right there. Boom. And then yeah, you just have to go through again. I always like to do full screen to make it look pretty, but this is like how you do it. You click right there, just kind of break it up so it looks good. And you can add bold, you can make it a link if you wanted. You know, I would usually delete this because on my blog I already have a way to promote my lead magnet like that. But that's essentially what you do. You just go through and you would actually clean it up. Click on that, and that's how you make a blog post. You don't have to do a blog image because if you actually add a blog, a blog image, it's going to put it on top of this. And if you use the same exact thumbnail and then embedded it like this, then it would put the image right here, and then you scroll down a little bit, and then it would show this video. Okay, so I never do that. I just only do the embed, only add text, because yeah, I would have the, the image right here and then the video, and you couldn't do anything with the image. So it's just pointless to do, do this. It looks pretty, they can watch it right there on your blog, so you don't have to leave your blog, which is important. And then they can read down and learn more about the blog as well. Okay, you can also add some tags as well to just kind of organize your post. So let's say you have a couple different content buckets, for example, like you could— if you were an online business, you could talk about like lead generation, or you could talk about sales, or you could talk about content.
Those are examples.
Or if you were a fitness instructor, you could talk about like nutrition would be a tag, losing weight is a tag, or building muscle would be a tag. You know, you can add those different things inside of there. And then down here, it's always good to do this when you're doing blogs for SEO and sharing. Just name your blog something simple, okay? So this is about copywriting, the real reason your copywriting won't sell. It's actually about customer research, but when you're searching it, it talks about copywriting and how to do customer research to make better copy. So I would just say copywriting, super simple. Keep this as short as possible. Try not to get too wordy. Do your best to limit it to like one word. That's going to help you organize. Maybe two. You have to write the entire thing, you know, the entire title down in this. It's just like copywriting. That's it, because it's already your website. So for me, it would be profityourknowledge.com/blog/copywriting, and that will bring you to this video. Okay, unless you have a ton of videos on that specific topic, like copywriting for example, then you can kind of switch it around and, you know, maybe number it or something like that. In here you can add a page title. Okay, so you can say, 'Realizing Your Copywriting Won't Sell.' You can add it just down here. Okay, 43. Yeah, I mean, you gotta think too, like, it's good to— making a YouTube video title is a bit different than making a blog title, uh, just because the search engines work a bit different. But this is just an example. You can always look up like great blog headings or headlines. That's what I like to do, like templates, and then just kind of fill in the blank or get ideas to create more attractive headlines, okay? And then just add a description, right? So that's gonna help when people actually search with like ranking on Google or, you know, whatever other search engine you use. And then for the social image, I will just add the thumbnail to the video, okay? So when people type in something related to that, they're gonna see this image, they're gonna see the preview text and the title, and hopefully all 3 of these are gonna cause that person ideally to click on my blog over all the other people talking about whatever topic I'm talking about. Okay, so yeah, that's really all you do. And then up here you can publish it right now, or you can go to unpublished as it is right now and set to a specific date. This is the same calendar that you're gonna get when you're, um, doing like a broadcast in your emails like we talked about, because we couldn't show you because we don't actually have email subscribers on this page. And you won't in the beginning, but when you actually go through to do a broadcast, even if you have like 5 people or something, you can go in here and you can switch like 7, you know, you could change this time, AM, PM, and if it was Thursday, let's say I made this blog post, I like Tuesday at 7 AM, apply. That's all you gotta do, alright? But I'm not gonna do it right now, 'cause there's nobody there. So that is how you do this piece, and then yeah, blog image you don't need to do, That's essentially just how you create the blog post, okay? So we'll go save. Okay, now what we're gonna wanna do is go over to pages again. And inside pages, we wanna add a couple things to our blog to make it a bit more effective, if you will. So there's blog search, the overall blog as a whole, and then customizing the blog post. This is gonna be where we wanna go to. Okay, so as you can see, the Real Reason Your Copywriting Won't Sell, it's got my video, people can click on that. It's got, you know, some text down below. Now we want to add the blog sidebar. So when you look at my blog post, this is the actual one, we want to add this because having your lead magnet all over your blog, like if someone was searching something, they went to your blog, you want to have your lead magnet right there, your 5-step guide or your meal prep guide or whatever it is, okay? And have a little picture of it. So there's that, but there's also Oh, you gotta click on the actual post. So we click on continue reading, we go down to the bottom. Like, let's say someone reads through my entire blog and they're like, wow, that was cool. It says right here, sell your knowledge on autopilot, and it goes straight to download my free guide. So you can add that opt-in form there, because if they go through and then they see this and they say, huh, maybe I'd like to learn more because they were impacted by your blog post, then I'll show you how to do that. So The blog post sidebar we can do, which is going to be— it's gonna be this guy right here. We click on that, we go to add content, and then we want to do a sidebar opt-in. Minimize this. When you click this little arrow, it kind of gives you a different look. It's gonna show it right up there. So you want to go here, open this guy up, and then button text. Obviously it shows you down here. We want to say, you know, download guide, and then click the button. It goes to a URL 2-step, which I'm gonna make a different video on because I don't want to make this go forever. But I'll show you how to actually build this and then the exit pop-it pop-out as well. Okay, so that's how you add the sidebar. And then yeah, you can click here, make it super short. Like, like really short. I mean, if you look at mine, what's it say? It says free 5-step guide, how to sell your knowledge on autopilot in 5 simple steps. Very cut and dry, super simple. Okay, and then you can add some social links as well if you want, or you can just leave it as is. Okay, but right now it's only that opt-in. We want it to go to the 2-step because it just makes it really streamlined. And then here you can write, you know, that other are the part— I think you understand that. Okay, add content. You can add— I think it's good to do like a sidebar search because if people are looking for stuff, they can search in your blog. And then you can also do like social links. That's basically what I did to make my blog look like this. And then you can add an image as well. So if you go back, you can add content, and then you can add an image and just make sure the image goes above And that's what your sidebar is going to look like. And you can select your image, and yeah, you can just kind of put it in there. And that's how you're gonna get this little look right here. Okay, so that's how we get the sidebar. Now we just want to do the blog post body real quick. So we click on that, and we want to make sure there's a call to action image. We want to make sure there's an opt-in at the very bottom. What that's gonna do is give us that look down here at the bottom. Remember, when you create any kind of opt-in, you do have to choose the form. So click on here, default form, which we don't really need, we're not using that. Freebie form is the one that we created, so we're gonna click on that. It's gonna pop up right there, and then here you just write something that would be attractive to the people who finish, you know, checking out your blog. Make it related to whatever your lead magnet is, like if it was lose 30 pounds in 30 days, or I don't know if that's too ridiculous or something, but you know, it could be build 5 pounds of muscle in the next X amount of time. You could write that, okay, something that would catch the eye. So they run through, they're like, oh my god, that blog post was awesome. And then they see this, it's just got to be a no-brainer for them to give you their email and download that free guide or watch a workshop or video or something, okay. But that's how you get that set up, along with how to get this little section set up. Okay, so I hope that helps. Again, any questions, let me know down in the comments.
All right, so I hope you can see how easy setting up your blog inside of Kajabi really is. And the more that you do it, the better you're gonna get at it, the more streamlined you're gonna be, and you'll create your own little process. And look, you can watch Kajabi tutorials all you want, but really the best way to tell if Kajabi actually is a great platform for you and it is the best platform for you, which I believe it is, you're just gonna have to try it out. So click on that link in the description, try out the 30-day free trial. You get a whole month to play with it, and you're going to get Kajabi Kickstart. And if you don't like the program in that amount of time, then just cancel your membership. And then if you fall in love with it, you and I get to sit down and have a one-on-one coaching call fully devoted to you, your business, and your brand. Again, the link is in the description, profityourknowledge.com/kajabi. And if you have any questions or if you want me to create a different tutorial on Kajabi specifically, just let me know down in the comments. Hope you have an awesome day. I will see you in the next one.