Raj Baruah shows how to build a white-label client portal with VoiceAI Wrapper, from setting up a custom subdomain and DNS records to adding branding and support widgets. The portal supports custom pages with token placeholders for personalization, post-payment thank-you pages, and test accounts to preview before going live.
Chapters
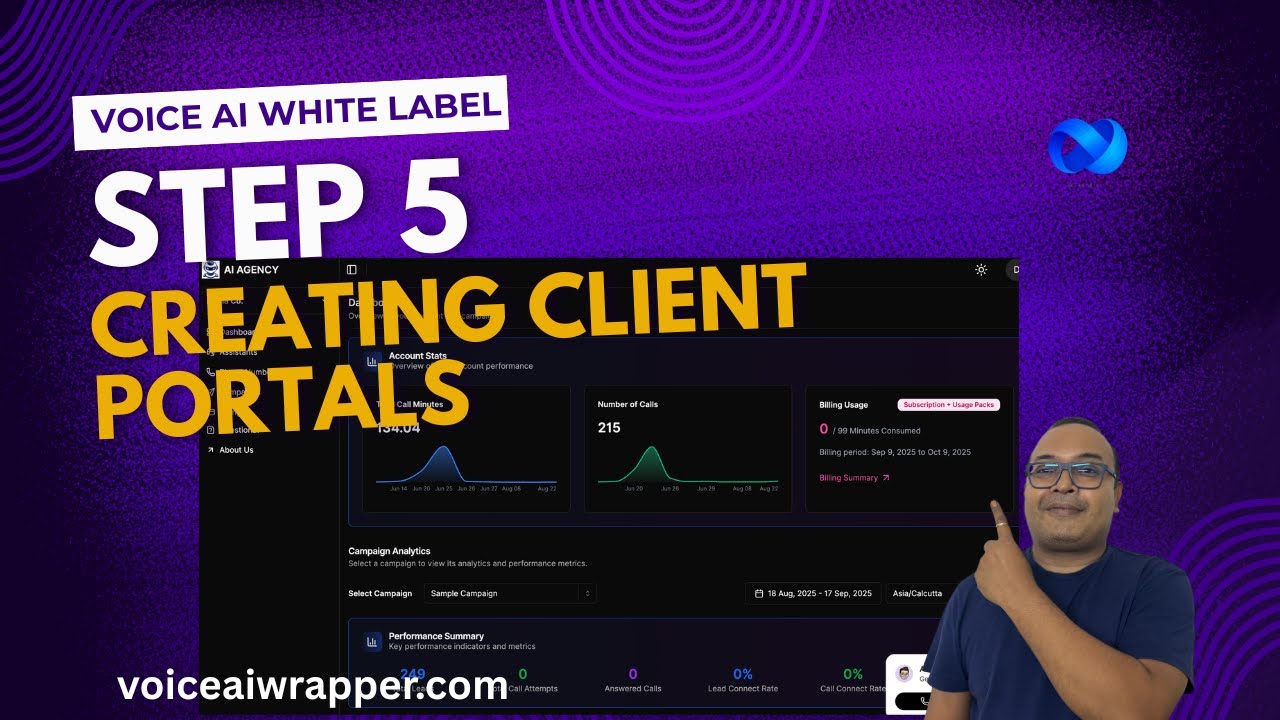
All right, so welcome to another video with Voice AI Wrapper. In this video, we'll show you how to create your white label agency portal and how to create and customize your client portal which you want your clients to see when they log in. So first thing that we will need to do is to set up a Voice API— a Voice AI pod, and there's a video on our channel which explains in detail how how to set up a Voice AI pod. This is simply connecting your voice API provider and creating a configuration here so that you have assets created and available to share with clients. So make sure you watch that before you hop on to creating a client portal. So in this video, I'm going to focus on the client portal. So the first thing that we do here is add your subdomain. To add your subdomain, if you have a domain like xyz.com, all you need to do is just type a word before it, like voice.xyz.com or ai.xyz.com. You don't have to do anything else, uh, on your DNS provider. Just add it here and click on Add Subdomain. It'll— our system will automatically generate these DNS entries, uh, within seconds. Yeah, you can select your DNS provider from this dropdown, and it will basically give you the entries which are relevant for that specific provider. If you don't find your provider, just select Others Not in the List and you'll be good. Now, one of the questions that I get very frequently is about CAA records. Is this required? Yes, uh, it is required. There are certain providers which do not offer CAA. In that case, as long as you make sure you've added the rest of the 4 CNAME records, you are good, right? So how do we go about this? The first thing you do is you ensure that you are adding the DNS entries correctly without any typos. And that's why we've given you these options to copy the values and paste it directly in your DNS provider. And you make sure you add all the entries, come back here, and there'll be a button which says validate. You do that before 72 hours because the certificates will expire. And this is how it works in general for fresh DNS entries. It'll expire if these are not validated. Within 72 hours. So if you wish to set up your subdomain, I would recommend you do it in one go instead of doing it in multiple settings. Um, after you add your DNS entries, just go to a website called dnschecker.org. That's D Delta N November S Sierra checker.org. And put in your entire subdomain and check if the new CNAME records have populated. That's the easiest, the most reliable, fastest way to check if your DNS records have propagated. Sometimes it takes minutes, sometimes it takes hours depending on what DNS provider you work with. Once you see those values populated, you come back here and you click on Validate and VoiceAir wrapper will show you a success message. So if it says success, that means your, your, your portal, your subdomain, your white label subdomain is live. And if you click on it, you will be able to launch your client portal. Now, before we expect things to show up in the client portal, we need to take care of a few things. Branding is optional, but I recommend you do this so that you get a firsthand experience of what your clients are going to see and experience. It's useful to add a support widget to your client portal. You can add anything here. All chatbots give you an embed code In case you don't have one, you can use, uh, the embed code, um, which is offered, uh, by VAPI or ElevenLabs, and you can just white label it using our system. So inside our product, you can create white label web widgets. You can just use that for your client support portal. The next thing is, uh, to give it a personalized touch, you can also create custom pages and links, and you can be a a bit more creative here. Um, we— this is a creator's platform, so you can create anything you want to. You can embed iframes. There are certain tokens that you can use to personalize the, uh, the page that people, that your users see when they, when they, when they land on that iframe. Um, you can also create pages, right? And there are a lot of edit options. So usually, uh, the use case here is to FAQ pages or About Us pages. You can also take people to your website anywhere you want to, right? And the simulation here on the right-hand side, it shows how these additional pages and links are going to show up on your client portal. So you have full control over what you want your clients to see and where do you want them to see those things. Now lastly, right after they finish your payment, so assuming you've set up your payment integration and you set up your products, and you're onboarding your clients on VoiceShare Wrapper, on the white label version of VoiceShare Wrapper, which is your platform, you would probably want clients to see a thank you message, right? So this is a good way of starting off on a good note. So you can create— I've created like a basic thank you page as an iframe here, right? And I've— it's a simple page which I've created on Lovable. And it just says thank you and it populates, right? So it has a welcome video and it says thank you, right? And you can do something similar or obviously better. And then you can use that thank you page to show up as a redirect after they've made a payment and you can set it up here, right? So that's how you set up your client portal. So once you're done with your client portal, the next step is to set up a client account. Before you create an actual client account, you can always set up a test client account and log in as the client to see, uh, how does the client portal look like. So, um, I'll explain that in detail in another video.