Build an AI chatbot for your website using voiceairwrapper.com without writing code. Train it on your content, choose text or voice, set up automations like email and SMS, then embed it on your site to handle visitor questions and capture leads.
Chapters
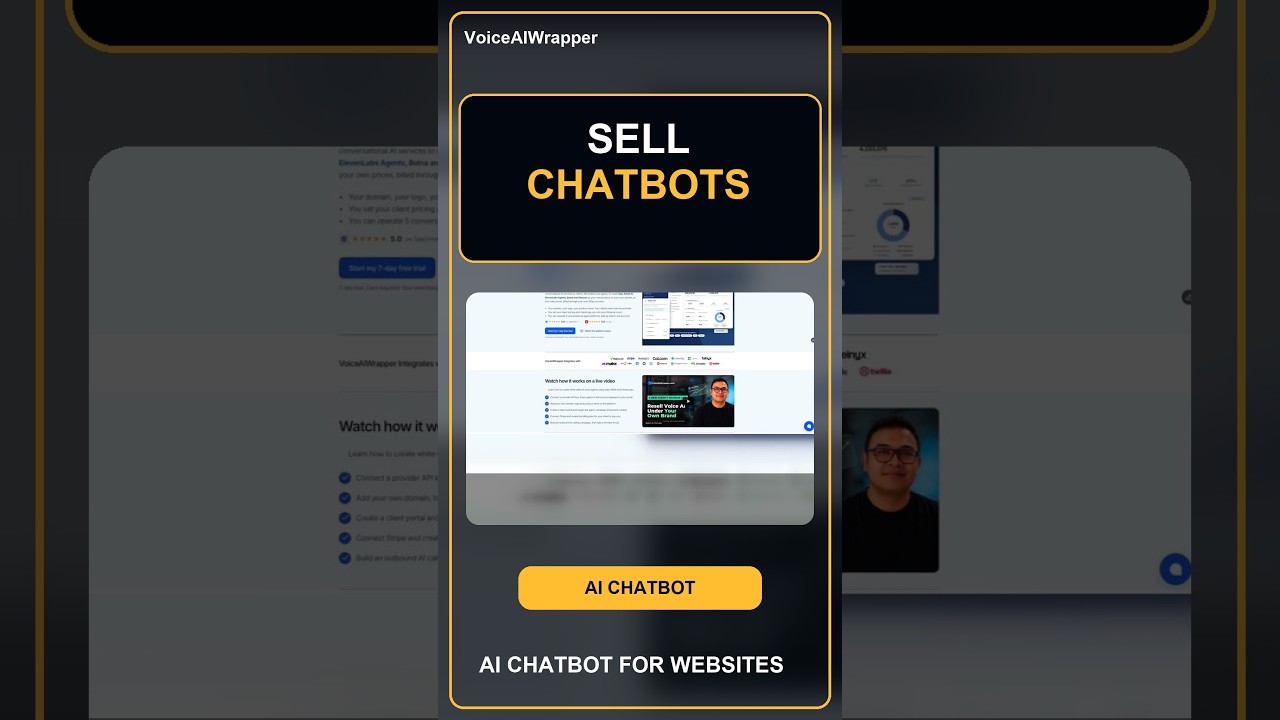
AI chatbot for websites. How do you create this for your own business? Or if you're an agency, how do you create this for your clients and offer this as a paid service? We're going to talk about this in this video. AI chatbot on a website can take questions, answer pricing queries, book appointments, and it can also redirect the conversation to a live agent. This is smarter than a chatbot and the entire interaction runs off an agentic workflow. So the product that we're going to show you today is voiceairwrapper.com. You can head over to its website and we offer a 7-day free trial. How do you create an AI chatbot for a website owned by yourself, or how do you create this for your client? So if you're creating this for your own business, The first step is to create your conversational AI agent, and that's where our agent builder comes into play. So you can select your industry type and you can tell the agent builder what kind of receptionist you want to create. And then you can add resources to train your agent on. It can scrape your website, it can scrape files, FAQ documents, and create the agent prompt, which will answer all your visitor queries, their questions, or align them with a live rep if required. Once this is created, your AI chatbot for your website can act as an AI receptionist that can capture incoming queries. It can capture visitors' email addresses, phone numbers, names, depending on how you've configured the agent. It can capture all chat transcript, and it will also give you analytics on how your AI chatbot is performing. While configuring the chatbot for your website, you have a choice of selecting a voice-based chatbot or a text-based chatbot or a voice and chat chatbot. It's called a multimodal chatbot, which means your visitor can switch between text and voice interaction at the same time. You also get options to customize this. You can customize the content, the disclaimer. That your visitors have to agree to before interacting with your website chatbot. If you wish to trigger any automations, so for example, if you wish to trigger an email, a WhatsApp message, or an SMS right after the chat, you can do that inside the webhook and email settings. For those of you who want to also trigger an outbound qualifying call based on the visitor's query, you can do that by creating an AI outbound calling agent. This can be connected to your phone number and it can automatically call the leads which have reached out to you on your website. After you've configured your agent, all you need to do is head over to the embed code section here, copy this code and put it in your website. And that's it. Your agent is going to start intercepting incoming queries in your website. It's going to answer them over text or calls, depending on how you set it up. It's going to capture their information, populate your CRM. Trigger SMS, WhatsApp message, email, or pass over to a live rep depending on how you've instructed it. For marketing agencies who want to extend this as a service to their clients, we allow them to create their own branded client portals in multiple languages with their own support widget. You can also create billing plans, which means you can bill your clients on top of what your AI usage costs are, and you can bill them in multiple currencies. You can charge your clients an onboarding fee. You can charge them a recharge pack. You can also charge them a subscription fee. You don't need any coding or technical knowledge to onboard clients and assign AI chatbot for their websites. All you need to do is create a pricing table of your choice, depending on how you want to bill your clients. You can either take this table, put it in your website, or take the links and put it behind a CTA on your website. Right after your client signs up, they would either get a paid plan or a free trial, depending on how you've configured your billing. And right after that, they can go to this page where they are configuring the agent by themselves. This is very simple. Even a layman can configure this. Everybody knows what their website is and where their FAQ document is. And it saves you the trouble of manually configuring agents inside agent builders. After this is done, your clients are signed up. Their accounts are created based on the credentials that they've entered at signup. And they are billed based on the pricing plan that you've allocated with them. So this is how you can create AI chatbots for your website, depending on whether you're running this for your own company, or if you're an agency extending this service to your clients. If you need help setting this up, just head over to voiceairapper.com and reach out to our support team. Most of the things that I showed you here is very easy to use. You can figure it by yourself with our guided tutorials during our free trial. But if you need help, we are there 24/7 and you can just reach out to us via chat or book a call with us.