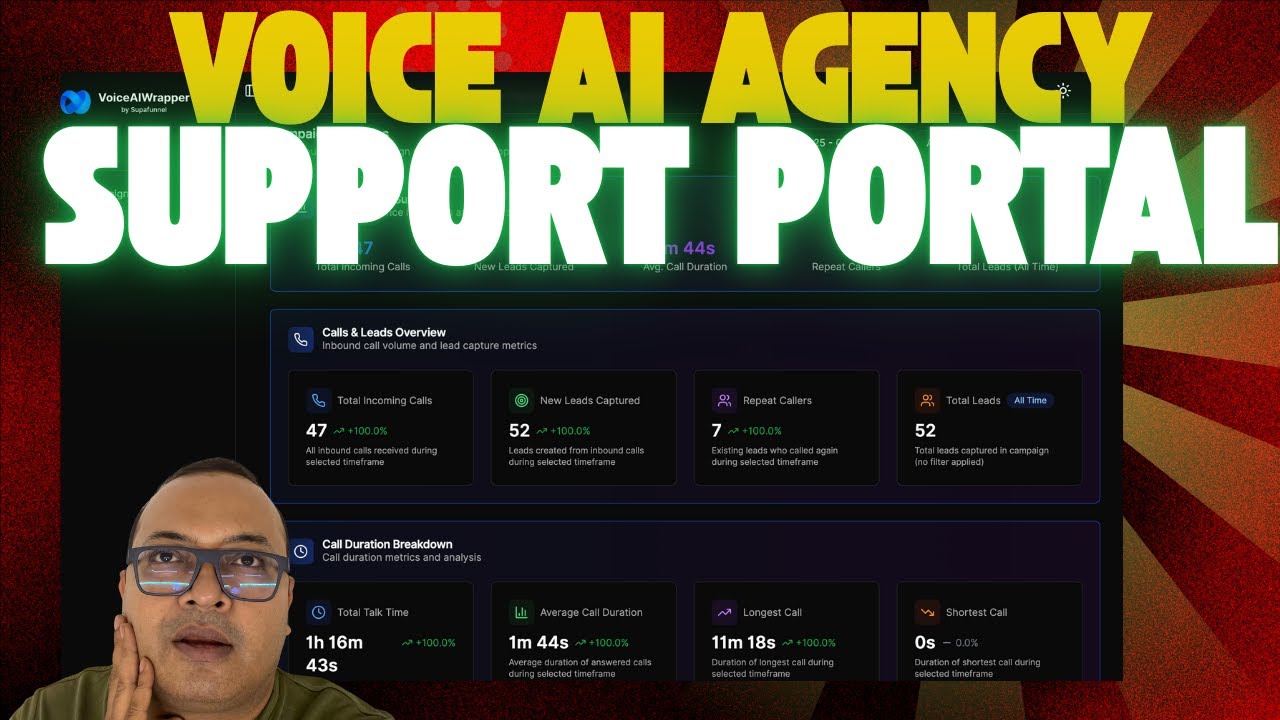
In this tutorial, Raj Baruah walks agency users through the process of extending a white‑label client portal built with Voice AI Wrapper to include support channels. He begins by reminding viewers to first connect their voice API provider keys (the platform supports all major providers) and to set up the portal’s subdomain, DNS records, and brand assets for a fully branded experience. The core of the demo shows how to add a support widget by pasting an embed code, allowing any third‑party chat tool (e.g., Intercom, Crisp) to appear in the portal. He then demonstrates creating custom navigation links and pages, including iframe‑based pages that can consume personalization tokens such as the client user’s email or username. A live login shows the widget rendering, a personalized greeting on a custom page, and an external link opening the agency’s website. The video concludes by encouraging feedback and promising more content. The overall message is that adding chat or FAQ widgets, custom pages, and personalized iframes is straightforward, reduces support resolution time, and improves client experience.
Chapters
Hi and welcome to another video with Voice AI Wrapper. In this video, we're gonna talk about how as an agency you can add support channels to your white label client portal with Voice AI Wrapper. So irrespective of whether you're starting off and you just onboarded your first client or you're, you're a thriving business and you have multiple clients, you would definitely want to add maybe a chat support or maybe an onboarding FAQ page or embed some tutorials or testimonials or FAQs on your client portal, right? And this not only reduces your support resolution time, it also gives your clients a great experience. That's needless to explain. So let's jump into Voice AI Wrapper and I'll show you how to enable that using our product. Okay, I'm inside the Voice AI Wrapper app, and in case you're new to all of this, basics first. The first thing that you would do is you would connect your voice API provider keys inside our system, and we work with the top and the leading voice API providers out there. So if you're using any of these, you're not going to feel left out. Now, I have other videos where I cover how to set up branded client portals, and other things related to our product in terms of what level of customization and rebilling options we offer. Today we will specifically cover the support options available on your client portal. Okay, so the first step in the white labeling process is to click on your client portal. We have detailed videos on this, but the first step to set up your portal is to add your subdomain and then add these keys to your DNS provider and you will be able to white label the entire app on your subdomain. Next step is to add your brand assets so that your white label portal has your brand look and feel. We are going to talk about support widget right now. So support widget is going to enable you to add like a chat widget or any widget as long as you have an embed code for that application. You can add any widget on the client portal. So it's pretty straightforward. I click on, um, Add Support Widget, and then it asks me to add an embed code. I'm going to use one for this demo, so I'm going to use this code that I have handy, and I'll click Create. So after we're done with all of this, we will go in and check the client portal and, uh, and experience how this actually works. Um, but before that, I'll also show you how to set up custom links and pages. So, um, and on the right-hand side, you can see a simulation what, what your client portal is going to look like once you set up this, uh, these custom pages and links. So these are in case you want to add additional options in the navigation, and these options can be anything from an external link to an iframe page Or you can also build— use our built-in editor to create like a customized page. It has a good amount of formatting options, so you can have clients go to like a custom page and that you can create right inside Voice AI Wrapper. We also offer an option to add variables, as in personalization tokens, using iframe. So Let's see how that works. I'm just gonna pick a random icon for this page, and I'm gonna say, um, I'm gonna call this hello, and I'm just gonna add a random slug here. And I've just created a page on Lovable, and inside the Lovable page, I have inserted a dynamic value. Now what I've done is I've I have pointed this dynamic value to a variable here that is in our system, which is client user email. So I'll show you how this looks like. So when somebody, your client opens this page, it will say, hi, this page right now, for example, if I copy this, Pop it into a browser. This is how the page looks like, and I've just created a random page on Lovable, right? And it says hi, there's no personalization token. So just to show you an example, you can use variables based on their account, the client account inside Voice AI Wrapper, and you can personalize this page. So instead of hi, it can say whatever your client username is or email list, and you have a bunch of variables that you can pick from here. So I'm going to use the user mail here, and I'm just going to say create. Okay, um, I'm going to add— so as you can see, the simulation shows me that the page has been created, and it shows you how the page or where the place is going to be placed, uh, on the simulation. And, um, I can probably add another uh, op item here, and this is going to be, uh, let's call it website. And let's say I want to take people to voiceairrapper.com. I'm going to paste it here. I hit create. Okay, so now I have another custom, uh, menu option in my client portal. I'm going to log into the client portal and I will check if the support widget that we have set up and the custom page that we have set up, if they're showing up. Yeah, so I'm going to use the demo user login that I've just created and I head over to my client portal. Okay, there we go. Now, so you can see that the new, the support widget shows up here the way I added it. This is our widget. You can add anything of your own. And then I had added a page which is supposed to greet me with my name. So it does that, hi Demo Advisor Apper. That's my username and that's the variable that I used. And then I used an external link here which basically opens up a new tab and takes me to my— our website, right? So I hope this gives you the idea. So inside Voicea Wrapper, you can go to client portal setup, and this allows you to add your own support portal, support widget that can be a chat widget or any widget that you want to. It can be Intercom, Crisp, or any chat widget for your client support, and you can add custom pages, links, and iframe. And the iframe supports personalized tokens so that when your users open it up, they can be greeted with their with a personalized greeting. All right, I hope this helps. Let me know if you like this video. Please feel free to share comments. That keeps— that encourages me to create more videos that you like. Thank you, and I look forward to meeting you soon.