The Only Reason You're LOSING Your Trades

In this 15‑minute instructional video Roman Ceccardi explains why many retail traders lose trades: they confuse external liquidity (used to set market bias) with internal liquidity (used for trade execution). He defines external liquidity as the swing highs and lows that form liquidity pools, and internal liquidity as order blocks, fair‑value gaps and smaller swing points. The video outlines a systematic approach: first map up to five key external liquidity levels to determine direction, then wait for an internal market‑structure shift before entering using order blocks or fair‑value gaps. Ceccardi demonstrates the method on Solana, showing how price moves between buy‑side and sell‑side liquidity pools, how market makers create and sweep liquidity, and how bullish and bearish order flow differ (highs are attacked in bullish flow, lows in bearish flow). He also provides practical rules for bias switching (only after higher‑timeframe targets are hit), warns against common traps such as order blocks placed next to equal lows/highs, and describes how to use liquidity sweeps to time high‑probability entries. The video concludes with three key take‑aways and a brief promotion of his mastermind coaching program.
Chapters
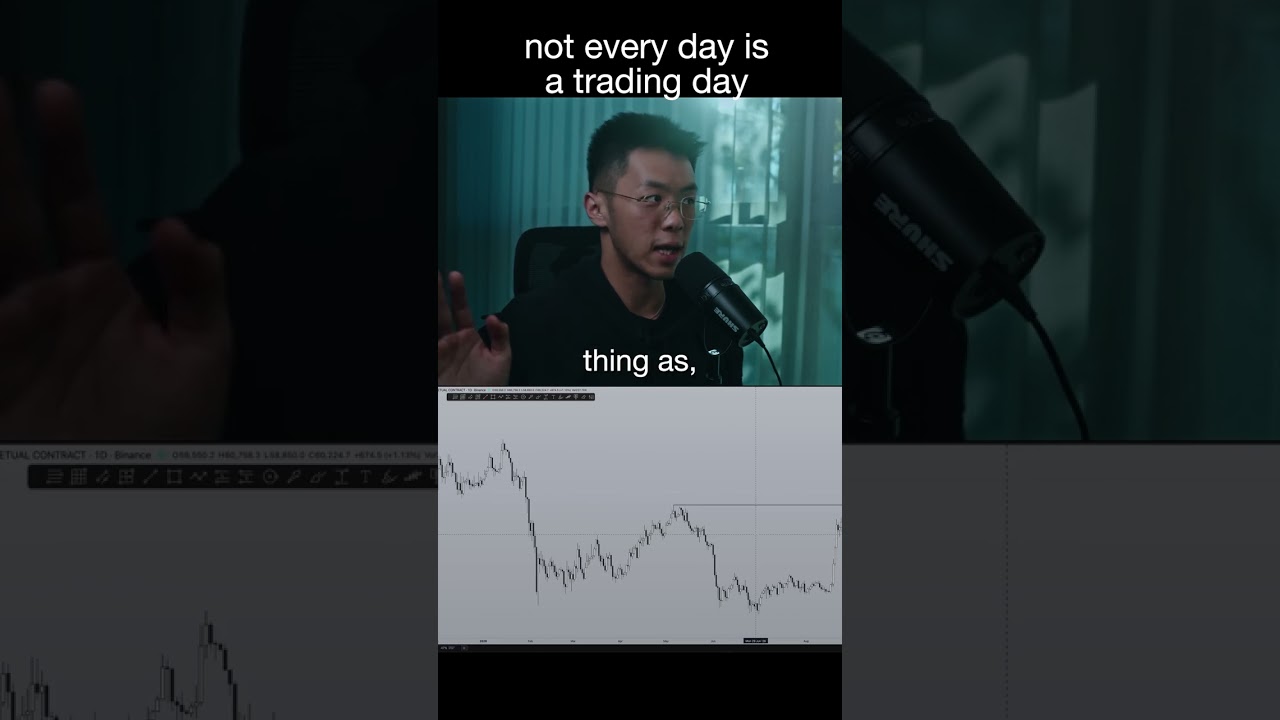
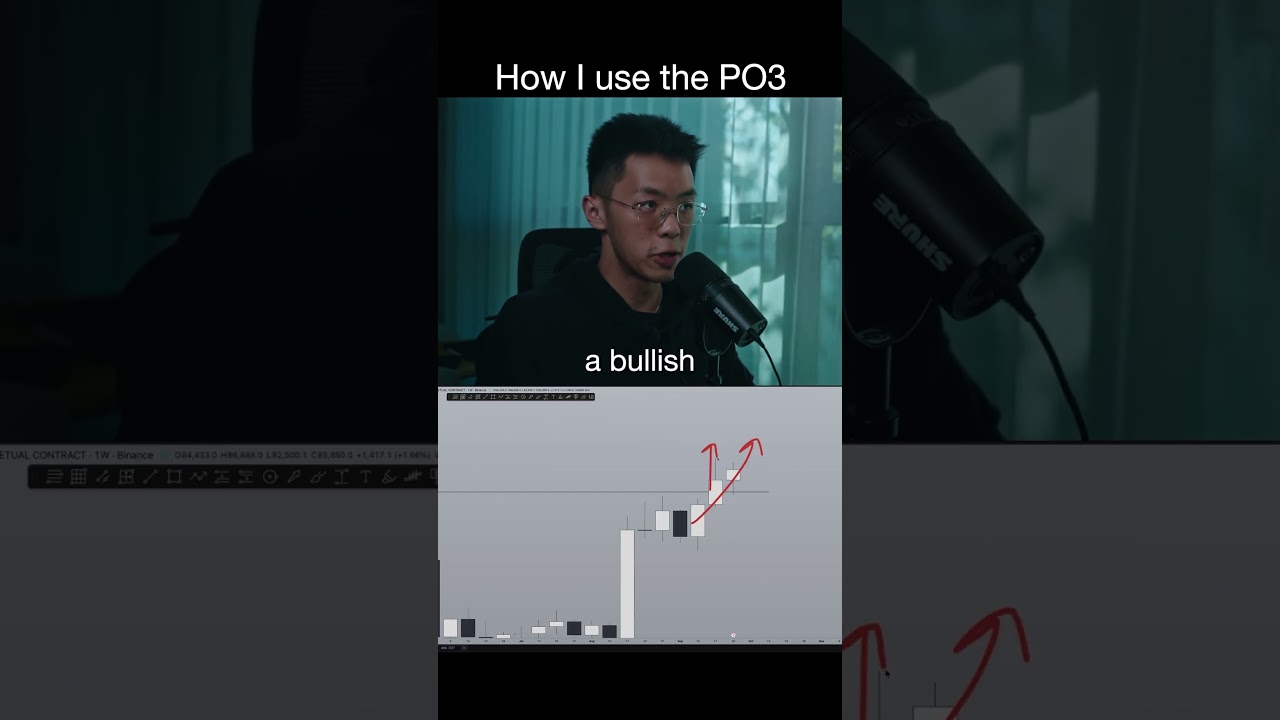
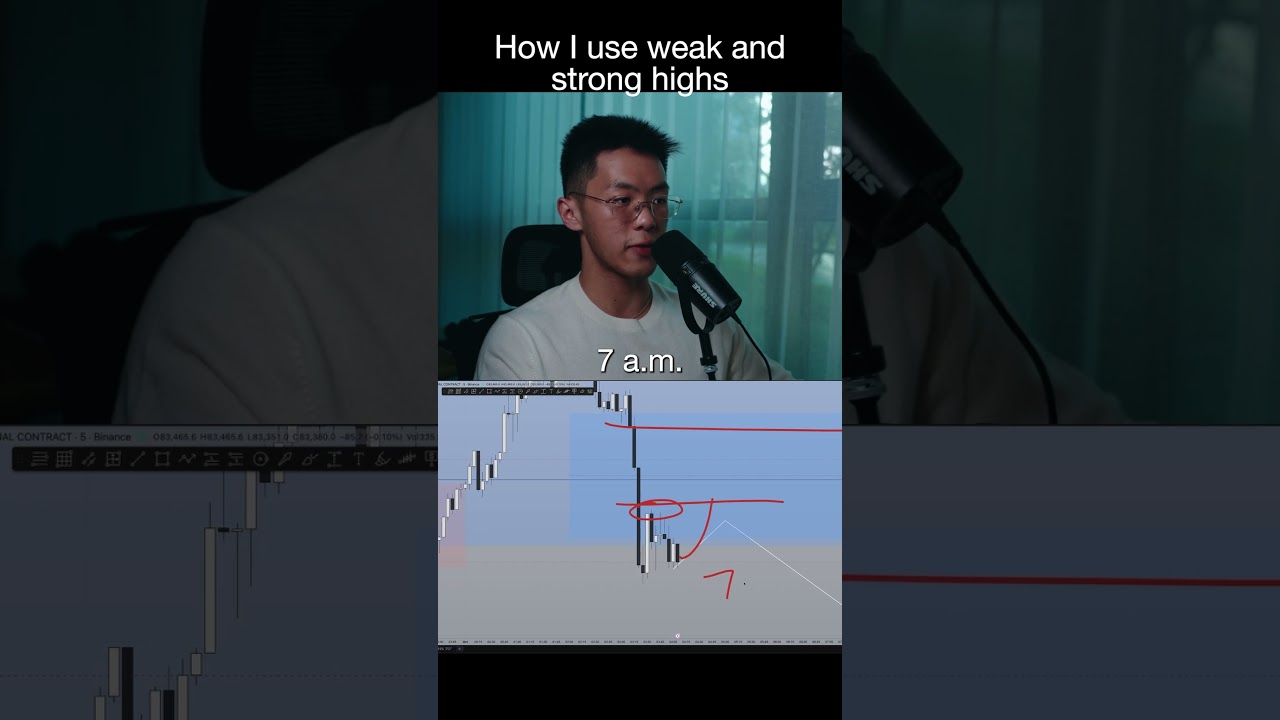
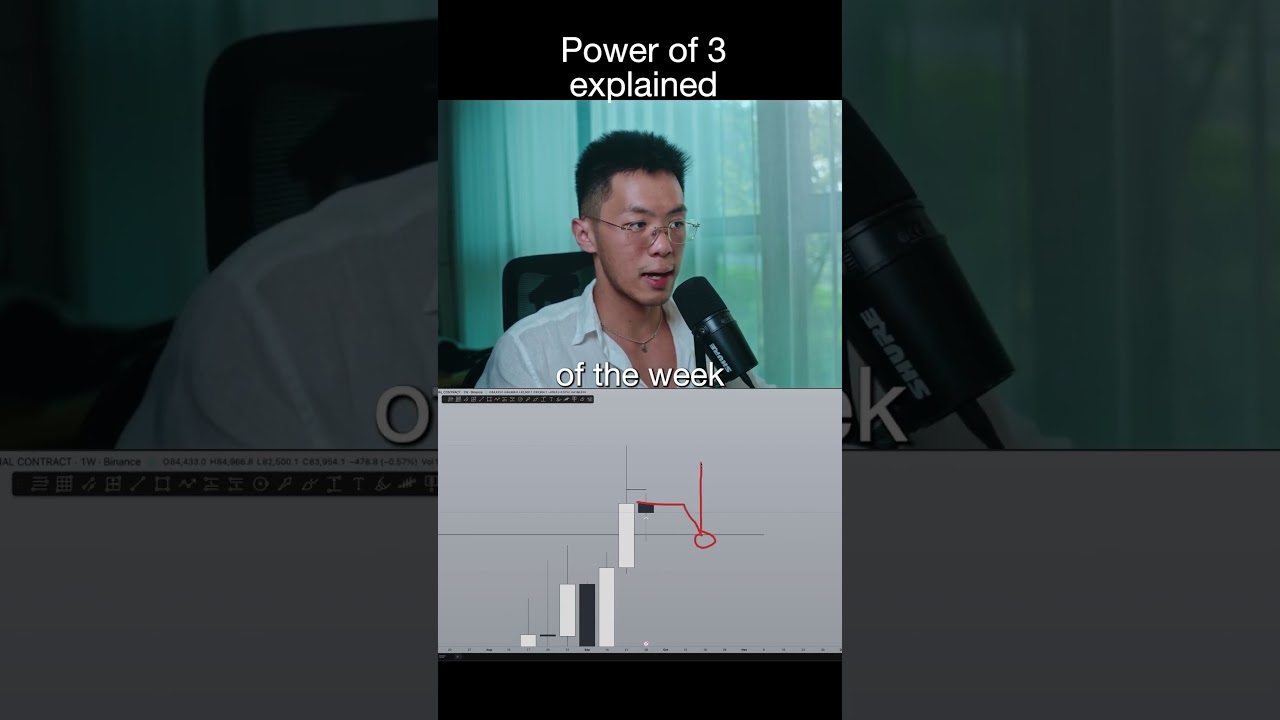
What's up everyone? I'm making this video because I had a call yesterday with my mastermind and there was a new student who was getting confused about how to read liquidity. Basically, if you've ever run into a situation where you think price is retracing back into an order block or a fair value gap, but instead it takes out previous high or takes out a previous low and you're left there wondering, hey, aren't fair value gaps and order blocks supposed to provide support? And yet they just got completely blown through and they're just, you know, going lower or going higher. If you've been in a situation like that, it's very, very, very likely because you have read the liquidity wrongly, and in this video we are going to address that. Now before I start the video, the lessons and the things that I'm going to talk about in this video will likely make you way, way, way more money and save you from a lot of losses. So if you can't sit here for about 10 to 15 minutes to listen to this, you're probably not cut out for trading. But anyways, let's get right into it. So this is probably 90%— like this entire text here is 90% to 95% of the reason why you are reading liquidity wrongly. And that all boils down to your misunderstanding of what is external liquidity and what is internal liquidity. It's a thing need to understand. External liquidity is for determining bias and direction, while internal liquidity is for execution. Now, most of the time, the reason why you read liquidity wrongly is because you are using internal liquidity— stuff that is supposed to be considered internal liquidity, such as fair value gaps, such as order blocks, or even just internal swing highs and swing lows— in order to determine the direction. Let me give you an example. Let's say that you are in a situation like this. Maybe the moment price goes up from here You start looking, oh, okay, maybe the bottom is going to come at the order block. Well, if you're using that as a directional bias, right, thinking that the bottom is going to come here, then you will be wrong because this order block eventually gets blown through. And where does price target? Well, it targets these relatively equal lows beneath this order block here and also this swing low back here, right? The markets are always— here's one thing that you must remember at all times. Markets always fluctuate between liquidity pool to liquidity pool. Note, I do not say the market fluctuates from order block to order block. I do not say the market fluctuates from fair value gap to fair value gap. It is liquidity pool to liquidity pool. Now let's break that down. What do I mean by liquidity pool? Basically, if you're following this channel, then you understand that I talk a lot about trading like a market maker and that these markets are all manipulated. So let's break that statement down as well. As a market maker, you make money when other people get stopped out. So the more people that you are able to stop out as a market maker, the more money you make, because the markets is a zero-sum game. When you lose, your money is going to somebody else as their winnings. And when you win, you don't just get the money out of thin air magically. you're taking it from someone else, and most of the time you are taking it from the market makers. So it is in their best interest to cause as many people to lose in these markets as possible so that they can make the most money possible. And on the flip side, it is in their best interest to prevent you from winning. So let's put it all together. If you were a market maker, how would you best allow people to lose? Well, one thing you must understand is that 80% of the markets pretty much think like retail traders, where they look at this as, you know, quote unquote support And they're all going to be putting the stop loss beneath this level. Guess what? When everybody is looking at the exact same area, when everyone is looking at the same level, it causes that level to turn into a liquidity pool. And guess who's watching? The market makers. So when we're talking about liquidity pools, order blocks, fair value gaps are not it. In fact, swing highs, swing lows, those are where the liquidity pools are. Think back to the last 10 trades, or even 5 trades, or even just the last trade that you took. Where did you place your stop loss? Were you placing it, for example, above the fair value gap? Or were you perhaps placing it above the swing high or above the swing high right there? If you were shorting, you probably would have placed it above the swing high. Why is that? So coming back to this paragraph here, I can safely say that most likely all of your problems likely stem from one simple reason, which is mistaking external liquidity and internal liquidity, because they both serve their own unique functions. So let's talk about that. So external liquidity— I will give you examples soon— is used for only determining buys and direction. You are not looking to execute based off of external liquidity. Same thing for execution, right? Internal liquidity is only used for execution. That's why you don't use fair value gaps and order blocks to determine tops and bottoms. You use liquidity pools, which is highs and lows. That is only used for determining bias and direction. Just like how you wouldn't, for example, if you have relatively equal lows here that get swept, you immediately like, you know, jump in here. Now you could, but you run the risk of the market continuing to tank after it sweeps that liquidity, right? Let's say you get in here, once it swept the liquidity and then it just continues going down because maybe you read the bias wrong, which can happen because the only thing that is certain about the markets is that it is always uncertain. You will never have a 100% win rate. So most likely, especially if you've been watching any of my videos, thing that I always recommend doing is to wait for an internal liquidity market structure shift before returning back to a fair value gap or an order block, right? Note that this liquidity here is simply used to determine direction, right? Once this level is taken out, then we start thinking, okay, perhaps there might be a retracement now, perhaps But the only way to know is if we get this internal liquidity shift and then retracing back into a point of internal liquidity before going up, right? This is where we would enter, right? Place our stop beneath here and then look for the market to go up, something like that. We'll dive into like specific examples there. Like this was all drawn yesterday during the mastermind call, so we'll get into that in a bit. So now that you understand the general gist of it, let's look at external liquidity first, and then we will break down how to use internal liquidity, and then eventually we'll break down how to use both of these. In your trading so that you don't get confused no more. So right now we are looking at Solana, and this is going to be a pretty good example of what constitutes external liquidity versus internal liquidity. So external liquidity, the only rule of thumb that you need to remember is the fact that external liquidity always lies outside of current price action. For example, if the current price action is here, this would be your external liquidity, right? This high, this high, and this high there. I mean, in fact, let me, uh, let me just draw it out so that it becomes clear. So that is an external liquidity, that is as well, and that is as well. So External liquidity. The other way to think about external liquidity is that it forms a much bigger picture and a much clearer image of how market structure is forming. For example, this— if I were to draw external liquidity, it would simply be like this, right? At the moment, if I were to simplify market structure down into 4 moves, it would look exactly like this. But if I were to draw internal liquidity, it would look more like this, right? Every single little swing high, swing low, and whatever is included in internal liquidity, right? So this becomes much more messy, and as such, it is not as good for determining direction. When you are determining direction, external liquidity is what you want to use. So let's take a look at external liquidity. For example, if price were to break above this high right now, right, that means that we have an external market structure shift, which means that as a whole, like as a whole, the macro market structure has now shifted towards the bullish side, which means if you do come into a retracement, which could happen anywhere between this low and this high, wherever that high forms, if it retraces, say, back into the 50% or even the 705%, then you take a long in order for price to form new highs. That is how you use external liquidity. What about internal liquidity? Internal liquidity is inside, right? Inside these little small moves where, for example, now that I have identified that, let's say I think that the market is going to take out these highs, right? It hasn't taken out those highs yet, which means it's reaching for it. In this case, my bias would be bullish. If I'm in a bullish bias, then I would be looking at bullish fair value gaps. Then I would be looking at bullish order blocks. And I would also be looking for bullish sell-side liquidity sweeps. What do I mean by that? I'm going to get into that in just a little bit. It's one of the secret hacks that I've learned over the years that has helped me immensely in my trading. So basically what I'm trying to say here is that external liquidity is only used to determine the direction, right? Notice how I'm not saying, oh, I'm gonna, you know, take a short once this happens, right? No, I'm just using it to determine where is the market likely to go next. For example, I could see that there is relatively equal lows over there. I can see relatively equal lows over there, right? And in this case here Presents another question, which is when you have multiple lows or multiple highs within very close proximity to each other, that looks very significant, right? All of these feel significant. Relatively equal lows, relatively equal lows. What do you do? Key here is that when you are looking at external liquidity, you always look at the furthest point. You always look at the most extreme points. In fact, here is a rule of thumb in order to prevent yourself from marking out literally every single swing high and every single swing low, which can happen, especially when you are a beginner. Here is my rule: I will only map out a maximum of five key levels in determining the bias and direction. That can be its own slide, by the way. So into context, so how do you actually break that down? Well, if you're in Trading Accelerator, which is my free course, which you can sign up using the link in the description box below, that teaches everything that you're learning in this video actually. But anyways, if you're coming from Trading Accelerator, the way talk about these five levels a lot, and the way that you prevent confusion when determining the higher time frame bias is by having only a maximum of five levels. What are these five levels? One. You wanna have a relevant close-by high/low. Number 2, you wanna have a high and low that is a little bit further away so that you don't get lost in the details and you are able to still see the big picture. And then the 5th level could simply be where is the liquidity that price has just swept, okay? So let's break that down. In this case, if I were to do— if I were to start all over again using Solana, I would do this, okay? First things first, you have your recent relevant high, right? What do I mean by relevant? Relevant means the closest target that the price would be reaching to, okay? That's relevant. That's something that can happen, you know, within, the short within the near future, right? For example, if I use 20.6, sure, it might happen, but it'll take a little longer, right? Where is current price reaching for? That's all you need to think about. And in the case of Solana, it looks to be 19.6. And it doesn't matter if you're right or wrong, right? All you are trying to do here is to come up with an educated guess on where the market might move next. Notice how I don't say this is where the market will go next. There is no such thing as certainty in the markets. All you can do again is to come up with the best guess that you can possibly do. So in this case, my best guess would be, you know, maybe it's reaching towards the upside. Notice how I'm not using order blocks, I'm not using fair value gaps, I'm using liquidity, right? Markets always fluctuate from areas of liquidity, basically liquidity pool to the next liquidity pool, right? Let's just look at this example here. This level probably swept a level that was, you know, previous, like a long way away, right? For example, do you have previous candle body lows over here that probably got swept during that move? Why the candle bodies? Because that is where the institutional volume is concentrated at, not the wicks, the bodies. So once you sweep this liquidity, what do you do next? Well, you form the range. Once you have the range, let's say the range low is over here, right? Where does price reach for? Notice how price is not reaching for the order block. Price is reaching for this swing low right here. Once it takes it out, boom, where does it go next? It goes for the previous high. Notice how it's not going for the bearish fair value gap or whatever. It's going for liquidity. After this has been taken out, okay, now you have liquidity over here that you need to recover. Boom, you go to the opposite side because traders are going to have their stop loss beneath these lows thinking that it's, you know, crucial support or whatever. Traders will also treat this as resistance. And then once you take out this level, now you're forming a little range again, right? A micro range within a larger range. Once you look at this level here, notice what happens. Once you have your liquidity, right, you come back to the range lows. Boom. Once you come back to range low, you go to range high to take out what? Sell side. To take out what? Buy side liquidity. And then once you take out the buy side, where do you go? You take out the candle body lows. Once you take out the candle body lows, you go to the opposite side, right? You always target liquidity. The markets are always fluctuating between buy side liquidity, which is on the upside, and sell-side liquidity, which is down here, right? So every time you look at the market, in order to not get confused on direction, always look at the markets in the sense of, okay, is the market reaching for buy-side liquidity or is it reaching for sell-side liquidity, right? It's either one or the other. For example, the closest to most relevant high and low is going to be here. This is buy-side liquidity, right? Above previous highs. Down here at above— sorry, below previous lows. So it's either going to reach for here or it's going to reach for here, right? It's one or the other and you just got to make an educated guess. Now with practice and backtesting, you will— this will make much more sense. Then you have a little bit of a further level, right, to give you a reference point. Okay, once this level has been taken out, let's say you might be expecting a little bit of a retracement or a complete reversal, just like how I've shown you before. Once you take out the sell side, you go for the buy side, right? So maybe once you take out the buy side, you go for the sell side. But what if the price doesn't like do a complete reversal? Maybe the price action is not showing you signs that it wants to reverse, but instead maybe it might just be a little retracement. If that is the case, then where do you reach for next? Well, now Because you already have the big picture in mind. Um, okay, now you still have your direction, no sweat. So what if you take out this low here? You have no lows, you no longer have any lows to go like reference from. Well, that's not true because you have previous lows over here, for example, right there. So that can be your further low, right? So after this low has been taken out, okay, now if the market doesn't look like it wants to retrace— sorry, reverse and take out buy side liquidity— then now you have this level to go off of. Okay, so this is external liquidity. Okay. Not bullish fair value gaps, not— just ignore the fair value gaps and order blocks, okay? Because here's the thing, I'm pretty sure, in fact I'm 100% certain, that you have been in a situation before where you think that price is going to retrace back into some order block or something, and it just completely blows through that order block, stops you out before it reverses. If you've been in a situation like that, it's because you have been using external and internal liquidity wrong. If you only watch until this point of the video so far, then this will fix a lot of your problems and it will save you from a lot of losses. And by virtue of that, you're going to make much more money than you are right now. But you all know that I love to give you guys a ton of value. So I'm going to now go into internal liquidity and how to apply all of this together so that you can make even more money and minimize your confusion when you look at the markets. And now we have to come over to this diagram here, right? One of the things that were above that was in internal liquidity is bearish and bullish order flow. So let's talk about that. So we have already basically established that fair value gaps and order blocks are internal liquidity, right? We don't use that to determine bias. But let's say that when we are executing, right, this is how you use internal liquidity. When we are executing, we will now put into use, you know, order blocks. This is where we use for entries, right? Once we have used the external liquidity, right? Remember, maximum 4 to 5 levels. That's it. Once you have identified the bias, now it's time to execute, right? Now it's time to take trades. How do you do that? Well, now you start using order blocks, right? Only after you have identified the bias can you use order blocks. One of the most common questions I get from especially a beginner is, oh, but there's like so many order blocks, right? There's so many fair value gaps, right? There's one here. You know, there's one here and that's just too many. Which one do I use? Well, if your bias is towards the upside, you completely ignore bearish fair value gaps and bearish order blocks. Only if your bias is towards the downside, then you take bearish bullish order blocks. And note, another common struggle that many people face, and you've probably been in a situation like that, is that as the price is going up and down, right, going up and down, you switch your bias the entire way up. For example, let's say, oh, over here you get a strong candle body down. Oh, now you have a bearish fair value gap. But the higher timeframe target has not been hit yet, so you shouldn't switch your bias. The people that go short here are going to lose. If that is you, then do not switch your bias, right? Here is the rule of thumb when it comes to switching your bias. You only switch your bias only after higher timeframe targets have been hit. For example, during this entire move here, notice how many changes of character, or like how many internal market structure shifts that you have. Imagine if you were to have shifted your bias bearish here, right? Maybe it might have worked out for a bit and then you get stopped out. And then after this, you shift your bias to the bullish side. Okay, amazing. You get one good trade, and then once you get to this point, oh no, the market shifts bearish again. Now you shift bearish again, and then you would have got stopped out again. And then let's say over here you see that the market is going down. Oh, now you shift your bias again, right? Let's say this is a bearish order block, and now you're trying to trade this down. This is exactly how you lose money. If this is you, then this rule of thumb will really help you out. You will only change your bias after external liquidity has been hit, or rather your higher time frame targets. Before they have been hit, you stick with one bias. Now going back to bearish bullish order flow. Now if you've realized from this entry here, right, there would have been another order block here actually, if you notice, and that got blown through even though the bias was bullish. Why is that? Oh, it is time to break down now the secret weapon that I've, well, basically learned over the years that has really made me a ton of money and reduced a lot of my confusion, and that has to do with order flow. So 2 things you need to understand about order flow is that when the market is bullish, right, when it is making new highs and new lows, the highs are always attacked. Right? Basically, once you retrace, where do you go next? Right? You attack the previous high, form new highs. Then once you form a new high and you retrace, oh, what do you do? You attack another previous high until at some point where you reverse. Right? That's a different story. Now in bearish order flow, the lows are attacked while the highs are protected. Right? This is how you can be confident that you can use, for example, bearish order blocks or bearish fair value gaps during a sell program. So for example, you have a bearish fair value gap here and you can place your stop. Above, you know, a previous high because you know that highs are protected. For example, the moment you get this move here and let's say you go short here on that fair value gap there, you can place your stop, you know, above the fair value gap or even above the previous high knowing that it is protected, right? When you trade with the trend, you are essentially protected by the market makers because the market makers have a vested interest. When the market goes into a sell program, right, the market makers— it means that the market makers are trying to stop out sell-side liquidity. When that happens, it means that they will keep adding to their position. Like, every— like, the market makers are also like us where they will place their stops above previous swing highs and below previous swing lows. The only difference is they're calling the shots, which means they know exactly when to, you know, close out the trade before they reverse the direction, or when they should take profit, and, you know, whatever. But we can still follow their footsteps to a certain extent by following the order flow. But sometimes you will get situations in bearish order flows where previous highs, right, that's a previous high, it gets attacked. And why is that? Well, this has to do with bullish and bearish order flows. Basically, this is the key rule that you need to understand. And if you just apply this simple rule here, right, even if you don't use order blocks or fair value gaps, if you only understand this, you will probably make a ton of money. So it is basically the rule that implies that in bearish order flow, if sell-side liquidity— or sorry, buy-side liquidity, right? This is buy-side liquidity. If buy-side liquidity gets swept during a sell program, it will lead to new lows. Here's the thing you need to understand about the markets. Think of the market as, you know, a Ferrari. In order for this Ferrari to go up or down or just anywhere at all, it needs fuel. Money is fuel. And where do the market makers get money? Because they have a finite supply of money, even though it's much larger than, you know, all of us have combined. But that aside, where would they be able to acquire liquidity, move the market? That is by stopping out other retail traders and other market makers. And because everyone is going to be placing their stop above previous highs, sometimes you might get a stop run above previous highs, even though it is bearish, right? You look at the market structure, it is bearish as clear as day. Sometimes you will get just a couple of sell-side liquidity sweeps— sorry, buy-side liquidity sweeps before the market makes new lows. Well, that is just the market acquiring fuel in order to drive the next explosive move down, which is also why when you see any buy-side liquidity sweeps in a clear sell program, the next move tends to be very explosive. For example, over here you have a previous high in a sell program. Well, Once you sweep the high, boom, very explosive. It's instant, right? There is no pussyfooting around. It is instant. Over here, take out buy side liquidity, boom, immediate aggressive, you know, down move, right? And this is a setup that you can look for very specifically. Now, no matter what type of trader that you are and regardless of the strategy that you're using, if you simply apply this one concept into your trading, which is basically if you are bearish, you always wait for buy side liquidity sweeps before you enter. That will give you access to higher quality trades and also trades that are much more volatile, which means that you don't have to spend hours upon hours waiting for the trade to do something. For example, if I am bullish, I always look for a sell-side liquidity sweep before I enter. Why is that? Well, that's going to give me an aggressive move. Now, of course, the aggressive entry in this case would be to simply enter the moment you see the buy-side liquidity sweep. That is very risky, especially in crypto. I would not recommend that. The best thing to do is to wait for that sell-side liquidity— sorry, buy-side liquidity sweep Wait for the market to show a clear displacement, right? The moment you see the first bearish fair value gap or the first bearish order block or whatever, you can just place a limit there, and then you can just place your stop above the area where liquidity was just swept, and then you can just ride the wave down there. And those are very— this— and the reason that makes this a high probability trade is the fact that this previous high already swept liquidity. If the market is indeed bearish, it is not going to return back to this previous high that swept the liquidity. Sense? So that is what you need to understand about bearish and bullish order flow. And one of the just I guess this picture here illustrates the exact type of setup that you would want to avoid and how to actually, you know, trade it properly. So I'm sure you guys have seen, uh, situations where, you know, you have order blocks, right? Price, you know, it does, it does break internal market structure. It does show an aggressive move towards the upside, and it does leave behind order blocks or fair value gaps. But when you take those order blocks, for example this one, when you take that order block, oh sure, it might bounce up just a little bit, then it comes down to stop you out. Before eventually moving in your direction? Well, that is because you do not want to take order blocks or fair value gaps that are right next to relatively equal lows or relatively equal highs. If I am bullish and I see an order block that is right next to like liquidity, maybe I see an order block right above relatively equal lows, or maybe an order block that is right next to relatively equal lows. If you think back to your own experience, have you been stopped out on a lot of these trades? You probably have. And this is a lesson that I learned the hard way. So if you see a situation like this where you have liquidity right, like right below like a bullish order block, what you should do instead is wait for the sell-side liquidity sweep, right? Now that you understand how order flow works and now that you understand how the market makers like to operate, wait for that liquidity sweep before forming new highs. And of course, the way that you know if this theory has been invalidated is once you sweep the liquidity and it does not form new highs, well, obviously now the market is going into a bearish order flow. But as long as your bias is towards the upside, every sell-side liquidity sweep, okay, I mean every single one, will lead to new Okay, so this situation is even more exaggerated when you have, let's say, relatively equal lows, then a clear imbalance right, like, right beneath it. So that imbalance could be an order block, it could be a fair value gap, whatever it is. As long as there is an imbalance right beneath relatively equal lows and then there is an order block here, this order block is a trap. It is a trap because they know that some retail traders look at, you know, bullish order blocks. They know how to trade order blocks. They think they're the shit and they know what they're doing. This is a trap to get them, to get those retail traders to, you know, place it, place an entry here, place the stop, and become exit liquidity in order for the market makers to rebalance the imbalance, because imbalances always get rebalanced before pushing the market to new highs. Okay, so this is a very common setup. For reference, I've just started looking at Forex. I've just started trading Forex last Tuesday, and I realized this situation happens a lot more in Forex than it does in crypto because Forex is so much more manipulated. I'd say like 10 times more manipulated than crypto. Still, if you see a situation like this, you can think one step ahead and stay ahead of all of the retail traders that turn into exit liquidity. And basically, uh, you could, you know, the moment this imbalance gets filled, you could just place a limit order there, place a stop beneath the imbalance, and just target new highs. The way you do that, uh, this is more of an advanced concept, is to use, for example, the swing to the swing here and look for a -0.5, you know, extension. This is a standard deviation extension, but please forget that. It might become overwhelming if you start applying too many concepts at once. The key here is, you know, this video hopefully has been able to save you a ton of money and make you a lot more money. And I guess if there is one thing you take away from this video is just before you enter trades, think of yourself as a market maker. Would you be happy to enter here or would you rather look to stop out nearby liquidity before entering in a better price? Like just this framework thinking has kept me out of a lot of otherwise bad trades and actually allowed me to take good trades when they presented themselves. Because when you think like a market maker, for example, if the imbalance is already filled and all of the sell side is already taken out in a, you know, in a situation where your bias is towards the upside, you're like, ah yeah, duh. Like if I was a market maker, I would totally enter here. And once you have that frame of mind, It is very easy to succeed. So anyways, to break it all down, 3 things that you take away from this video, right? One of them I already mentioned. The other one is when determining higher time frame bias, you are only looking for higher time frame direction and possible, you know, targets where price might reverse. You are not looking to enter into order blocks or fair value gaps or whatever. That's how you get confused, right? When determining higher time frame bias, only liquidity pools only, right? The most extreme points, right? When in doubt, look at the most extreme points and Do not look too far, but do not look too close. So the best balance is to have a close one and have a far level, right? A close level and a far level, and one level to show where liquidity has recently been swept and whether or not, you know, what is the next likely move. Now, when you are executing is when you use order blocks and fair value gaps. And once you pair the understanding of bearish and bullish order flow into your trading, understanding that if you do get a sell-side liquidity sweep in an otherwise bullish direction, or like a bullish bias, does not mean that the market has changed character and is now going into bearish order flow. It simply means that it is sweeping out liquidity stopping out people in order to lead to new highs. And the only way that this will be invalidated, right? The only way that in fact you can validate this is once you sweep those lows, does it form new highs? If it doesn't, well, your theory is wrong and you might lose this trade, right? And that's fine. Just make sure that when you do the next down move and it retraces, make sure you shift your bias towards the sell side and start shorting all the way down. The problem comes when the bias has clearly changed and you still are too stubborn to do anything about it and you still continue going long, right? So for example, something like that. Would be the case where sweep the liquidity, price fails to make a new high. So now you immediately, immediately, you know that your theory has been invalidated. Because if your theory is valid, the moment you sweep that liquidity, it should not revisit this area anymore because there is no reason to. If you are a market maker and you are trying to go long, there is no reason to revisit this area of liquidity. So the moment you do revisit and stop you out, and then you know that the bias has shifted to the bearish direction and now you should go short. Okay, and then in the— oh, the third that you take away from this video is that simply in bearish order flows, lows are attacked, highs are protected. But at the same time, if highs are attacked in bearish order flow, that will lead to new lows, and vice versa for bullish order flow. Anyways, this has been a value bomb. If you enjoyed this video, make sure you subscribe for more. We'll be posting a lot more of these educational type content over the upcoming weeks and months. Now, if you want a one-stop-shop solution to finally becoming profitable as a trader and getting to a point where you're doing $5K to $10K per month trading, without having to go through a free course and you just want to pay to win, I do offer a mastermind and coaching program. If you might be interested in that, the link will be in the description box below. Concepts like these are taught en masse inside the mastermind. So yeah, if you're interested, book a call. But otherwise, I'll see you in the next video. Cheers.